How to Authenticate Users with MetaMask using C# (.NET)
This guide is deprecated.
This guide illustrates how to implement a full-stack .NET application where users can log in with their wallets and establish a web session.
Prerequisites
- Create a Moralis account.
- Install and set up Visual Studio.
- Install Visual Studio Code.
- In Visual Studio Code, install Live Server.
The complete code for both the client and server application you will build during this tutorial can be found here.
Create a REST Service Backend Application
Create ASP.NET Core Web API
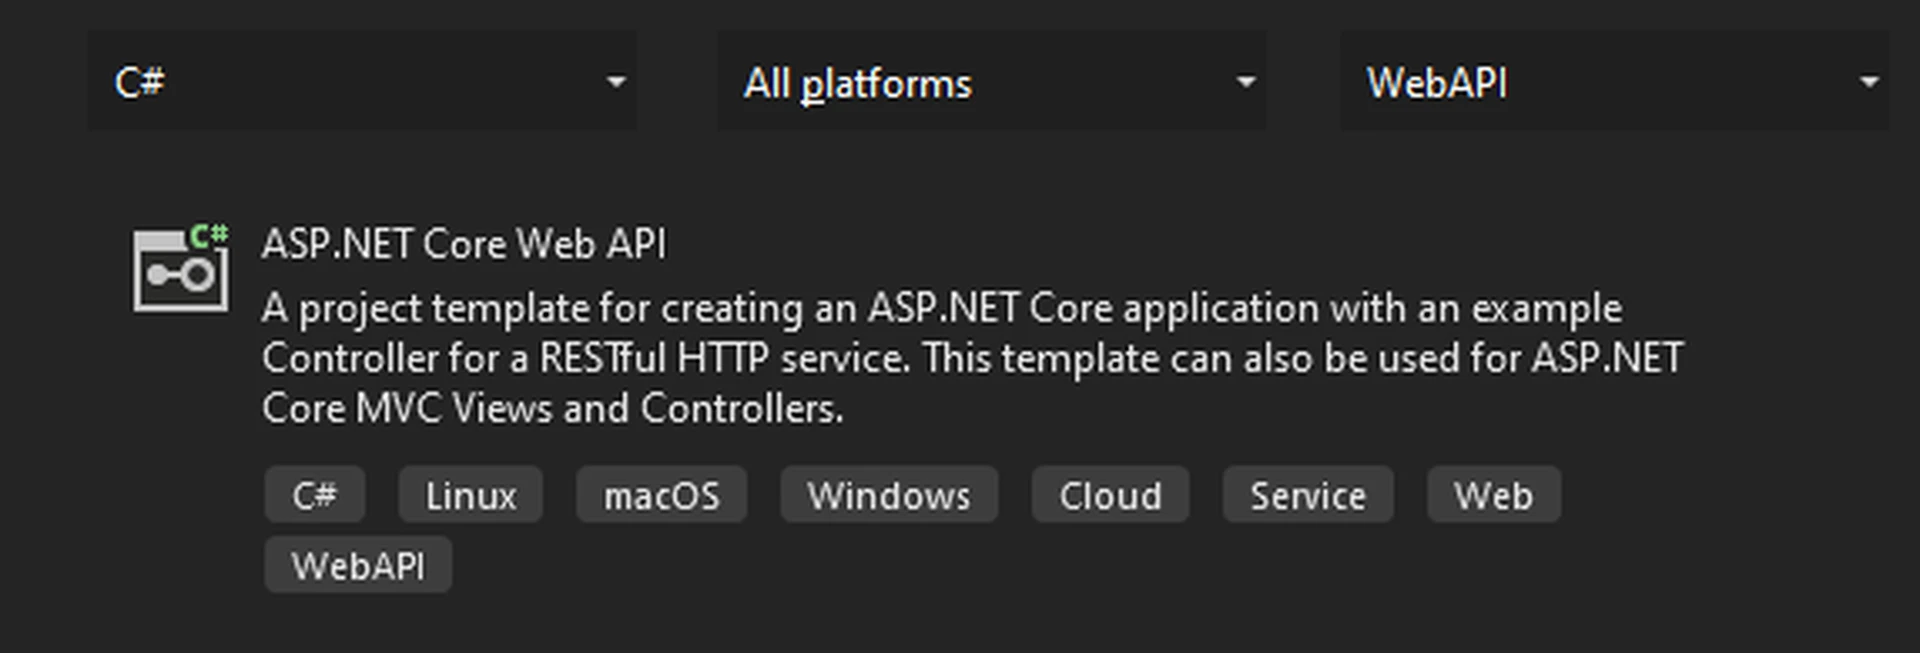
- Open Visual Studio and create a new project.
- Select C# ASP.NET Core Web API as the template:
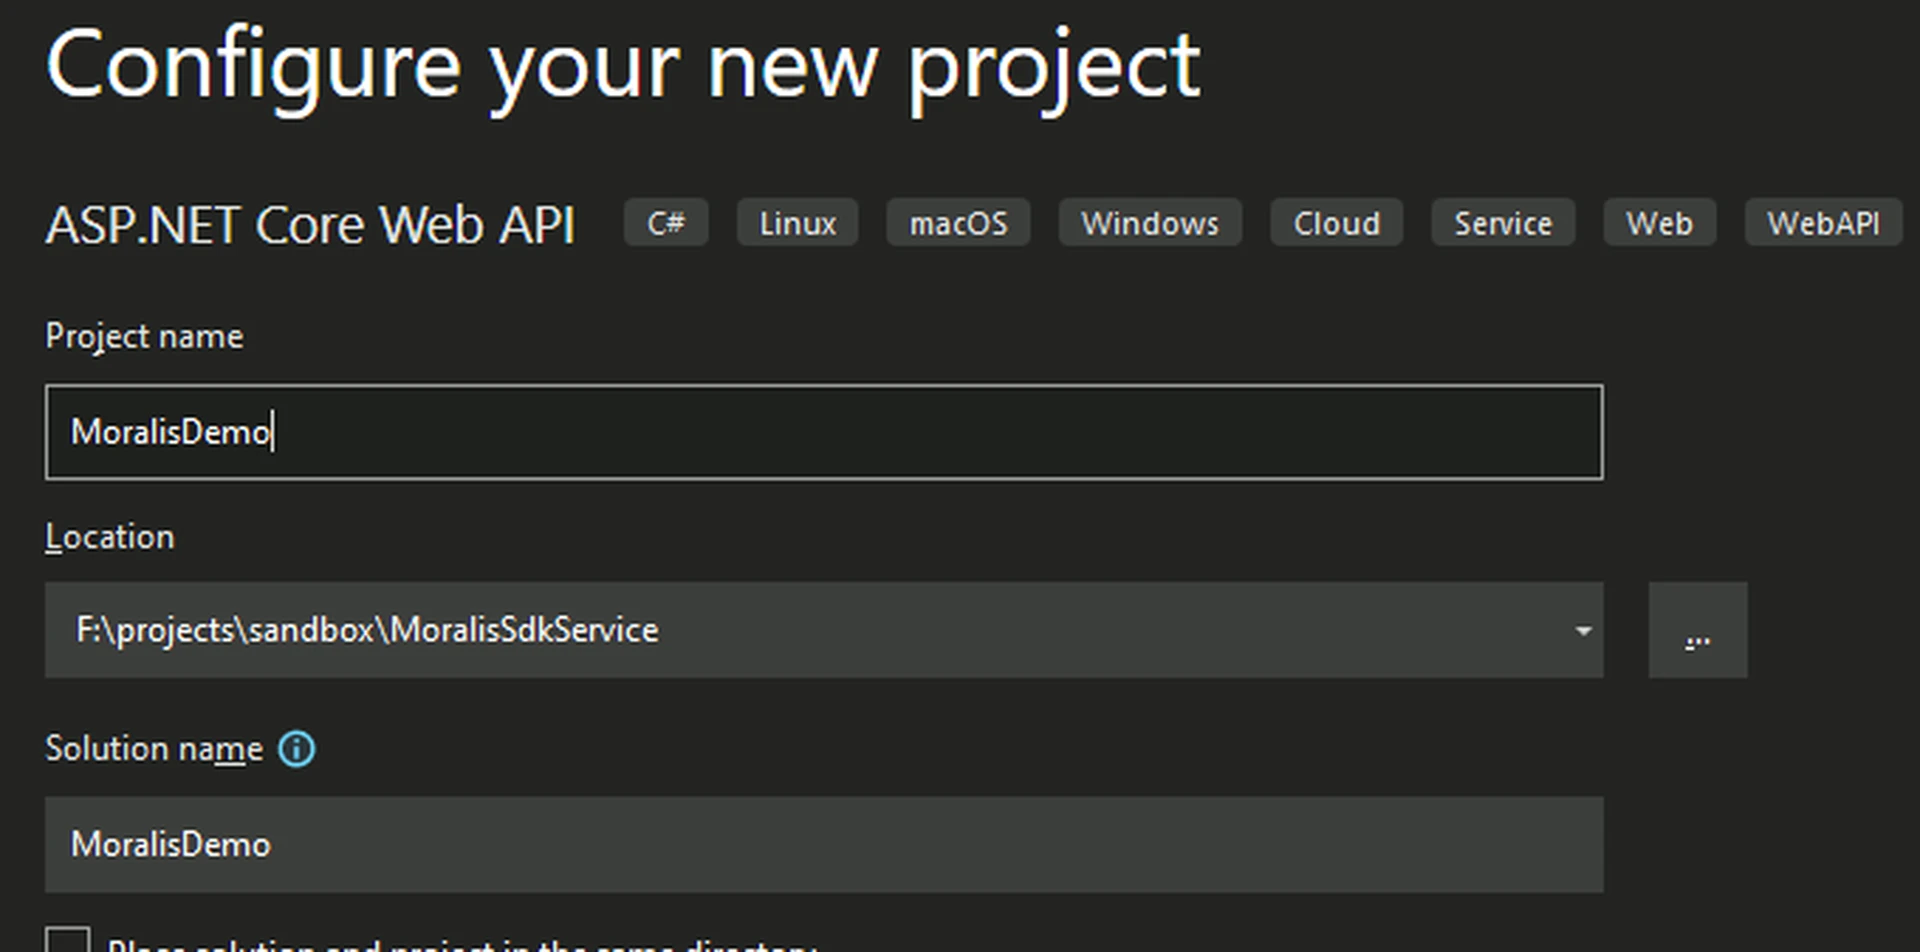
- Configure your new project by entering the project name, location, and solution name. For this demo, we use "MoralisDemo" as the project and solution names:
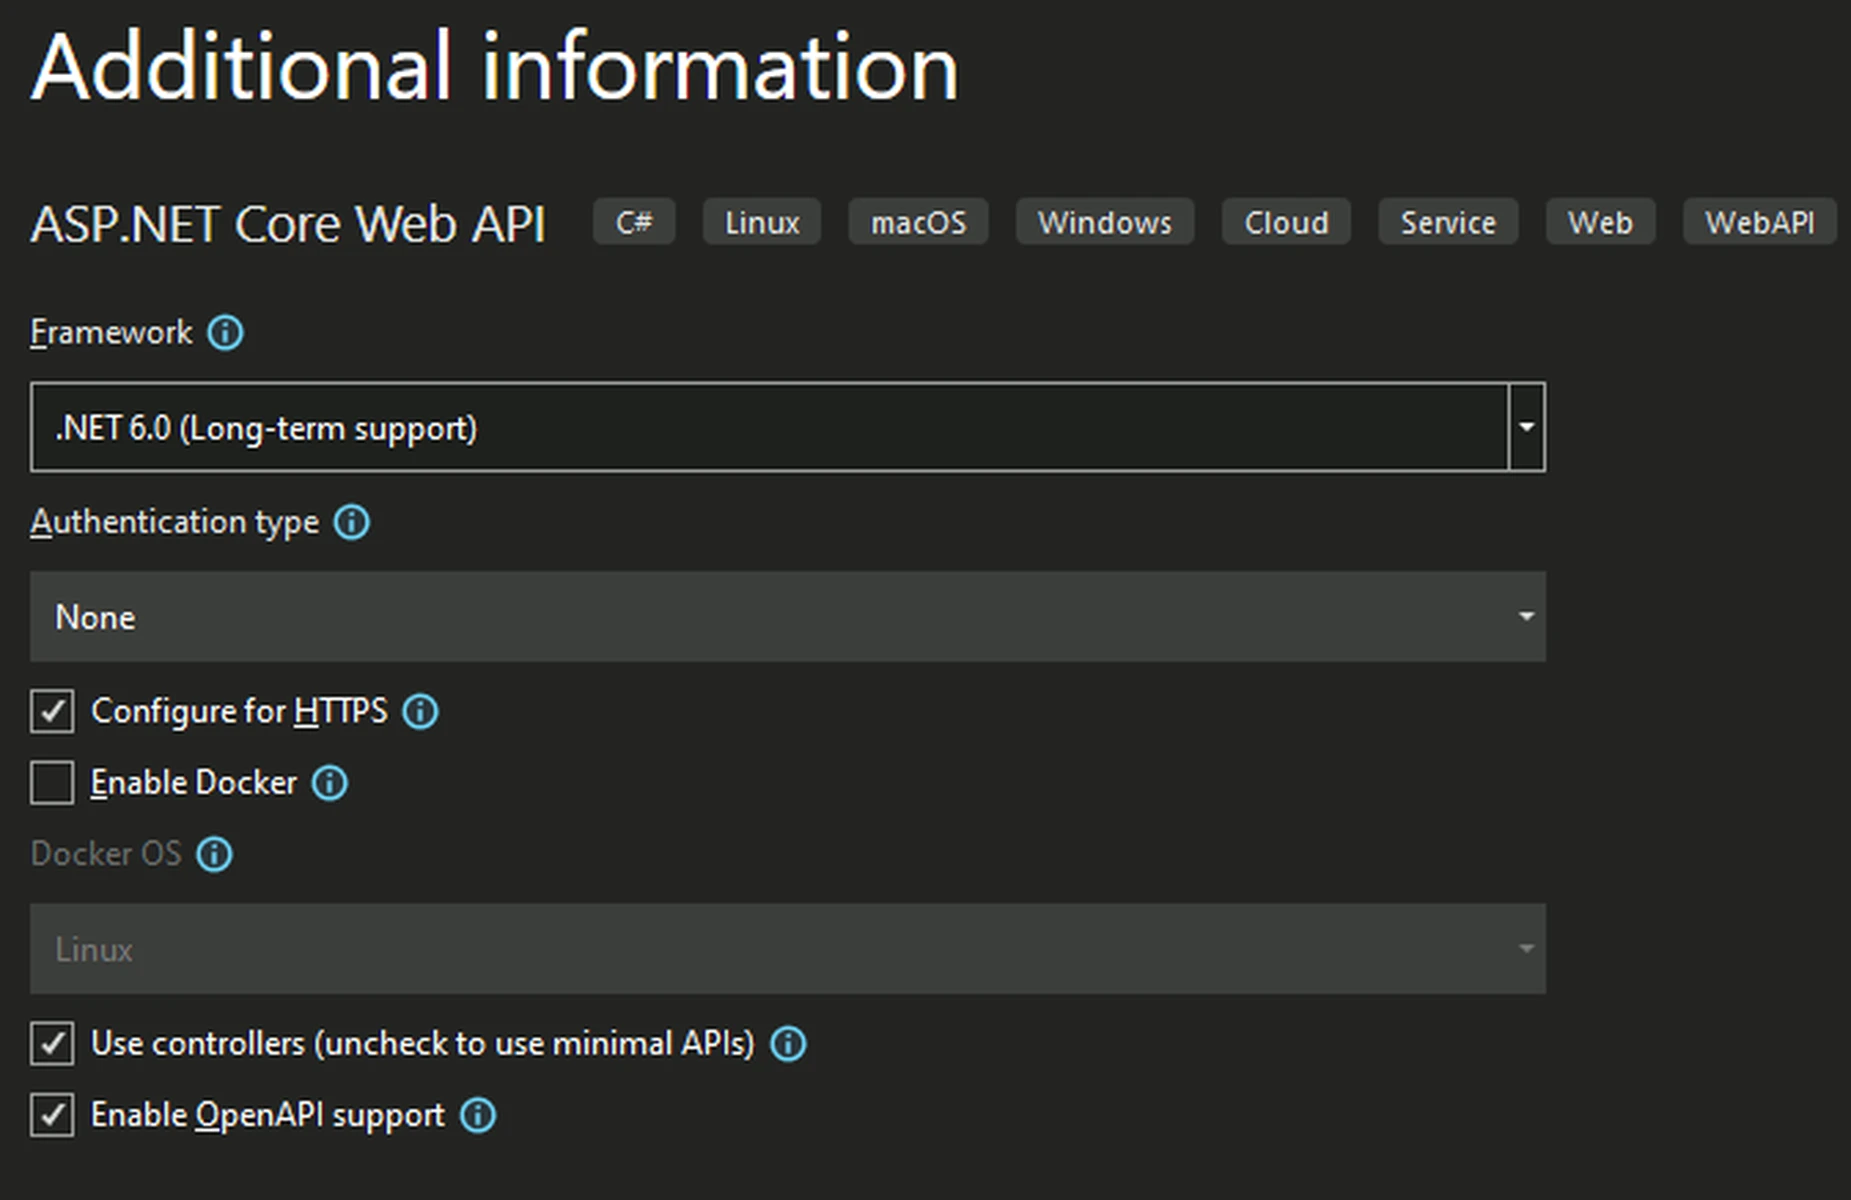
- Enter additional information and click on the Create button. For this demo, we selected ".NET 6.0" as the framework:
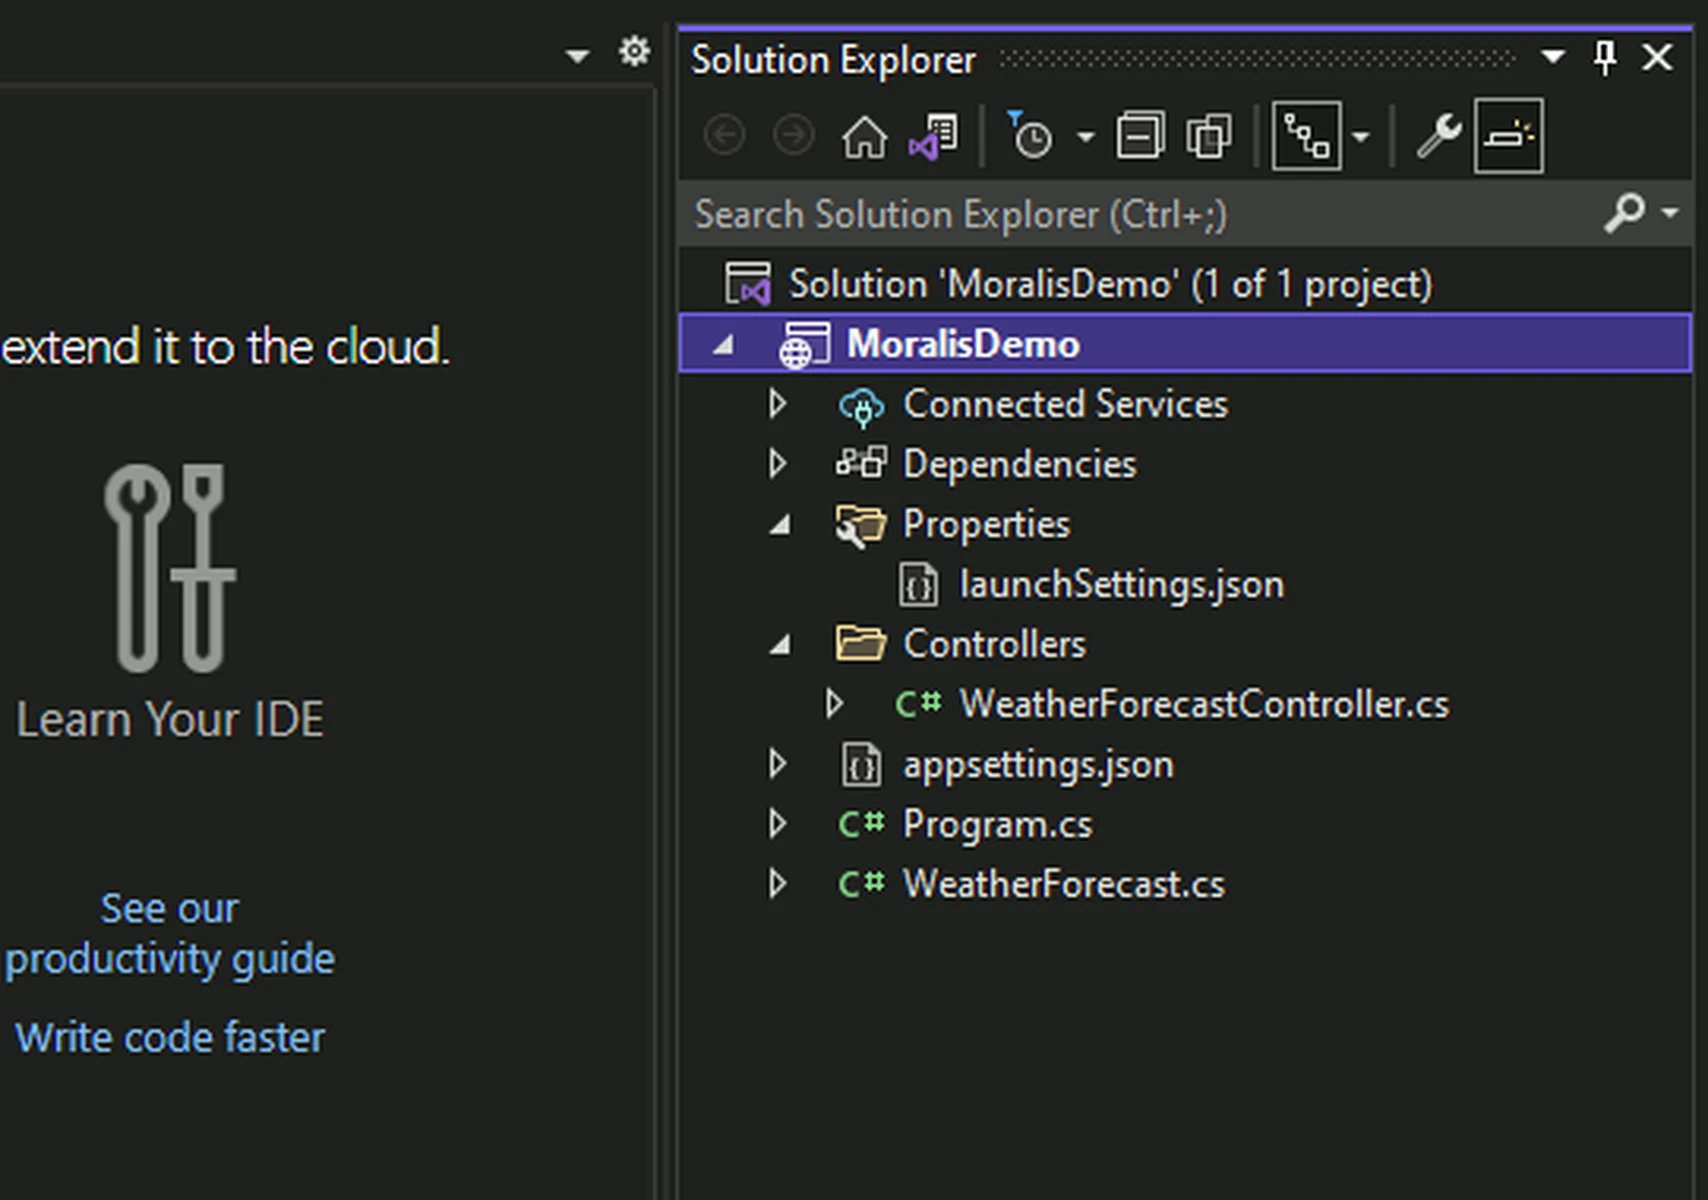
- Visual Studio will generate a basic ASP.NET REST API project with an example controller.
Import the Moralis C# SDK Package
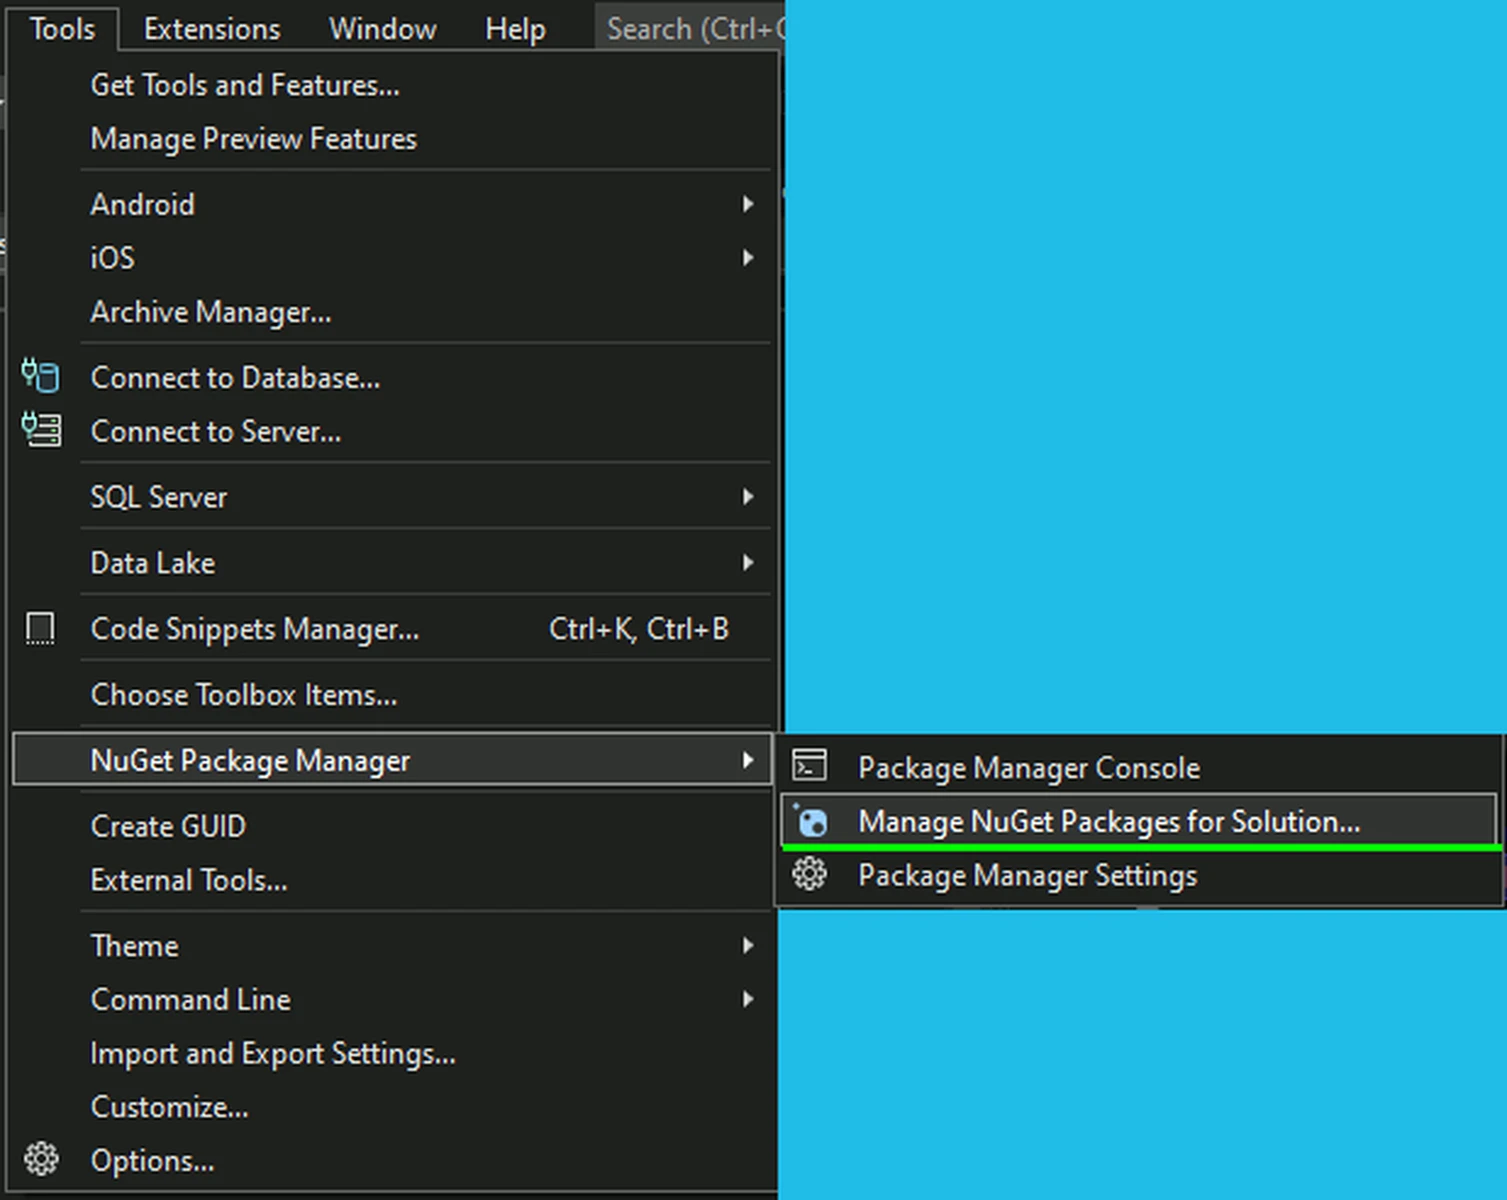
- Open NuGet Package Manager by selecting Tools > NuGet Package Manager > Manage NuGet Packages for Solution...:
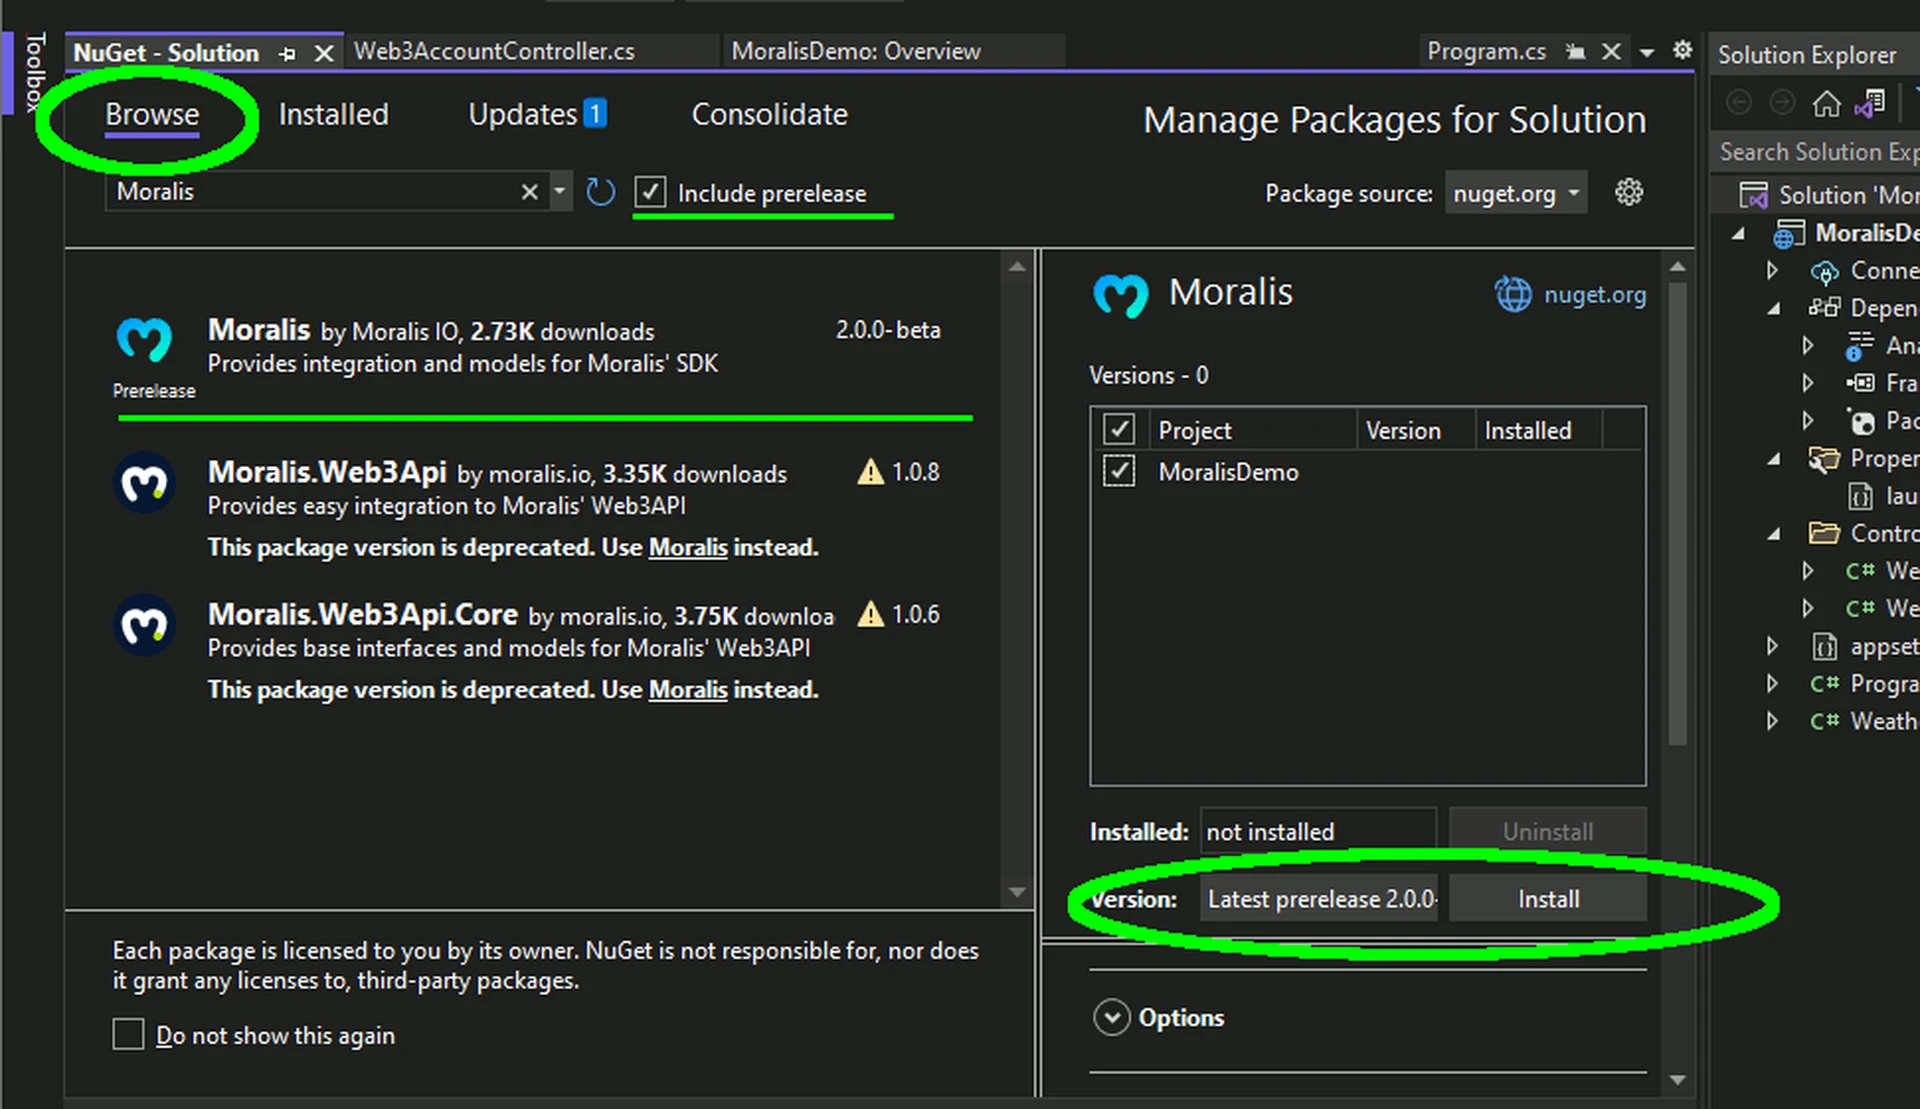
- Checkmark the Include prerelease box, and browse for Moralis.
- Select the latest Moralis package and click on the Install button:
Set Up Moralis
- In Solution Explorer, open the
Program.csfile. - Locate the statement
app.Run();. - Set
MoralisClient.ConnectionDatawith the values specific to your dapp before theapp.Run();statement. You can find your Moralis dapp information by signing in to your Moralis account. For this demo, we are only using Moralis authentication, so we will accept the default values. - Your updated code should look similar to this:
var AllowedOrigins = "_allowedOrigins";

var builder = WebApplication.CreateBuilder(args);

// Define CORS policy
builder.Services.AddCors(options =>
{
    options.AddPolicy(AllowedOrigins,
                    policy =>
                    {
                        policy.WithOrigins("http://127.0.0.1:5500")
                                            .AllowAnyHeader()
                                            .AllowAnyMethod();
                    });
});

// Add services to the container.
builder.Services.AddControllers();

// Learn more about configuring Swagger/OpenAPI at https://aka.ms/aspnetcore/swashbuckle
builder.Services.AddEndpointsApiExplorer();
builder.Services.AddSwaggerGen();

var app = builder.Build();

// Configure the HTTP request pipeline.
if (app.Environment.IsDevelopment())
{
    app.UseSwagger();
    app.UseSwaggerUI();
}

app.UseCors(AllowedOrigins);

app.UseHttpsRedirection();

app.UseAuthorization();

app.MapControllers();

// Setup Moralis
Moralis.MoralisClient.ConnectionData = new Moralis.Models.ServerConnectionData()
{
    ApiKey = "MY API KEY"
};

app.Run();
Add Moralis Authentication Endpoint
- In the controllers folder, right-click and add a new controller (empty) named
AuthenticationController.cs. - At the top of the file, add the following
usingstatements:
using Moralis;
using Moralis.AuthApi.Models;
using Moralis.Network;
using Moralis.Web3Api.Models;
- Change the base object from
Controller, toControllerBaseand delete theIndexmethod that was added by default. - Add an
ApiControllerattribute and defaultRouteattribute to the class definition. YourAuthenticationControllerclass should now look like this:
using Microsoft.AspNetCore.Mvc;
using Moralis;
using Moralis.AuthApi.Models;
using Moralis.Network;
using Moralis.Web3Api.Models;

namespace MoralisDemo.Controllers
{
    [ApiController]
    [Route("[controller]")]
    public class AuthenticationController : ControllerBase
    {

    }
}
- Create a public, async,
HttpPostoperation namedRequestMessage. This method will accept three path parameters:address(string),network(ChainNetworkType), andchainId(ChainList) and returnTask\<IActionResult>. - The operation will call the
Challengeoperation of the Moralis Auth API endpoint. TheChallengeoperation will create an EIP-4361 compliant message that is meant to be signed by the calling application. This operation is "awaitable" and will return aMoralis.AuthApi.Models.ChallengeResponseDtoobject. - Surround the operation call with a try / catch block and catch
ApiExceptionandException. If anApiExceptionis caught, return a bad request error. If anExceptionis caught, return anInternalServerError. - Your completed method should look like this:
[HttpPost, Route("{address}/{network}/{chainId}")]
public async Task<IActionResult> RequestMessage(string address, ChainNetworkType network, ChainList chainId)
{
    try
    {
        ChallengeRequestDto req = new ChallengeRequestDto()
        {
            // The Ethereum address performing the signing conformant to capitalization encoded
            // checksum specified in EIP-55 where applicable.
            Address = address,
            // The EIP-155 Chain ID to which the session is bound, and the network where Contract
            // Accounts MUST be resolved.
            ChainId = (long)chainId,
            // The RFC 3986 authority that is requesting the signing
            Domain = "defi.finance",
            // The ISO 8601 datetime string that, if present, indicates when the signed
            // authentication message is no longer valid.
            ExpirationTime = DateTime.UtcNow.AddMinutes(60),
            // The ISO 8601 datetime string that, if present, indicates when the signed
            // authentication message will become valid.
            NotBefore = DateTime.UtcNow,
            // A list of information or references to information the user wishes to have resolved
            // as part of authentication by the relying party. They are expressed as RFC 3986 URIs
            // separated by "\n- " where \n is the byte 0x0a.
            Resources = new string[] { "https://www.1155project.com" },
            // Time is seconds at which point this request becomes invalid.
            Timeout = 120,
            // A human-readable ASCII assertion that the user will sign, and it must not
            // contain '\n' (the byte 0x0a).
            Statement = "Please confirm",
            // An RFC 3986 URI referring to the resource that is the subject of the signing
            // (as in the subject of a claim).
            Uri = "https://defi.finance"
        };

        ChallengeResponseDto resp = await MoralisClient.AuthenticationApi.AuthEndpoint.Challenge(req, network);

        return new CreatedAtRouteResult(nameof(RequestMessage), resp);
    }
    catch (ApiException ex)
    {
        return new BadRequestResult();
    }
    catch (Exception ex)
    {
        return new StatusCodeResult((int)System.Net.HttpStatusCode.InternalServerError);
    }
}
Note: Make sure to change the example values in the ChallengeRequestDto object to reflect the needs of your own application.
- Create a public, async,
HttpPostoperation namedVerifySignature. This method will accept a path parameter network (ChainNetworkType), and body data (CompleteChallengeRequestDto) and returnTask\<IActionResult>. - Use the supplied network and request parameters to call the
CompleteChallengeoperation of the Moralis Auth API endpoint. This method is "awaitable" and returns aCompleteChallengeResponseDtoobject. - When the response is received, perform any custom database operations and create your custom authentication response, such as JWT. For the purpose of this demo, we will just create and return a dummy token.
- Surround the operation call with a try / catch block and catch
ApiExceptionandException. If anApiExceptionis caught, return a bad request error. If anExceptionis caught, return anInternalServerError. - Your completed method should look similar this:
[HttpPost, Route("verify/{network}")]
public async Task<IActionResult> VerifySignature(ChainNetworkType network, [FromBody] CompleteChallengeRequestDto req)
{
    try
    {
        CompleteChallengeResponseDto completeResp = await MoralisClient.AuthenticationApi.AuthEndpoint.CompleteChallenge(req, network);

        // ---------------------------------------------------------------------------------
        // Here is where you would save authentication information to the database.
        // ---------------------------------------------------------------------------------

        // ---------------------------------------------------------------------------------
        // Here is where you would generate a JWT or other authentication response object.
        // ---------------------------------------------------------------------------------

        // Return custom authentication response here.
        string token =  $"{{\"token\":\"{completeResp.Address}:{completeResp.ProfileId}\"}}";

        return new CreatedAtRouteResult(nameof(VerifySignature), token);
    }
    catch (ApiException ex)
    {
        return new BadRequestResult();
    }
    catch (Exception ex)
    {
        return new StatusCodeResult((int)System.Net.HttpStatusCode.InternalServerError);
    }
}
- Your complete
AuthenticationControllerfile should now look similar this:
using Microsoft.AspNetCore.Mvc;
using Moralis;
using Moralis.AuthApi.Models;
using Moralis.Network;
using Moralis.Web3Api.Models;

namespace MoralisDemo.Controllers
{
    [ApiController]
    [Route("[controller]")]
    public class AuthenticationController : ControllerBase
    {

        [HttpPost, Route("{address}/{network}/{chainId}")]
        public async Task<IActionResult> RequestMessage(string address, ChainNetworkType network, ChainList chainId)
        {
            try
            {
                ChallengeRequestDto req = new ChallengeRequestDto()
                {
                    // The Ethereum address performing the signing conformant to capitalization encoded
                    // checksum specified in EIP-55 where applicable.
                    Address = address,
                    // The EIP-155 Chain ID to which the session is bound, and the network where Contract
                    // Accounts MUST be resolved.
                    ChainId = (long)chainId,
                    // The RFC 3986 authority that is requesting the signing
                    Domain = "defi.finance",
                    // The ISO 8601 datetime string that, if present, indicates when the signed
                    // authentication message is no longer valid.
                    ExpirationTime = DateTime.UtcNow.AddMinutes(60),
                    // The ISO 8601 datetime string that, if present, indicates when the signed
                    // authentication message will become valid.
                    NotBefore = DateTime.UtcNow,
                    // A list of information or references to information the user wishes to have resolved
                    // as part of authentication by the relying party. They are expressed as RFC 3986 URIs
                    // separated by "\n- " where \n is the byte 0x0a.
                    Resources = new string[] { "https://www.1155project.com" },
                    // Time is seconds at which point this request becomes invalid.
                    Timeout = 120,
                    // A human-readable ASCII assertion that the user will sign, and it must not
                    // contain '\n' (the byte 0x0a).
                    Statement = "Please confirm",
                    // An RFC 3986 URI referring to the resource that is the subject of the signing
                    // (as in the subject of a claim).
                    Uri = "https://defi.finance"
                };

                ChallengeResponseDto resp = await MoralisClient.AuthenticationApi.AuthEndpoint.Challenge(req, network);

                return new CreatedAtRouteResult(nameof(RequestMessage), resp);
            }
            catch (ApiException ex)
            {
                return new BadRequestResult();
            }
            catch (Exception ex)
            {
                return new StatusCodeResult((int)System.Net.HttpStatusCode.InternalServerError);
            }
        }

        [HttpPost, Route("verify/{network}")]
        public async Task<IActionResult> VerifySignature(ChainNetworkType network, [FromBody] CompleteChallengeRequestDto req)
        {
            try
            {
                CompleteChallengeResponseDto completeResp = await MoralisClient.AuthenticationApi.AuthEndpoint.CompleteChallenge(req, network);

                // ---------------------------------------------------------------------------------
                // Here is where you would save authentication information to the database.
                // ---------------------------------------------------------------------------------

                // ---------------------------------------------------------------------------------
                // Here is where you would generate a JWT or other authentication response object.
                // ---------------------------------------------------------------------------------

                // Return custom authentication response here.
                string token =  $"{{\"token\":\"{completeResp.Address}:{completeResp.ProfileId}\"}}";

                return new CreatedAtRouteResult(nameof(VerifySignature), token);
            }
            catch (ApiException ex)
            {
                return new BadRequestResult();
            }
            catch (Exception ex)
            {
                return new StatusCodeResult((int)System.Net.HttpStatusCode.InternalServerError);
            }
        }
    }
}
Adding JSON Web Tokens (JWT) to Your Application
This part of the tutorial will teach you how to generate JWTs for your application and include your own data (claims).
JSON Web Token (JWT) is an open standard (RFC 7519) that defines a compact and self-contained way for securely transmitting information between parties as a JSON object. This information can be verified and trusted because it is digitally signed.
A complete review of JWTs is beyond this tutorial. More information can be found here.
- Use your NuGet Manager to import these packages:
a. Microsoft.Identity.Model.JsonWebTokens
b. System.IdentityModel.Tokens.Jwt - Add a new project named
JwtServicesand add a single class,TokenManager.cs. The token manager class will provide the routines we need to generate and validate JWTs. - Replace any code in
TokenManager.cswith this:
using Microsoft.IdentityModel.Tokens;
using System.IdentityModel.Tokens.Jwt;
using System.Security.Claims;

namespace JwtServices
{
    /// <summary>
    /// Provide routines for generating and processing JWTs.
    /// NOTE: depends on Nuget packages for Microsoft.Identity.Model.JsonWebTokens
    /// and System.IdentityModel.Tokens.Jwt
    /// </summary>
    public class TokenManager
    {
        // The secret can be any random text. This is a base64 text created from a random phrase.
        private static string Secret = "TW9yYWlscyBXZWIzIEFQSXMgYXJlIHRoZSBncmVhdGVzdCB0aGluZyBzaW5jZSBzbGljZWQgYnJlYWQh";

        /// <summary>
        /// Generates a new JWT Token with the specified claims.
        /// Claims are pieces of information such as ID Tokens, user name, etc.
        /// </summary>
        /// <param name="appClaims">IDictionary<string, string></param>
        /// <returns>string</returns>
        public static string GenerateToken(IDictionary<string, string> appClaims)
        {
            byte[] key = Convert.FromBase64String(Secret);
            SymmetricSecurityKey securityKey = new SymmetricSecurityKey(key);
            List<Claim> claims = new List<Claim>();

            // Capture each of the custom claims that will be included
            // in the JWT.
            if (appClaims != null && appClaims.Count > 0)
            {
                foreach (string k in appClaims.Keys)
                {
                    claims.Add(new Claim(k, appClaims[k]));
                }
            }

            // Define the token data.
            SecurityTokenDescriptor descriptor = new SecurityTokenDescriptor
            {
                Subject = new ClaimsIdentity(claims),
                Expires = DateTime.UtcNow.AddMinutes(30),
                SigningCredentials = new SigningCredentials(securityKey,
                SecurityAlgorithms.HmacSha256Signature)
            };

            JwtSecurityTokenHandler handler = new JwtSecurityTokenHandler();
            JwtSecurityToken token = handler.CreateJwtSecurityToken(descriptor);

            return handler.WriteToken(token);
        }

        /// <summary>
        /// Reads a JWT token and extracts the Claims into a ClaimsPrincipal.
        /// </summary>
        /// <param name="token">string</param>
        /// <returns>ClaimsPrincipal</returns>
        public static ClaimsPrincipal GetPrincipal(string token)
        {
            try
            {
                // Read the JSON string into a Jwt object.
                JwtSecurityTokenHandler tokenHandler = new JwtSecurityTokenHandler();
                JwtSecurityToken jwtToken = (JwtSecurityToken)tokenHandler.ReadToken(token);

                if (jwtToken == null)
                {
                    return null;
                }

                // Use our know secret
                byte[] key = Convert.FromBase64String(Secret);

                TokenValidationParameters parameters = new TokenValidationParameters()
                {
                    RequireExpirationTime = true,
                    ValidateIssuer = false,
                    ValidateAudience = false,
                    IssuerSigningKey = new SymmetricSecurityKey(key)
                };

                SecurityToken securityToken;

                // Validate the token using the known secret and extract any claims.
                ClaimsPrincipal principal = tokenHandler.ValidateToken(token,
                      parameters, out securityToken);

                return principal;
            }
            catch
            {
                return null;
            }
        }

        /// <summary>
        /// Validates a JWT.
        /// </summary>
        /// <param name="token">string</param>
        /// <returns>bool</returns>
        public static bool ValidateToken(string token)
        {
            bool resp = false;

            ClaimsPrincipal principal = GetPrincipal(token);

            if (principal != null && principal.Identity != null)
            {
                try
                {
                    ClaimsIdentity identity = (ClaimsIdentity)principal.Identity;


                    Claim? firstClaim = identity.FindFirst(ClaimTypes.Name);

                    resp = firstClaim?.Value != null;
                }
                catch (NullReferenceException)
                {
                    // Do nothing resp will be false.
                }
            }

            return resp;
        }
    }
}
- If you want to include your own secret key (for a full application, you really should), the secret variable is a random phrase we converted into a base64 string.
If you are not sure how to do this, here is some code (note that this does not go into your app; I created a simple console app to run this):
string phrase = "Morails Web3 APIs are the greatest thing since sliced bread!";

string base64 = Convert.ToBase64String(Encoding.UTF8.GetBytes(phrase));

Console.WriteLine(base64);
- In
AuthenticationControllerin theVerifySignaturemethod, find and delete this code:
                // ---------------------------------------------------------------------------------
                // Here is where you would generate a JWT or other authentication response object.
                // ---------------------------------------------------------------------------------

                // Return custom authentication response here.
                string token =  $"{{\"token\":\"{completeResp.Address}:{completeResp.ProfileId}\"}}";
- In place of the above code, we are going to generate a JWT token. For your application, you can add as many claims as you want. For this tutorial, we will create a JWT with three claims. Notice that
TokenManageris expecting a Dictionary\<string, string> object for the claims parameter (again, for your application, you could modify this to accept complex objects instead of just strings). The three parameters we will use are:
a. Address - The user's wallet address.
b. ProfileId - The Moralis profile ID for the user.
c. SignatureValidated - An extra value to provide a quick indicator that the authentication was successful.
Your JWT generating code should look similar to this:
Dictionary<string, string> claims = new Dictionary<string, string>();
claims.Add("Address", completeResp.Address);
claims.Add("AuthenticationProfileId", completeResp.ProfileId);
claims.Add("SignatureValidated", "true");

string token = TokenManager.GenerateToken(claims);
The complete VerifySignature method code should now look similar to this:
[HttpPost, Route("verify/{network}")]
public async Task<IActionResult> VerifySignature(ChainNetworkType network, [FromBody] CompleteChallengeRequestDto req)
{
    try
    {
        CompleteChallengeResponseDto completeResp = await MoralisClient.AuthenticationApi.AuthEndpoint.CompleteChallenge(req, network);

        // ---------------------------------------------------------------------------------
        // Here is where you would save authentication information to the database.
        // ---------------------------------------------------------------------------------

        Dictionary<string, string> claims = new Dictionary<string, string>();
        claims.Add("Address", completeResp.Address);
        claims.Add("AuthenticationProfileId", completeResp.ProfileId);
        claims.Add("SignatureValidated", "true");

        string token = TokenManager.GenerateToken(claims);

        return new CreatedAtRouteResult(nameof(VerifySignature), token);
    }
    catch (ApiException ex)
    {
        return new BadRequestResult();
    }
    catch (Exception ex)
    {
        return new StatusCodeResult((int)System.Net.HttpStatusCode.InternalServerError);
    }
}
Test with a Client Application
Now that the backend server is ready, we will test it and configure a client application to call the backend server.
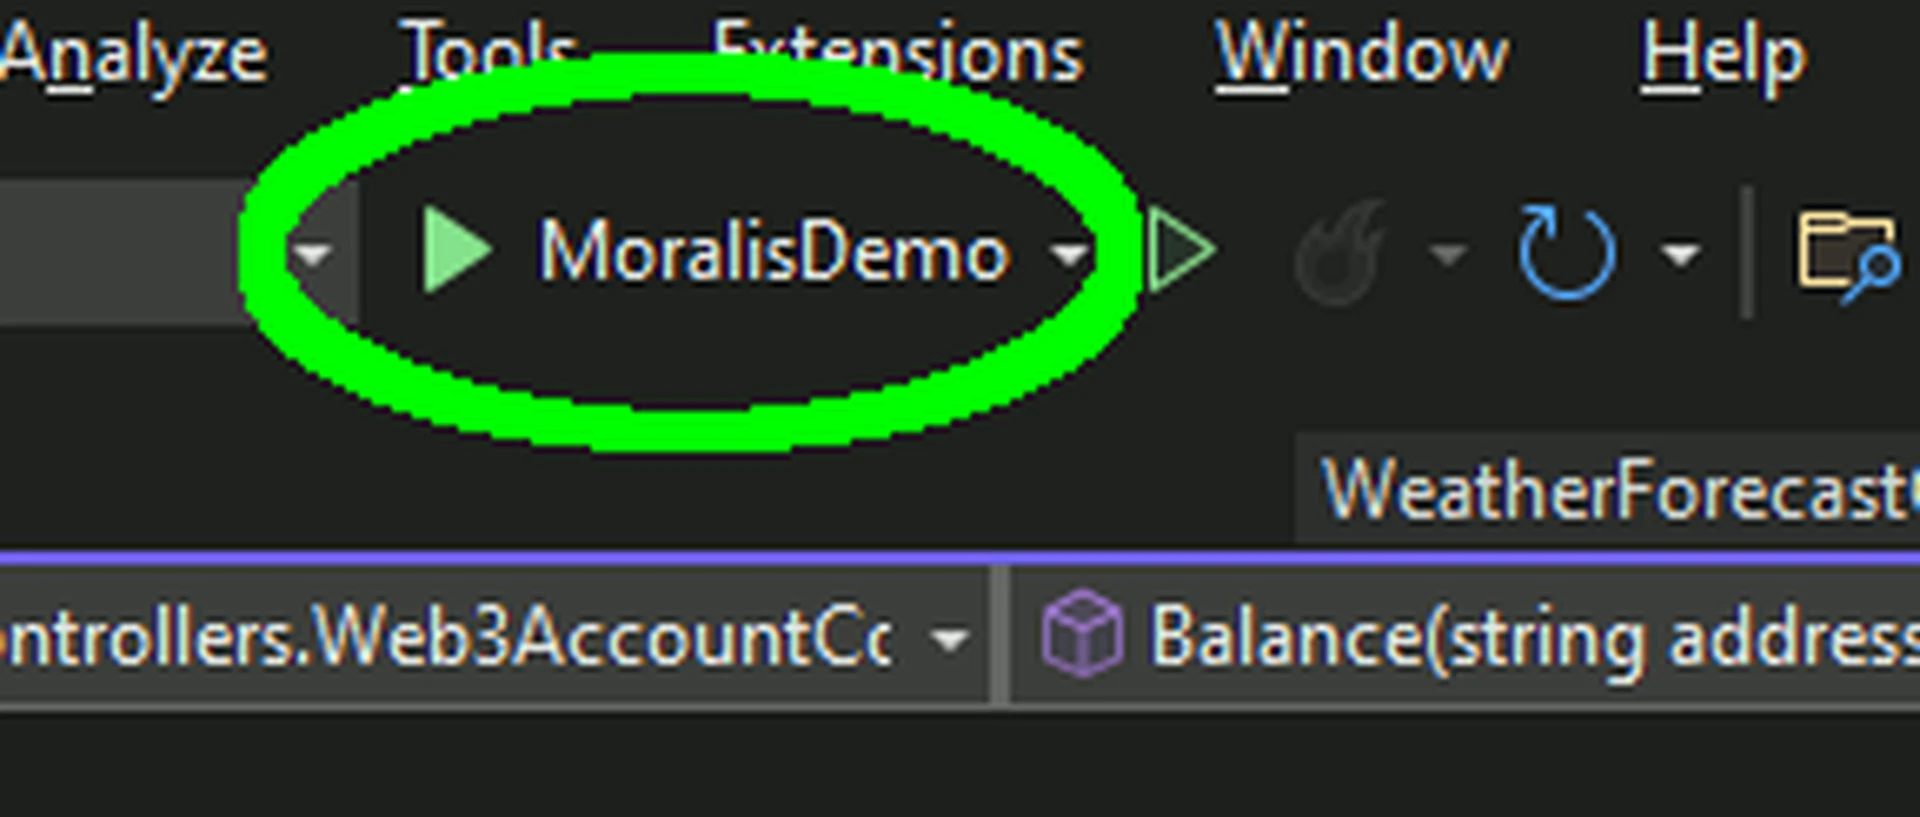
- Click on the green start button to initiate your application in IIS Express:
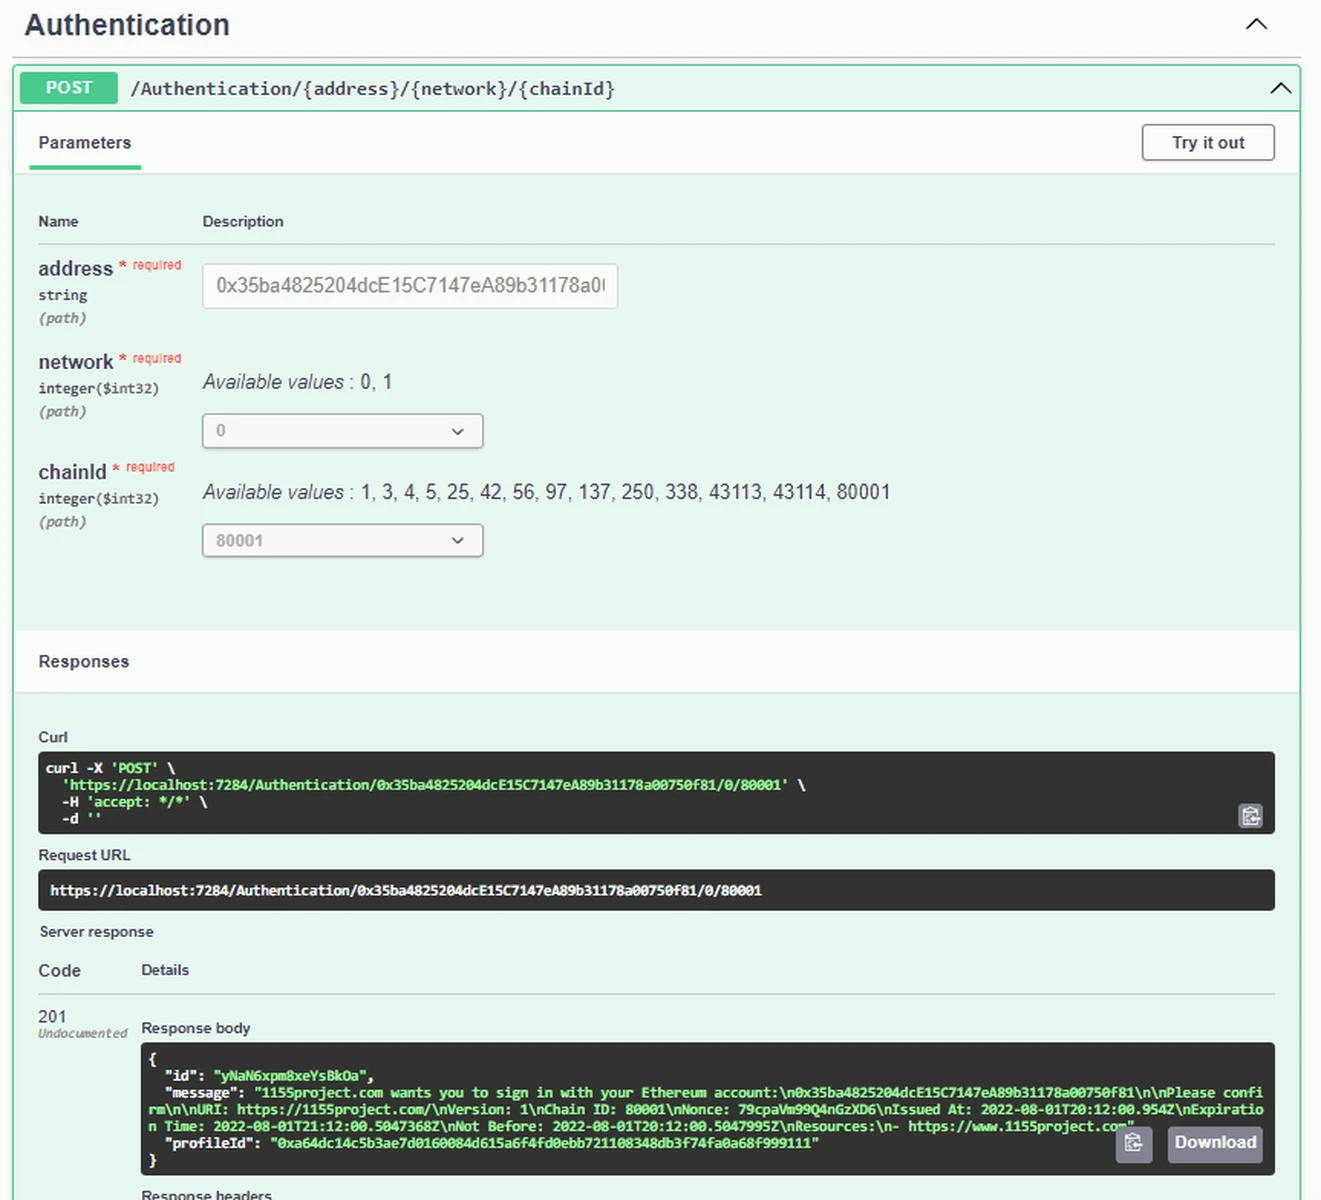
- When the application starts, the swagger test page is displayed. Make note of domain and port of the expanded Authentication endpoint and the Authentication/{address}/{network}/{chainId} operation. Click on the Try it now button.
- Enter the address, network, and chain ID values. For this example, we will enter
0x35ba4825204dcE15C7147eA89b31178a00750f81as the address,0for the network (EVM), and80001(Polygon Mumbai) as the chain ID. Click on the Execute button.
- Close the application and stop the process in Visual Studio.
- Download the test client application below.
- Open the test client in Visual Studio Code.
- Open the
index.jsfile. At the top of the file, find the// Create server urlconst myServerUrl = "[<https://localhost:7284">;](https://localhost:7284";)` line and change the port to match that of your own server application. - Navigate back to Visual Studio and your server application. Since the client application is run in a browser, you need to create a CORS policy in your server application.
- In Solution Explorer, open the
Program.csfile. At the top of the file, add the following:var AllowedOrigins = "_allowedOrigins";. - After the
var builder = WebApplication.CreateBuilder(args);statement, add the following code block, replacing the port with that for your client:
// Define CORS policy
builder.Services.AddCors(options =>
{
    options.AddPolicy(AllowedOrigins,
                    policy =>
                    {
                        policy.WithOrigins("http://127.0.0.1:5500")
                                            .AllowAnyHeader()
                                            .AllowAnyMethod();
                    });
});
- Your
Program.csfile should now be similar to this:
var AllowedOrigins = "_allowedOrigins";

var builder = WebApplication.CreateBuilder(args);

// Define CORS policy
builder.Services.AddCors(options =>
{
    options.AddPolicy(AllowedOrigins,
                    policy =>
                    {
                        policy.WithOrigins("http://127.0.0.1:5500")
                                            .AllowAnyHeader()
                                            .AllowAnyMethod();
                    });
});

// Add services to the container.
builder.Services.AddControllers();

// Learn more about configuring Swagger/OpenAPI at https://aka.ms/aspnetcore/swashbuckle
builder.Services.AddEndpointsApiExplorer();
builder.Services.AddSwaggerGen();

var app = builder.Build();

// Configure the HTTP request pipeline.
if (app.Environment.IsDevelopment())
{
    app.UseSwagger();
    app.UseSwaggerUI();
}

app.UseHttpsRedirection();

app.UseAuthorization();

app.MapControllers();

// Setup Moralis
Moralis.MoralisClient.ConnectionData = new Moralis.Models.ServerConnectionData();

app.Run();
- Restart your server application.
- In Visual Studio Code, in the Explorer view, right-click on index.html and select Open with Live Server.
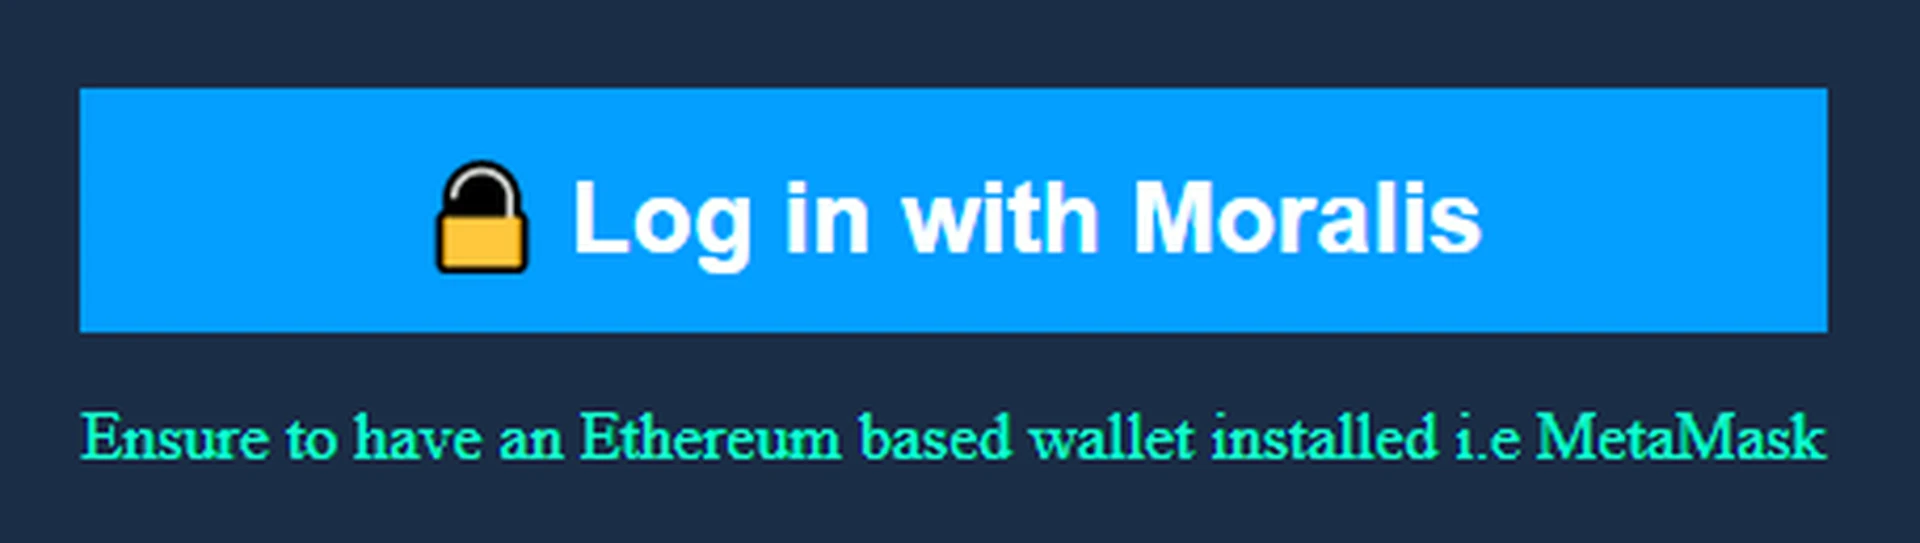
- Click on the Log In button.
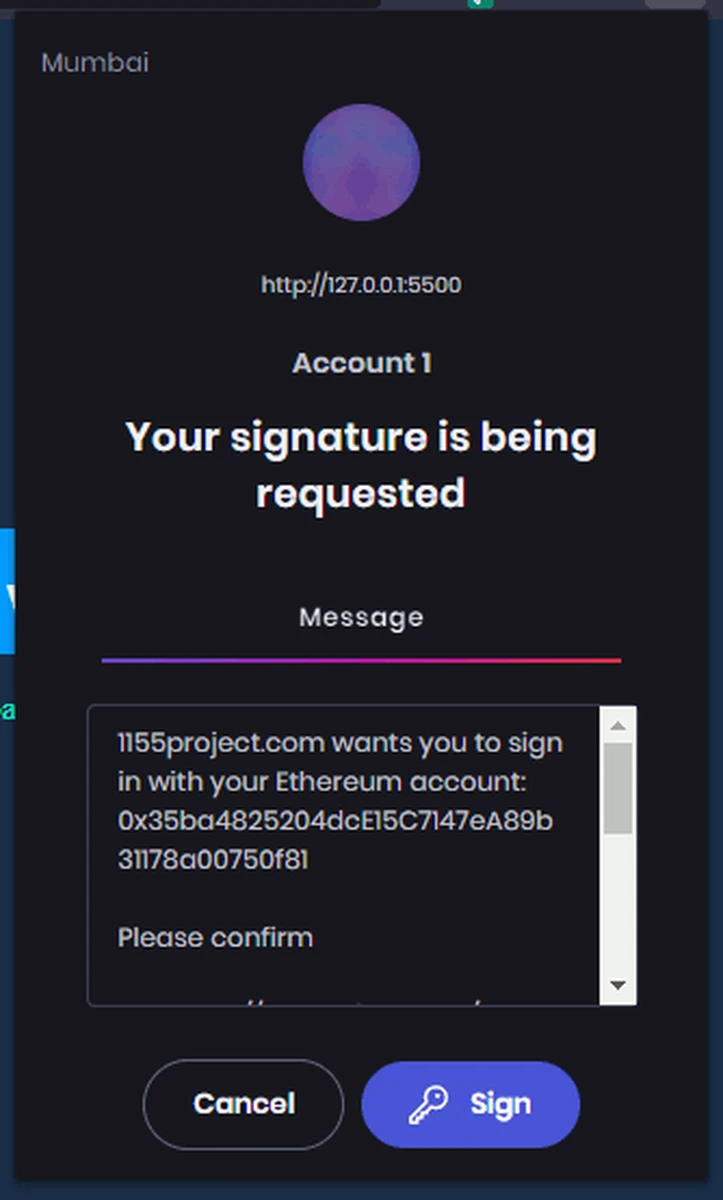
- The signature message generated by Moralis via your server application is displayed in your wallet. Click on the Sign button.
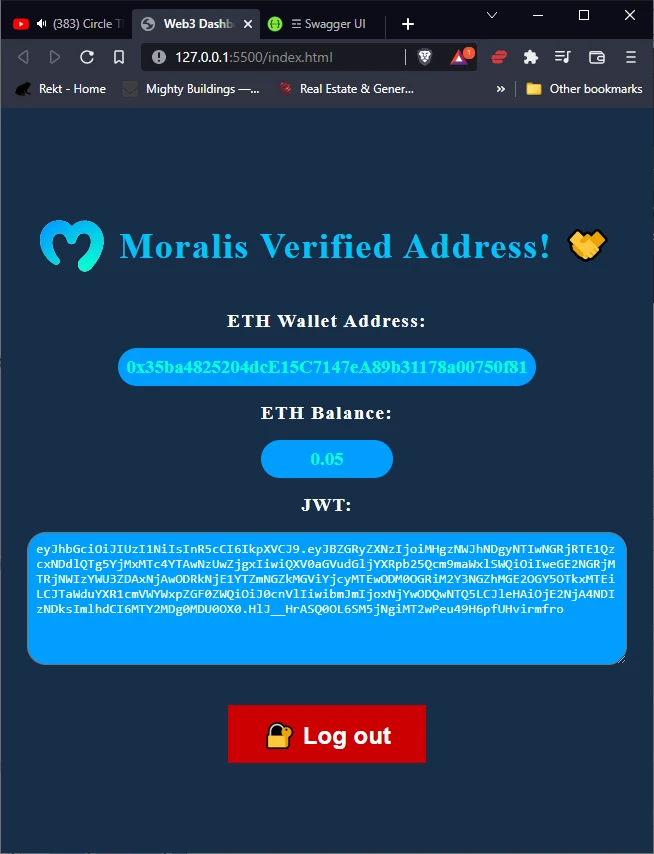
- Congratulations, the client is integrated with your server application which is integrated with Moralis!
Bonus!
Curious about the JWT your application generated? You can view your JWT token at jwt.io.
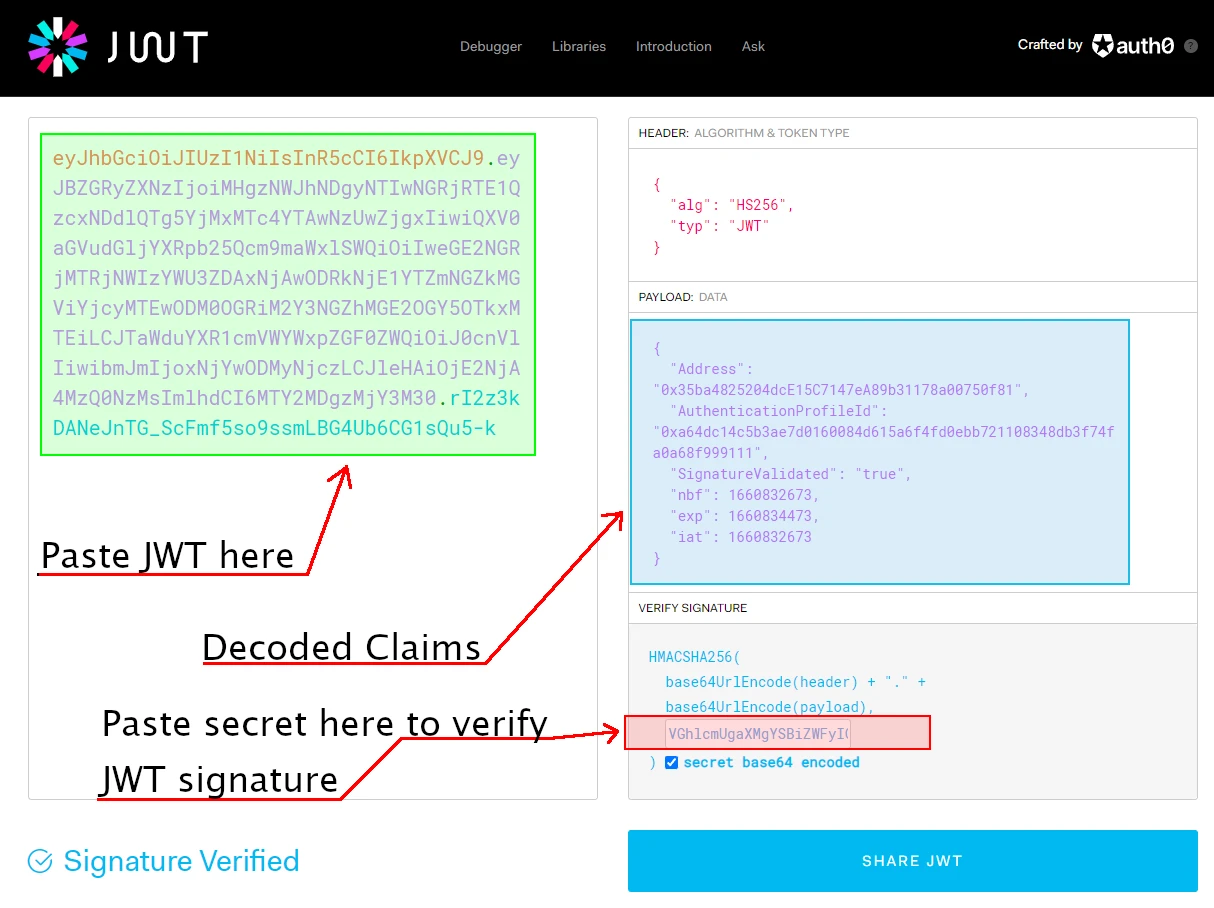
When you paste your JWT into the debugger, if it is valid, the claims of the JWT are displayed. You can also use this tool to verify the signature of your token.