How to Authenticate Users with Phantom Wallet
This tutorial covers how to create full-stack Web3 authentication for the Phantom wallet, using the popular NextJS framework.
Introduction
This tutorial shows you how to create a NextJS application that lets users log in using their Phantom wallet.
After Web3 wallet authentication, the next-auth library creates a session cookie with an encrypted JWT (JWE) stored inside. It contains session info (such as an address, signed message, and expiration time) in the user's browser. It's a secure way to store users' info without a database, and it's impossible to read/modify the JWT without a secret key.
Once the user is logged in, they will be able to visit a page that displays all their user data.
You can find the repository with the final code here: GitHub.
You can find the final dapp with implemented style on our GitHub.
Prerequisites
- Create a Moralis account.
- Install and set up Visual Studio.
- Create your NextJS dapp (you can create it using create-next-app or follow the NextJS dapp tutorial).
Install the Required Dependencies
- Install
@moralisweb3/next(if not installed),next-authand@web3uikit/coredependencies:
- npm
- Yarn
- pnpm
npm install @moralisweb3/next next-auth @web3uikit/core
yarn add @moralisweb3/next next-auth @web3uikit/core
pnpm add @moralisweb3/next next-auth @web3uikit/core
- To process data like the signature of a Solana Web3 wallet (e.g., Phantom), we need the
bs58package to encode and decode data from the wallet. Let's install thebs58package:
- npm
- Yarn
- pnpm
npm install bs58
yarn add bs58
pnpm add bs58
- Add new environment variables in your
.env.localfile in the app root:
- APP_DOMAIN: RFC 4501 DNS authority that is requesting the signing.
- MORALIS_API_KEY: You can get it here.
- NEXTAUTH_URL: Your app address. In the development stage, use
http://localhost:3000. - NEXTAUTH_SECRET: Used for encrypting JWT tokens of users. You can put any value here or generate it on
https://generate-secret.now.sh/32. Here's an.env.localexample:
APP_DOMAIN=amazing.finance
MORALIS_API_KEY=xxxx
NEXTAUTH_URL=http://localhost:3000
NEXTAUTH_SECRET=7197b3e8dbee5ea6274cab37245eec212
Keep your NEXTAUTH_SECRET value in secret to prevent security problems.
Every time you modify the .env.local file, you need to restart your dapp.
Wrapping App with SessionProvider
- Create the
pages/_app.jsxfile. We need to wrap our pages withSessionProvider(docs):
import "../styles/globals.css";
import { SessionProvider } from "next-auth/react";

function MyApp({ Component, pageProps }) {

  return (
    <SessionProvider session={pageProps.session}>
            <Component {...pageProps} />
    </SessionProvider>
  );
}

export default MyApp;
NextJS uses the App component to initialize pages. You can override it and control the page initialization. Check out the NextJS docs.
Configure Next-Auth and MoralisNextAuth
- Create a new file,
pages/api/auth/[...nextauth].ts, with the following content:
- index.ts (TypeScript)
- index.js (JavaScript)
import NextAuth from 'next-auth';
import { MoralisNextAuthProvider } from '@moralisweb3/next';

export default NextAuth({
  providers: [MoralisNextAuthProvider()],
  // adding user info to the user session object
  callbacks: {
    async jwt({ token, user }) {
      if (user) {
        token.user = user;
      }
      return token;
    },
    async session({ session, token }) {
      (session as { user: unknown }).user = token.user;
      return session;
    },
  },
});
import NextAuth from 'next-auth';
import { MoralisNextAuthProvider } from '@moralisweb3/next';

export default NextAuth({
  providers: [MoralisNextAuthProvider()],
  // adding user info to the user session object
  callbacks: {
    async jwt({ token, user }) {
      if (user) {
        token.user = user;
      }
      return token;
    },
    async session({ session, token }) {
      session.user = token.user;
      return session;
    },
  },
});
- Add an authenticating config to the
pages/api/moralis/[...moralis].ts:
- [...moralis].ts
- [...moralis].js
import { MoralisNextApi } from "@moralisweb3/next";

const DATE = new Date();
const FUTUREDATE = new Date(DATE);
FUTUREDATE.setDate(FUTUREDATE.getDate() + 1);

const { MORALIS_API_KEY, APP_DOMAIN, NEXTAUTH_URL } = process.env;

if (!MORALIS_API_KEY || !APP_DOMAIN || !NEXTAUTH_URL) {
  throw new Error(
    "Missing env variables. Please add the required env variables."
  );
}

export default MoralisNextApi({
  apiKey: MORALIS_API_KEY,
  authentication: {
    timeout: 120,
    domain: APP_DOMAIN,
    uri: NEXTAUTH_URL,
    expirationTime: FUTUREDATE.toISOString(),
    statement: "Sign message to authenticate.",
  },
});
Create Wallet Component
- Create a new file under
app/components/loginBtn/phantomBtn.tsx:
- phantomBtn.tsx
- phantomBtn.jsx
import React from "react";
import { Button } from "@web3uikit/core";
import { signIn } from "next-auth/react";
import base58 from "bs58";
import { useAuthRequestChallengeSolana } from "@moralisweb3/next";

export default function PhantomBtn() {
  const { requestChallengeAsync, error } = useAuthRequestChallengeSolana();
  const authenticate = async () => {
    // @ts-ignore
    const provider = window.phantom?.solana;
    const resp = await provider.connect();
    const address = resp.publicKey.toString();
    const chain = "devnet";
    const account = {
      address: address,
      chain: chain,
      network: "solana",
    };
    // const message = "Sign to provide access to app";
    const challenge = await requestChallengeAsync({
      address,
      network: "devnet",
    });
    const encodedMessage = new TextEncoder().encode(challenge?.message);
    const signedMessage = await provider.signMessage(encodedMessage, "utf8");
    const signature = base58.encode(signedMessage.signature);
    try {
      const authResponse = await signIn("moralis-auth", {
        message: challenge?.message,
        signature,
        network: "Solana",
        redirect: false,
      });
      if (authResponse?.error) {
        throw new Error(authResponse.error);
      }
    } catch (e) {
      return;
    }
  };

  return (
    <Button
      text="Phantom"
      theme="primary"
      onClick={() => {
        authenticate();
      }}
    />
  );
}
import React from "react";
import { Button } from "@web3uikit/core";
import { signIn } from "next-auth/react";
import base58 from "bs58";
import { useAuthRequestChallengeSolana } from "@moralisweb3/next";

export default function PhantomBtn() {
  const { requestChallengeAsync, error } = useAuthRequestChallengeSolana();
  const authenticate = async () => {
    // @ts-ignore
    const provider = window.phantom?.solana;
    const resp = await provider.connect();
    const address = resp.publicKey.toString();
    const chain = "devnet";
    const account = {
      address: address,
      chain: chain,
      network: "solana",
    };
    // const message = "Sign to provide access to app";
    const challenge = await requestChallengeAsync({
      address,
      network: "devnet",
    });
    const encodedMessage = new TextEncoder().encode(challenge?.message);
    const signedMessage = await provider.signMessage(encodedMessage, "utf8");
    const signature = base58.encode(signedMessage.signature);
    try {
      const authResponse = await signIn("credentials", {
        message: challenge?.message,
        signature,
        network: "Solana",
        redirect: false,
      });
      if (authResponse?.error) {
        throw new Error(authResponse.error);
      }
    } catch (e) {
      return;
    }
  };

  return (
    <Button
      text="Phantom"
      theme="primary"
      onClick={() => {
        authenticate();
      }}
    />
  );
}
Create Page to Sign-In
- Create a new page file,
pages/index.jsx, with the following content:
- You can get the app CSS from GitHub to style the app.
import React, { useEffect, useTransition } from "react";
import styles from "../styles/Home.module.css";
import { useRouter } from "next/router";
import { Typography } from "@web3uikit/core";
import { useSession } from "next-auth/react";
import PhantomBtn from "../app/components/loginBtn/phantomBtn";
export default function Home() {
const router = useRouter();
const { data: session, status } = useSession();
const [isPending, startTransition] = useTransition();
useEffect(() => {
startTransition(() => {
session && status === "authenticated" && router.push("./user");
});
}, [session, status]);
useEffect(() => {
startTransition(() => {
session && console.log(session);
});
}, [session]);
return (
<div className={styles.body}>
{!isPending && (
<div className={styles.card}>
<>
{!session ? (
<>
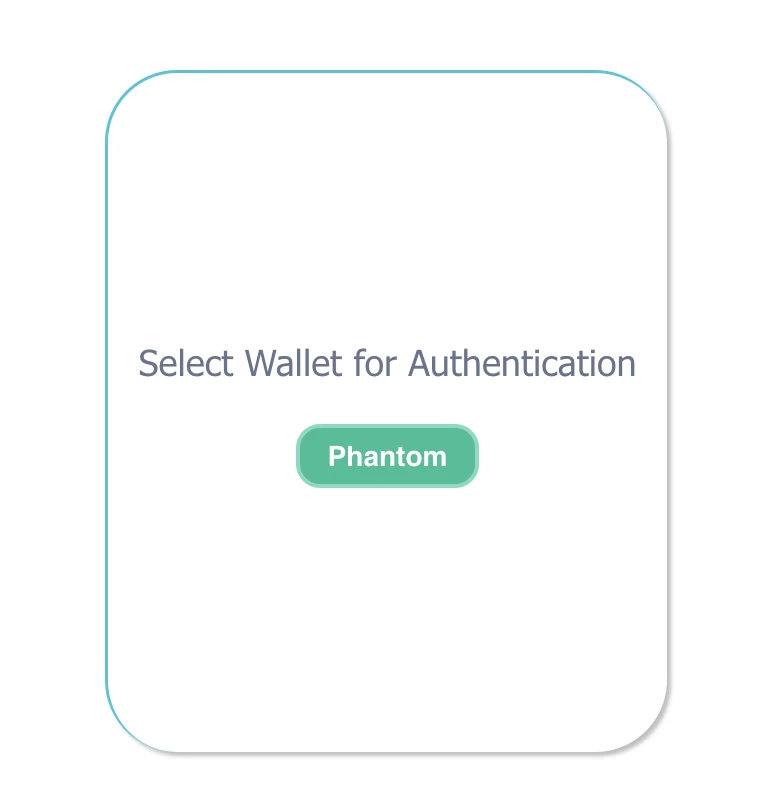
<Typography variant="body18">
Select Wallet for Authentication
</Typography>
<br />
<PhantomBtn />
</>
) : (
<Typography variant="caption14">Loading...</Typography>
)}
</>
</div>
)}
</div>
);
}
Logout and User Profile Component
- Create components to perform the logout operation and to show the user data.
- logoutBtn.js
- userData.js
// File path
// app/components/logoutBtn/logoutBtn.js

import React from "react";
import { Button } from "@web3uikit/core";
import { signOut } from "next-auth/react";

export default function LogoutBtn() {
  return (
    <Button text="Logout" theme="outline" onClick={() => signOut()}></Button>
  );
}
// File path
// app/components/logoutBtn/userData.js

import React from "react";
import styles from "../../../styles/User.module.css";
import { Typography } from "@web3uikit/core";
import { useSession } from "next-auth/react";

export default function UserData() {
  const { data: session, status } = useSession();

  if (session) {
    return (
      <div className={styles.data}>
        <div className={styles.dataCell}>
          <Typography variant="subtitle2">Profile Id:</Typography>
          <div className={styles.address}>
            <Typography variant="body16">{session?.user.profileId}</Typography>
          </div>
        </div>
        <div className={styles.dataCell}>
          <Typography variant="subtitle2">Account:</Typography>
          <div className={styles.address}>
            {/* account address */}
            <Typography copyable variant="body16">
              {session?.user.address}
            </Typography>
          </div>
        </div>
        <div className={styles.dataCell}>
          <Typography variant="subtitle2">Network:</Typography>
          <div className={styles.address}>
            <Typography variant="body16">{session?.user.network}</Typography>
          </div>
        </div>
        <div className={styles.dataCell}>
          <Typography variant="subtitle2">ExpTime:</Typography>
          <div className={styles.address}>
            <Typography variant="body16">
              {session?.user.expirationTime}
            </Typography>
          </div>
        </div>
      </div>
    );
  }
}
Showing the User Profile
- Let's create a
user.jsxpage to view user data when the user is logged in.
import React, { useEffect, useTransition } from "react";
import styles from "../styles/User.module.css";
import { getSession, signOut } from "next-auth/react";
import UserData from "../app/components/userData/userData";
import LogoutBtn from "../app/components/logoutBtn/logoutBtn";


export async function getServerSideProps(context) {
  const session = await getSession(context);
  if (!session) {
    return { redirect: { destination: "/" } };
  }
  return {
    props: { userSession: session },
  };
}

export default function Home({ userSession }) {

  if (userSession) {
    return (
      <div className={styles.body}>
        {!isPending && (
          <div className={styles.card}>
            <>
              <UserData />
              <div className={styles.buttonsRow}>
                  <LogoutBtn />
              </div>
            </>
          </div>
        )}
      </div>
    );
  }
}
Testing with Phantom Wallet
Visit http://localhost:3000 to test the authentication.
- Click on the
Select Walletbutton to select and connect to wallet:
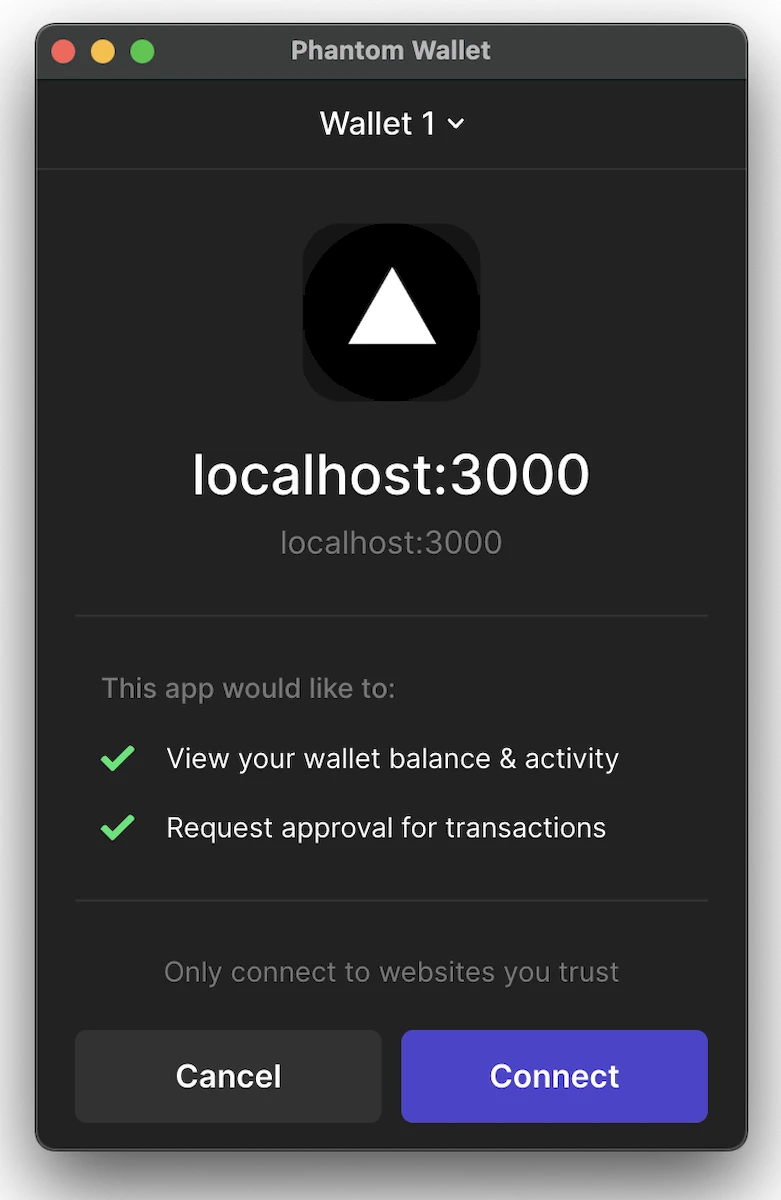
- Connect to the Solana wallet extension
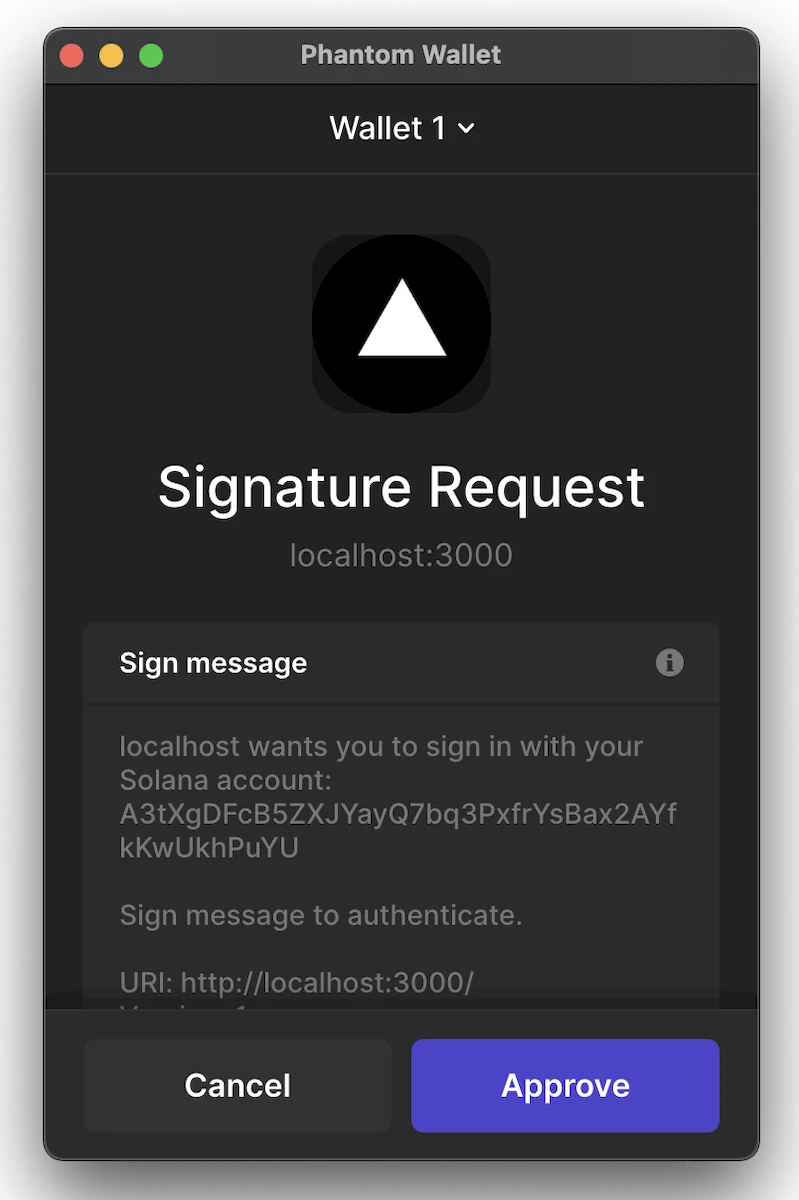
- Sign the message:
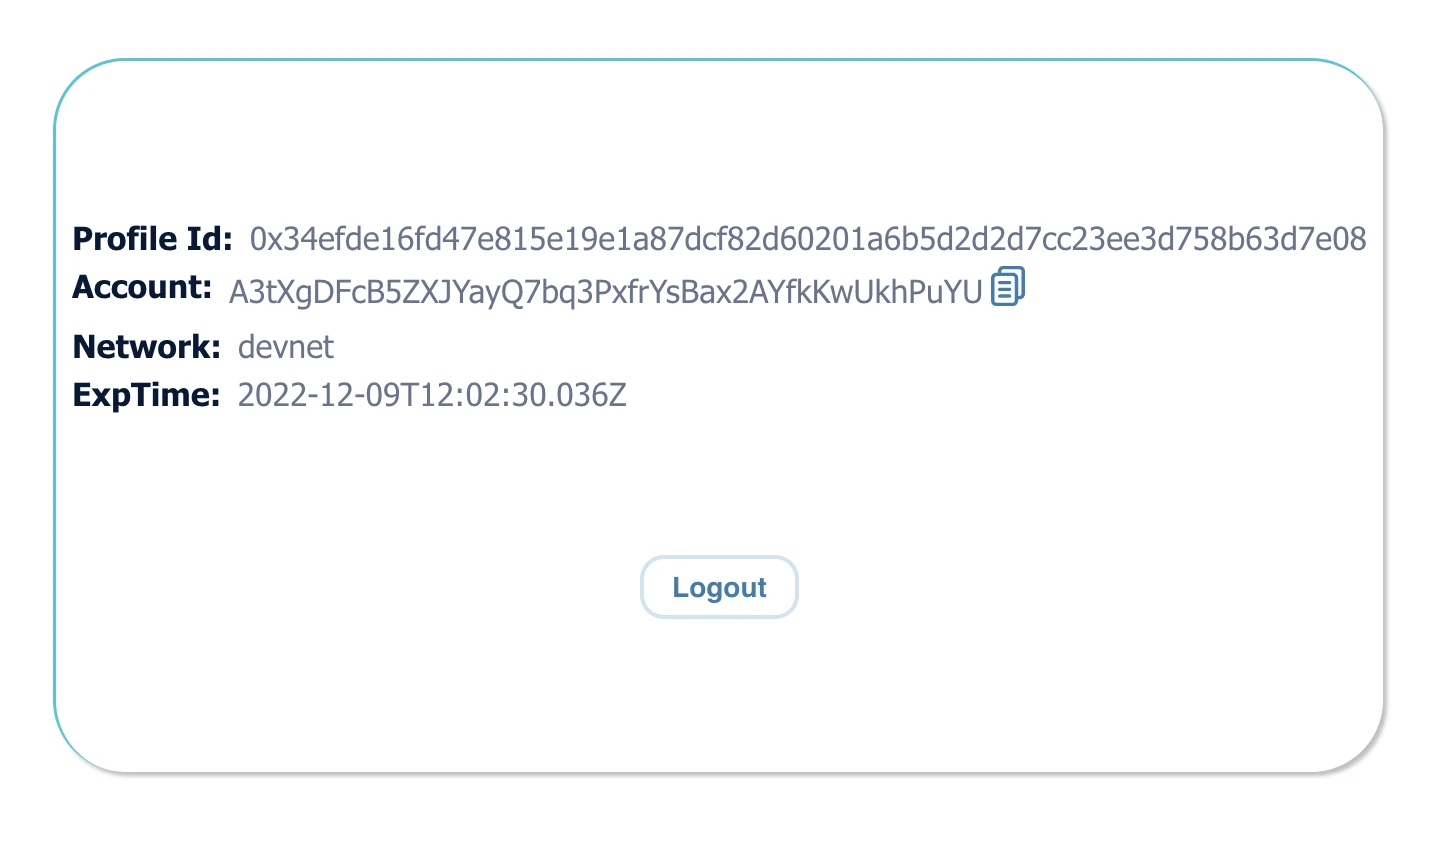
- After successful authentication, you will be redirected to the
/userpage:
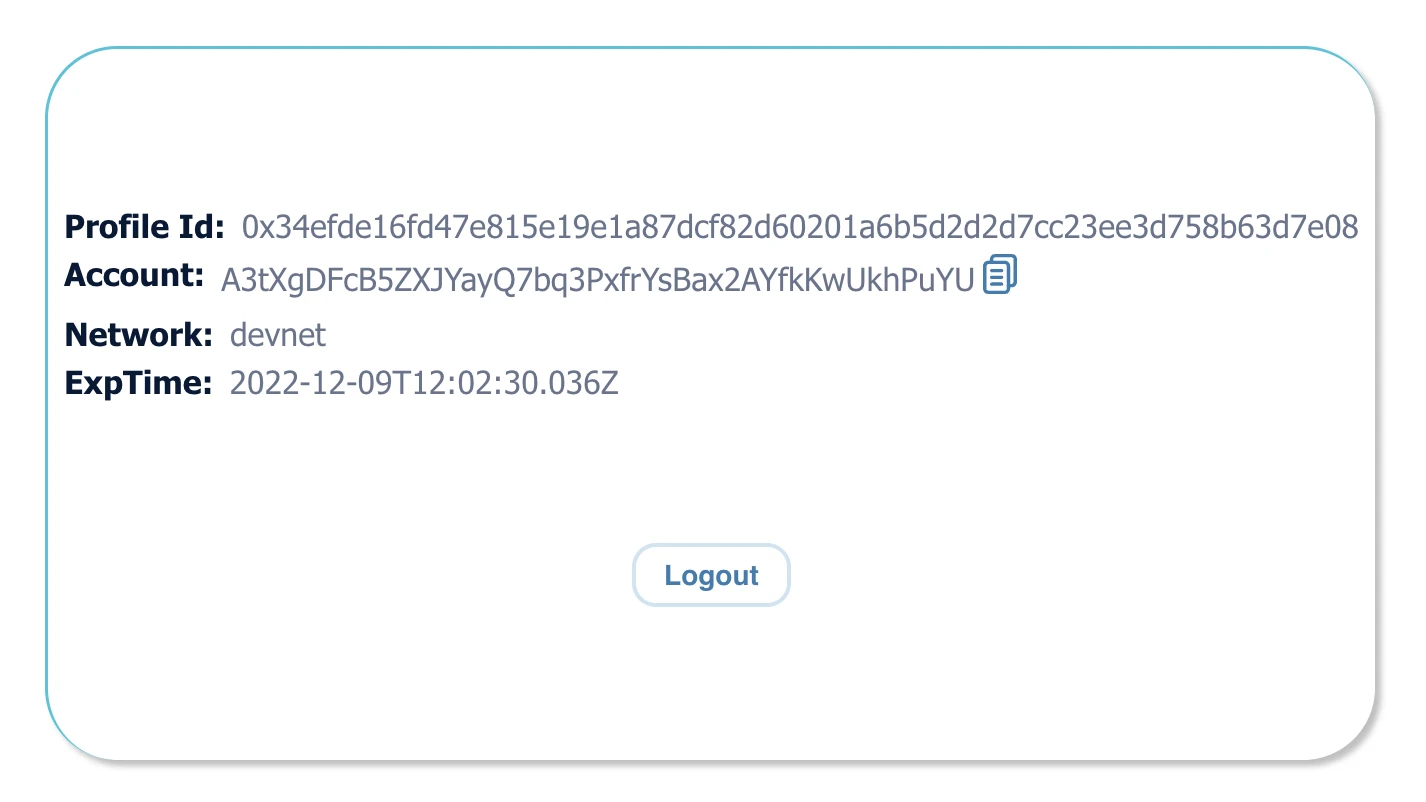
And that completes the authentication process to Solana wallet using Phantom Wallet.