Web3 Social Media
Introduction
This tutorial teaches you how to create your very own decentralized social profile using Lens and the Moralis API.
Lens is a blockchain social media protocol that allows anyone to build Web3 social media apps on top of it.
You can find the repository with the final code here.
YouTube Tutorial
How to Start
- Setup a starter (Next.js) app
- Connect to the Lens API
- Import and set up the Moralis SDK
- Integrate your app with Moralis
Prerequisites
- Clone the starter repo, install it, and run the app:
git clone https://github.com/IAmJaysWay/lens-starter
cd lens-starter
cd web3profile-starter
npm install
npm run dev
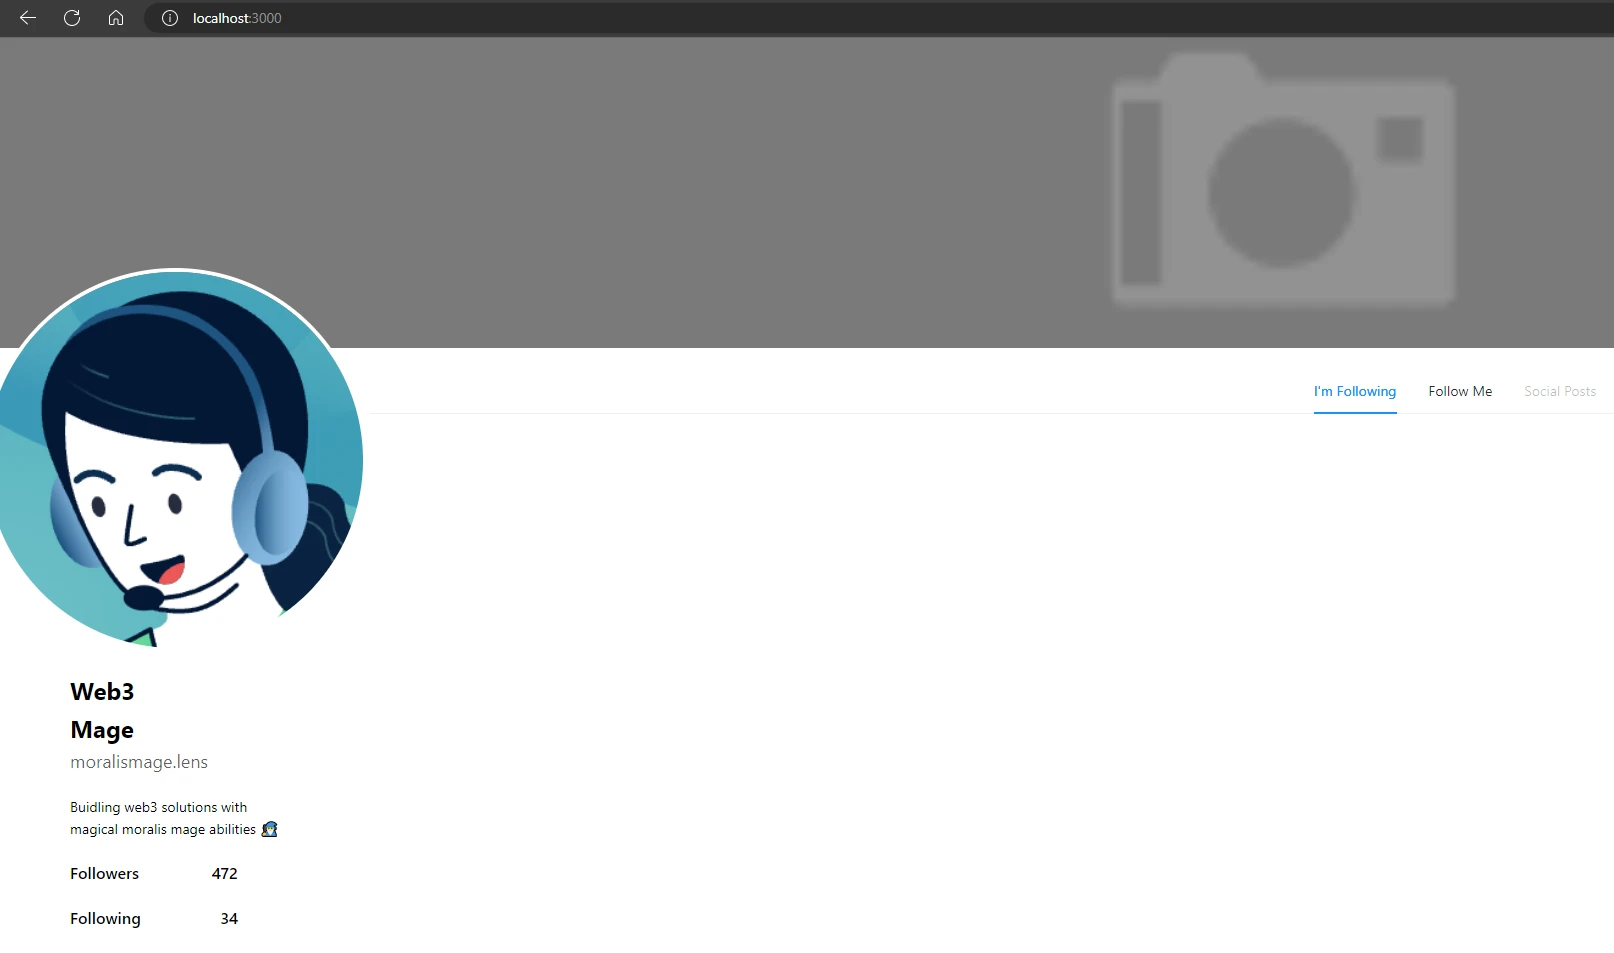
- Open
http://localhost:3000in your browser. You should see the following:
Initial Setup
We will set up our connection to Lens (using their API) from our app. We will use the urql library to create a GraphQL client that will be used to query this API.
- Inside
src/pages, create a folder calledapi, and inside that folder, create a file calledlensCalls.js. Open it and add our initial client setup code:
import { createClient } from 'urql';

const APIURL = 'https://api.lens.dev';

export const client = new createClient({
  url: APIURL,
});
- Add our API profile code:
export const Profile = `
query Profile {
  profile(request: { profileId: "0x09" }) {
    id
    name
    bio
    attributes {
      displayType
      traitType
      key
      value
    }
    followNftAddress
    metadata
    isDefault
    picture {
      ... on NftImage {
        contractAddress
        tokenId
        uri
        verified
      }
      ... on MediaSet {
        original {
          url
          mimeType
        }
      }
      __typename
    }
    handle
    coverPicture {
      ... on NftImage {
        contractAddress
        tokenId
        uri
        verified
      }
      ... on MediaSet {
        original {
          url
          mimeType
        }
      }
      __typename
    }
    ownedBy
    dispatcher {
      address
      canUseRelay
    }
    stats {
      totalFollowers
      totalFollowing
      totalPosts
      totalComments
      totalMirrors
      totalPublications
      totalCollects
    }
    followModule {
      ... on FeeFollowModuleSettings {
        type
        amount {
          asset {
            symbol
            name
            decimals
            address
          }
          value
        }
        recipient
      }
      ... on ProfileFollowModuleSettings {
        type
      }
      ... on RevertFollowModuleSettings {
        type
      }
    }
  }
}
`
Now we will set up our page to call this API.
- Open
pages/index.js. At the top, add our imports for our client and the profile code we just set up:
import { urqlClient, Profile } from './api/lensCalls';
- We will call the Lens API with
getServerSidePropswhich will run the code server side and return the data to theindex.jspage as props:
export async function getServerSideProps() {
  const response = await urqlClient.query(Profile).toPromise();

  return {
    props: { profile: response?.data.profile },
  };
}
- We will adjust the
Homecomponent to receive these props and logprofileto make sure it all works:
export default function Home({ profile }) {
  console.log(profile);

  // rest of Home
- Check your browser console (developer tools), you should see similar output to the following:
{
    "id": "0x09",
    "name": "Nicolo",
    "bio": "Strategy @AaveAave.lens & @LensProtocol\n\nnicolo.eth",
    "attributes": [
        {
            "displayType": null,
            "traitType": "string",
            "key": "location",
            "value": "London, UK",
            "__typename": "Attribute"
        },
        {
            "displayType": null,
            "traitType": "string",
            "key": "twitter",
            "value": "nicolo",
            "__typename": "Attribute"
        },
        {
            "displayType": null,
            "traitType": "string",
            "key": "statusMessage",
            "value": "🌿👻",
            "__typename": "Attribute"
        },
        {
            "displayType": null,
            "traitType": "string",
            "key": "app",
            "value": "Lenster",
            "__typename": "Attribute"
        }
    ],
    ...
}
Populating Our Profile Page
We now have info about this user that we will use to populate our frontend.
- In
pages/index.js, we will swap out the default values with the properties fromprofile. The completereturnshould look like this:
return (
    <div className={styles.container}>
      <img
        className={styles.banner}
        src={profile.coverPicture.original.url}
        alt="cover"
      />
      <div className={styles.profile}>
        <div className={styles.profileLeft}>
          <img
            className={styles.profileImg}
            src={profile.picture.original.url}
            alt="profileImg"
          />
          <div className={styles.info}>
            <div className={styles.name}>{profile.name}</div>
            <div className={styles.handle}>{profile.handle}</div>
            <div className={styles.bio}>{profile.bio}</div>
            <div className={styles.follow}>
              <div>Followers</div>
              <div>{profile.stats.totalFollowers}</div>
            </div>
            <div className={styles.follow}>
              <div>Following</div>
              <div>{profile.stats.totalFollowing}</div>
            </div>
          </div>
        </div>
        <div className={styles.profileRight}>
          <Tabs defaultActiveKey="1" centered>
            <TabPane tab="I'm Following" key="1">
              <div className={styles.followingNFTs}>
                {nftArray?.map((e) => {
                  return <iframe className={styles.animation} src={e}></iframe>;
                })}
              </div>
            </TabPane>
            <TabPane tab="Follow Me" key="2">
              <div className={styles.followMe}>
                <div>
                  <div className={styles.promptOne}>Hey There 👋🏼</div>
                  <div className={styles.promptTwo}>
                    Give me a follow and receive this cool NFT!
                  </div>
                  <Button onClick={follow} type="primary">
                    Follow Me
                  </Button>
                </div>
                {myNFT && (
                  <iframe className={styles.myNFT} src={myNFT}></iframe>
                )}
              </div>
            </TabPane>
            <TabPane tab="Social Posts" key="3" disabled={true} />
          </Tabs>
        </div>
      </div>
    </div>
  );
- Check
http://localhost:3000. Your app should now look similar to:
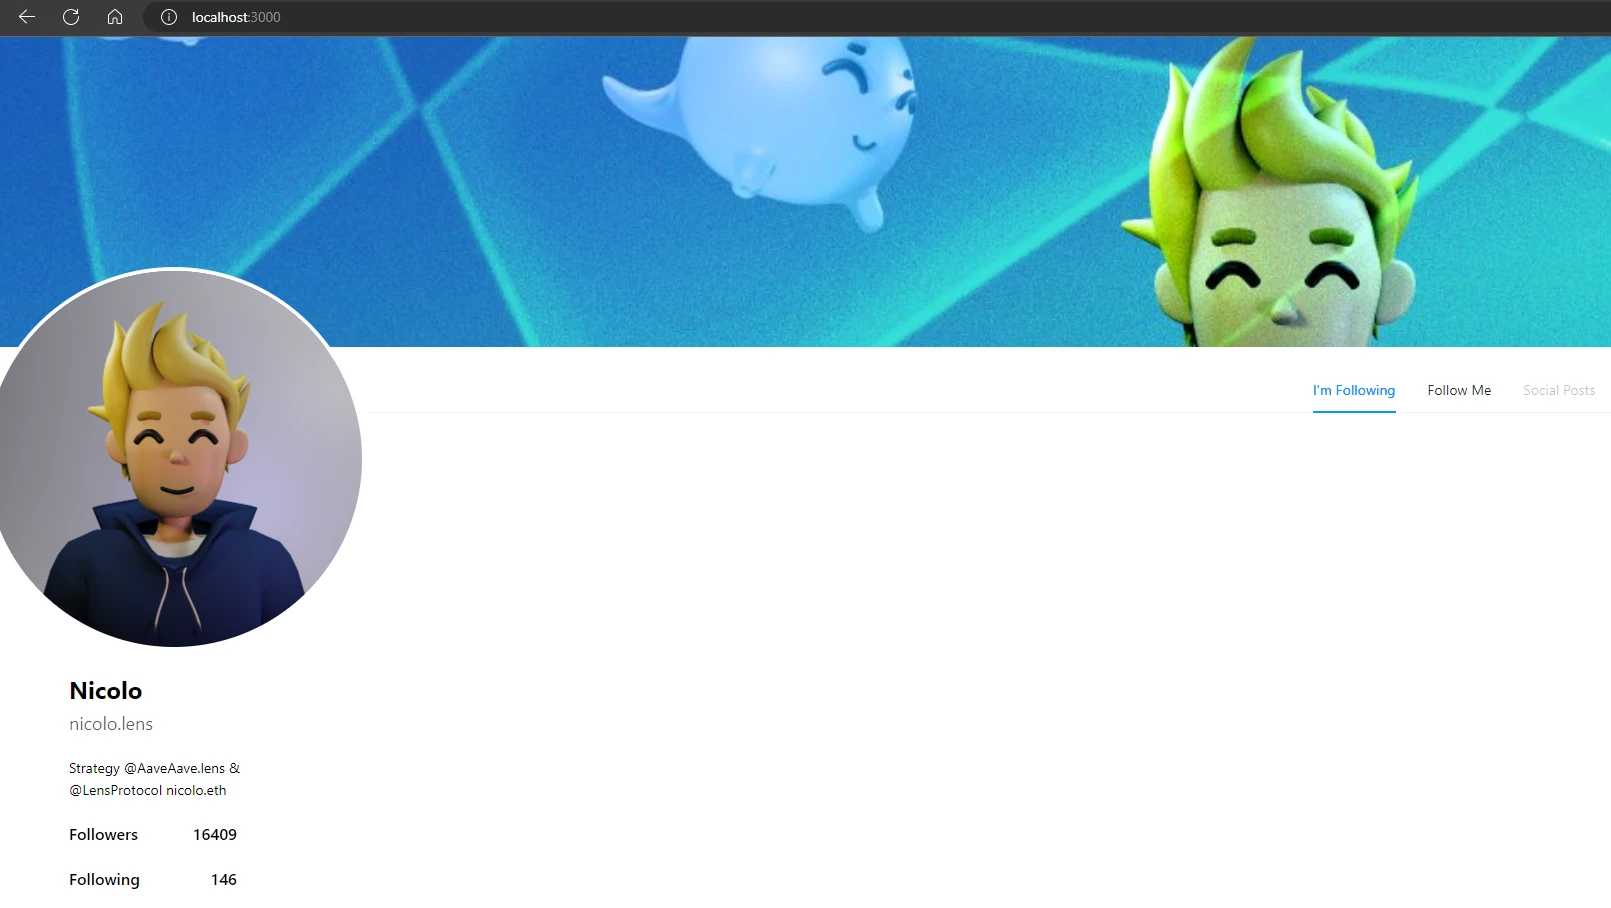
- We can now change the profile ID in
pages/api/lensCalls.jsto use another profile for our app. We will use the following0x81:
profile(request: { profileId: "0x81" }) {
  ...
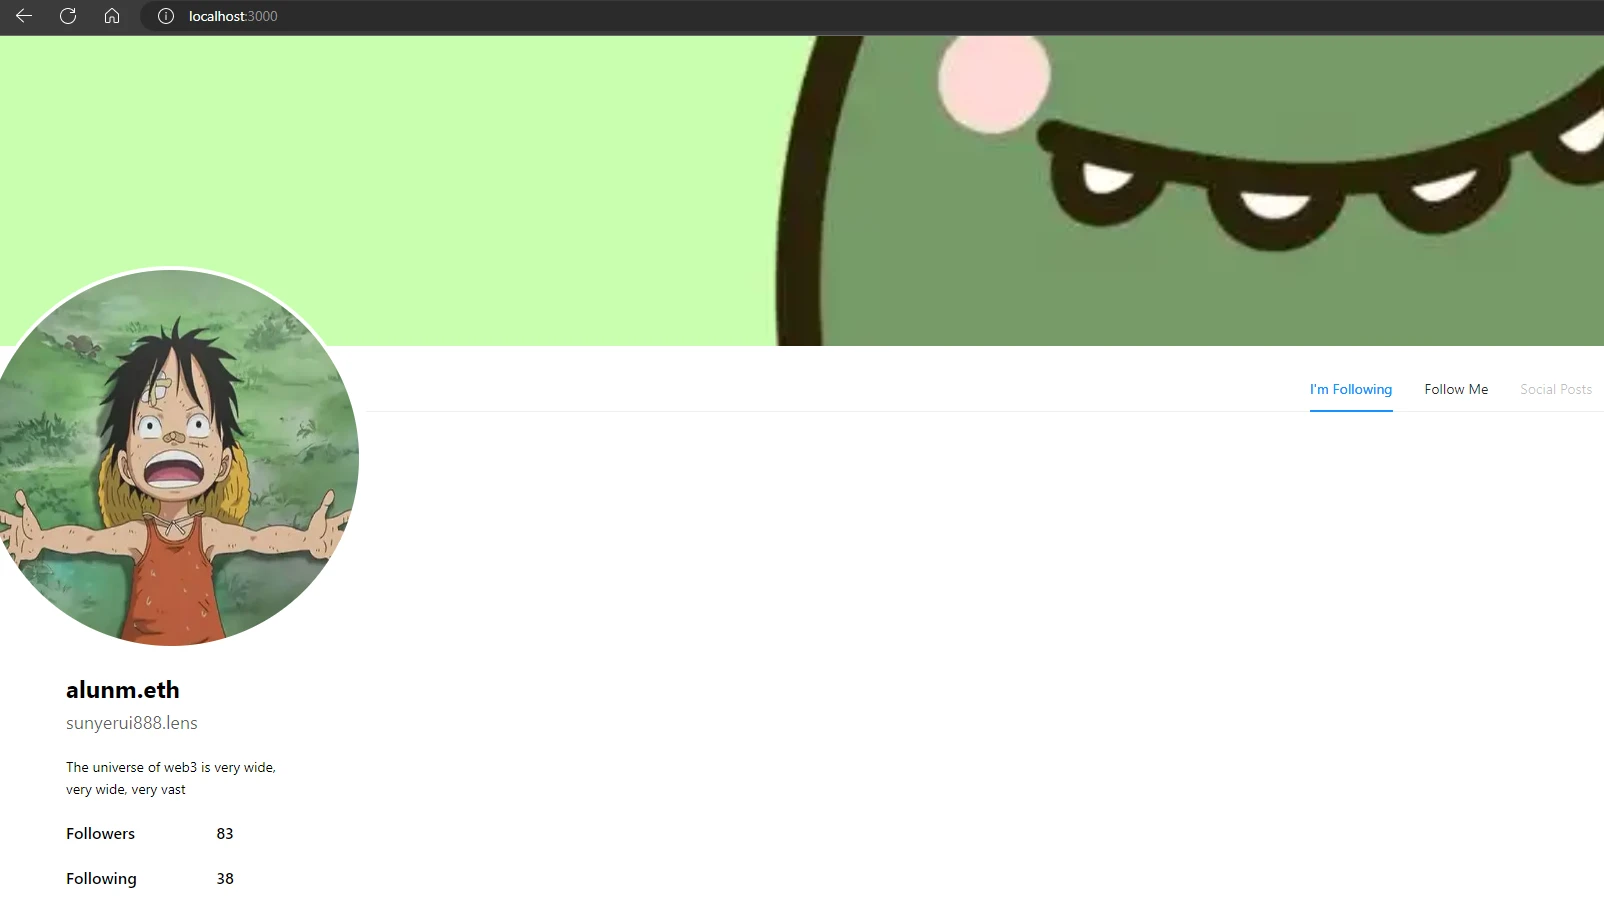
- Reload the page and it should look different:
Using the Moralis API
We will now use the wallet address found in this profile (ownedBy) to get the Lens NFTs that they own which will display on the "I'm Following" tab. These NFTs represent which Lens profiles this user is following.
- Create a file named
.env.localin the root of your project (wherepackage.jsonis) and add the following:
MORALIS_API_KEY=replace_me
To get your Moralis API key, check out this guide.
- In
pages/index.js, add our Moralis SDK import at the top:
import Moralis from 'moralis';
- Inside
getServerSideProps, add the following code that will call the Moralis API, filter the results for any Lens NFTs, and return the final NFT array:
const balances = await Moralis.EvmApi.account.getNFTs({
    address: response?.data.profile.ownedBy,
    chain: 0x89,
  });

  let nftArray = [];
  let nfts = balances?.data.result;

  for (let i = 0; i < nfts.length; i++) {
    if (nfts[i].metadata !== null) {
      if (
        'animation_url' in JSON.parse(nfts[i].metadata) &&
        JSON.parse(nfts[i].metadata).animation_url !== null &&
        JSON.parse(nfts[i].metadata).animation_url.includes('.lens')
      ) {
        nftArray.push(JSON.parse(nfts[i].metadata).animation_url);
      }
    }
  }

  return {
    props: { profile: response?.data.profile, nftArray: nftArray },
  };
- In our
Homecomponent, we will now includenftArray:
export default function Home({ profile, nftArray }) {
  console.log(profile);

  // let nftArray; remove or comment this out
  let myNFT;

  ...
- Reload
http://localhost:3000, you should now see the follower NFTs:

Add the Profile's "Follow" NFT
Now we will show the NFT that users would get if they followed this profile. The token address will be available in the profile data.
- Inside
getServerSideProps, add the following:
const followNFT = await Moralis.EvmApi.token.getTokenIdMetadata({
  address: response?.data.profile.followNftAddress,
  chain: 0x89,
  tokenId: 1,
});

const myNFT = JSON.parse(followNFT.data.metadata).animation_url;

return {
  props: {
    profile: response?.data.profile,
    nftArray: nftArray,
    myNFT: myNFT,
  },
};
}
- In our
Homecomponent, we will now includemyNFT:
export default function Home({ profile, nftArray, myNFT }) {
  console.log(profile);

  //let myNFT; remove or comment this out

  ...
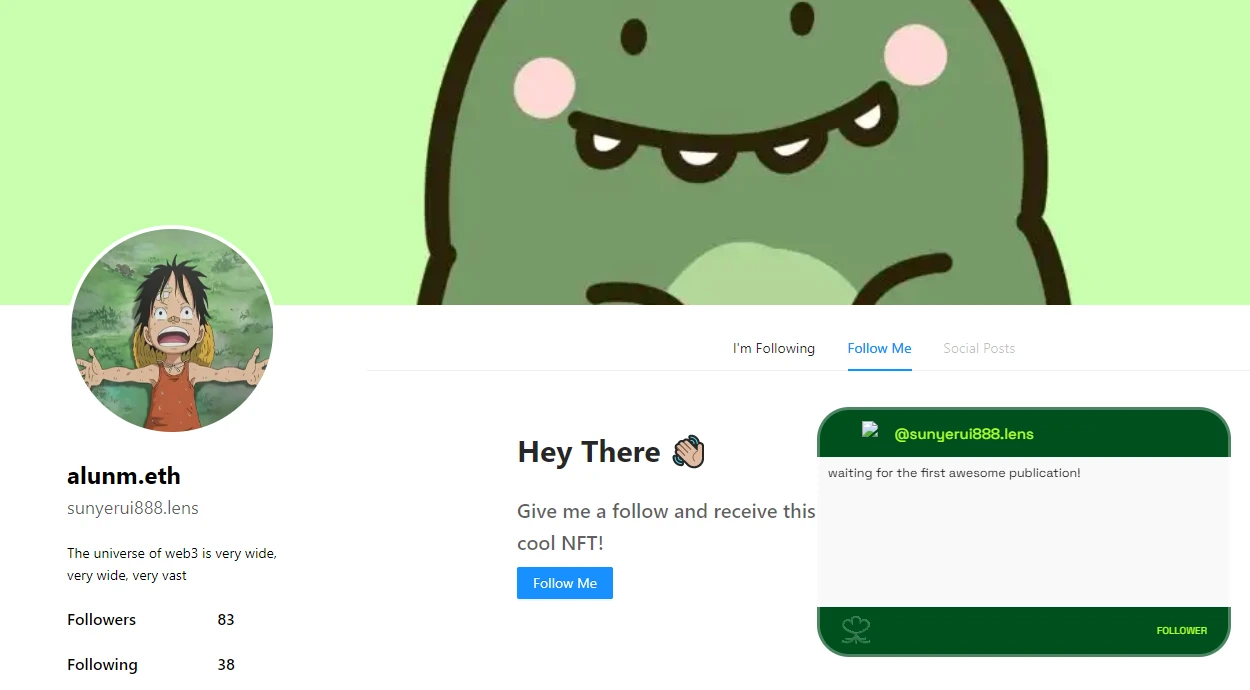
- Reload
http://localhost:3000and click on the "Follow Me" tab. You should now see the "follow" NFT:
Adding Follow Functionality
The last feature we will add is allowing users to follow this profile. The ABI we need for interacting with the Lens contract is already included in the starter project.
We will use wagmi for wallet integration.
- In
pages/index.js, add these imports:
import { useConnect, useAccount, useDisconnect, useContractWrite, usePrepareContractWrite } from 'wagmi'
import { MetaMaskConnector } from "wagmi/connectors/metaMask";
import abi from "../abi.json";
- In our
Homecomponent, add the hooks needed to connect our wallet (MetaMask) and make a contract call:
export default function Home({ profile, nftArray, myNFT }) {
  console.log(profile);

  const { connectAsync } = useConnect();
  const { disconnectAsync } = useDisconnect();
  const { isConnected } = useAccount();
  const { config } = usePrepareContractWrite({
    addressOrName: '0xDb46d1Dc155634FbC732f92E853b10B288AD5a1d',
    contractInterface: abi,
    functionName: 'follow',
    args: [[profile.id], [0x0]],
  });

  const { write } = useContractWrite(config);

  ...
- Replace the current
followfunction (which is called when the "Follow Me" button is clicked) with the following:
async function follow() {
  if (isConnected) {
    await disconnectAsync();
  }
  await connectAsync({
    connector: new MetaMaskConnector({}),
  });

  write();
}
- To test, reload
http://localhost:3000, click the "Follow Me" button and sign the transaction:
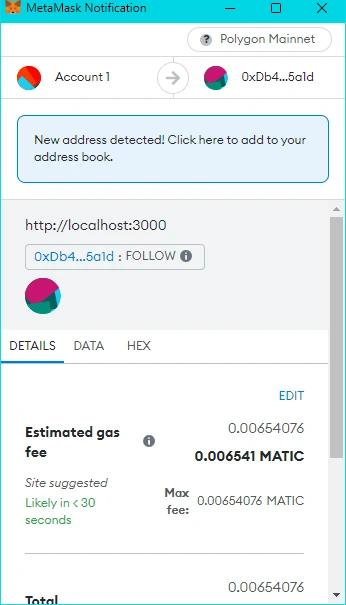
If you sign the following transaction, your wallet should then receive a new Lens NFT.