Solana NFT Minter
Introduction
This tutorial teaches you how to create your very own NFT minter dapp in NextJS using Metaplex JavaScript SDK, and the Moralis API.
Once complete, you can use this dapp to mint NFTs on the Solana blockchain in a few clicks.
We will use Metaplex JavaScript SDK and the Moralis API to mint and view the NFTs.
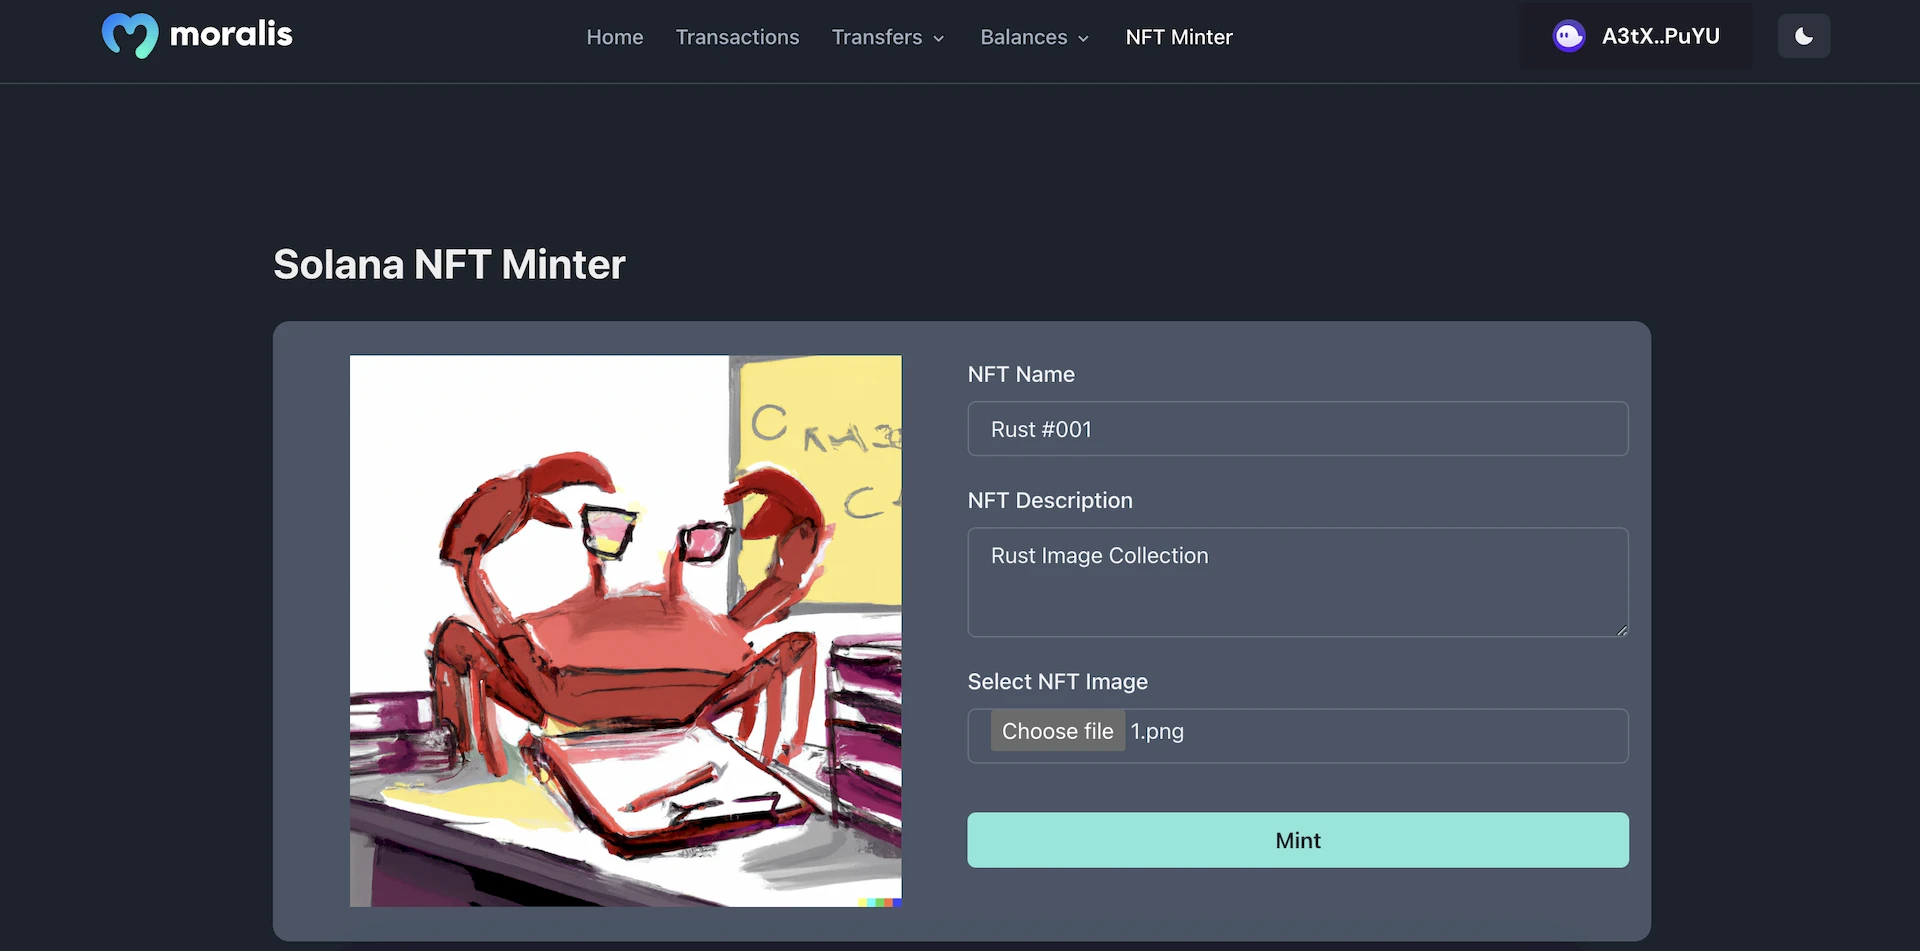
This is what the final application looks like.
Instead of going through the entire code, we will focus on the important sections of code that power the application.
You can find the repository with the final code here: Solana-NFT-Minter.
Step1: Project Setup
Follow these steps to run the project in your local environment.
- Clone the project from GitHub using the
git clonecommand andcdinto the project
git clone https://github.com/JohnVersus/solana-nft-minter.git

cd solana-nft-minter
- Install the dependencies using the
yarnornpmpackage manager.
yarn install
- Rename
.env.local.examplefile to.env.localand add the required environment secrets.
# devnet is used for chain Id as we will be testing the app on devnet chain
APP_CHAIN_ID=devnet
APP_DOMAIN=ethereum.boilerplate

# Get your KEY https://admin.moralis.io/web3api
MORALIS_API_KEY= xxx

# Linux: `openssl rand -hex 32` or go to https://generate-secret.now.sh/64
NEXTAUTH_SECRET= xxx

# Replace for production
NEXTAUTH_URL=http://localhost:3000

# Wallet private used to upload NFT metadata to arweave storage
PRIVATE_KEY = xxx
- Start the app in localhost port 3000.
yarn run dev
Once the command has been run successfully, you should be able to view the app in localhost port 3000, or click here to open the page directly.
Step2: Uploading and Minting NFT
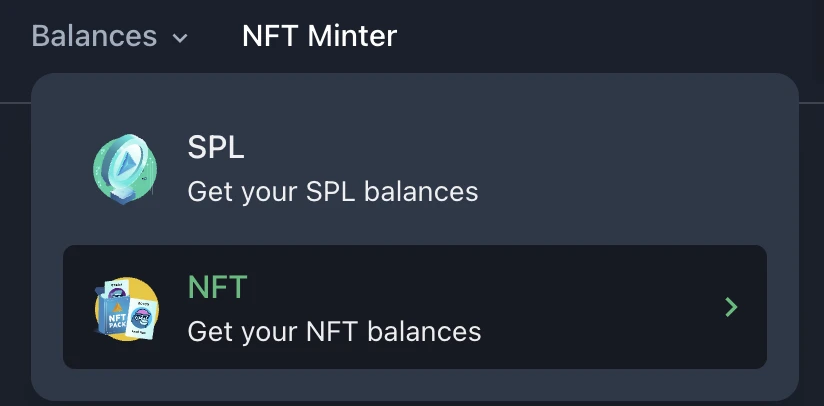
In the app, you can find multiple tabs, but for our code, we only need to access the/balances/nft page to check the NFTs of the wallet, and the/nftMinterpage to mint NFTs.
To use the app, we must first connect to the Solana wallet. This can be done by clicking the "Select Wallet" button on the top right. You can then connect to the wallet of your choice.

Once the wallet connection is successful, visit the/balances/nft page, and we can view the NFTs the wallet is holding.
The code related to authentication can be found in the src/components/modules/ConnectButton folder, although we won't be looking at the authentication code in this tutorial.
If you want to know how authentication works, you can take a look at this video. You can also check out this tutorial to learn how to get all NFTs linked to a Solana wallet.
The first step of the app is to connect the Metaplex SDK with the wallet and the devnet cluster.
Only partial code is shown here to keep it clean. Visit
src/components/templates/nftMinterto view the entire code.
/*
* We use the connected wallet and the cluster connection
* with metaplex for creating and processing the transactions.
*/
const wallet = useWallet();
const connection = new Connection(clusterApiUrl('devnet'));
const metaplex = new Metaplex(connection);
metaplex.use(walletAdapterIdentity(wallet));
The next step is to process the inputs which are entered by the user and upload them to decentralized storage like Arweave, IPFS, etc. In this tutorial, we will use Arweave as our storage solution, as it works seamlessly with the Metaplex SDK.
This is the code to process the image and send the data to the backend for uploading.
// full code in `src/components/templates/nftMinter/NFTMinter.tsx`

//Function to process image to base64
const convertBase64 = (inputFile: any) => {
  return new Promise((resolve, reject) => {
    const fileReader = new FileReader();
    fileReader.readAsDataURL(inputFile);
    fileReader.onload = () => {
      resolve(fileReader.result);
    };
    fileReader.onerror = (error) => {
      reject(error);
    };
  });
};

// NFT metadata
const base64Data = await convertBase64(file[0]);
const options = {
  name,
  description,
  image: base64Data,
  symbol: "M-NFT",
};

// Sending the metdata to the backend NextJs API route for uploading to arweave
const uri = await apiPost("/upload", options)
  .then((data: UploadMetadataOutput) => {
    console.log(data);
    return data.uri;
  })
  .catch((e) => {
    console.log(e);
  });
Here's the code to upload the metadata to Arweave.
// Complete code can be found in `pages/api/upload.ts`

export default async function handler(req: NextApiRequest, res: NextApiResponse) {
// Creating a new connection the backend
const connection = new Connection(clusterApiUrl("devnet"));
const metaplex = new Metaplex(connection);

// Using private key in backend to sign the transaction for uploading the metadata.
const key = Uint8Array.from(base58.decode(process.env.PRIVATE_KEY));
const keypair = Keypair.fromSecretKey(key);

// Using bundlr storage for connecting to arweave storage
metaplex.use(walletAdapterIdentity(keypair));
metaplex.use(
  bundlrStorage({
    address: "https://devnet.bundlr.network",
    providerUrl: "https://api.devnet.solana.com",
    timeout: 60000,
    identity: keypair,
  })
);

// Uploading metadata
const data = await metaplex
  .nfts()
  .uploadMetadata({ name, description, image, symbol })
  .run();

// Send the response to frontend
res.status(200).json(data);
}
Now let's take a look at the last step - how to mint the NFT.
Here is the code:
// The data which we get from backend, after uploading, contains the URI of
// the metdata that was uploaded.
// We use it mint the NFT on blockchain.

const data = await metaplex
  .nfts()
  .create({
    uri,
    name,
    sellerFeeBasisPoints: 500, // represents the royality fee for the NFT
  })
  .run();
And there we have it! That's all the code we need to upload metadata to Arweave and mint an NFT on the Solana blockchain.
Step3: Testing
The dapp can be tested by visiting the /nftMinter page.
First, add the required data to the form, then click on the Mint button to mint the NFT.
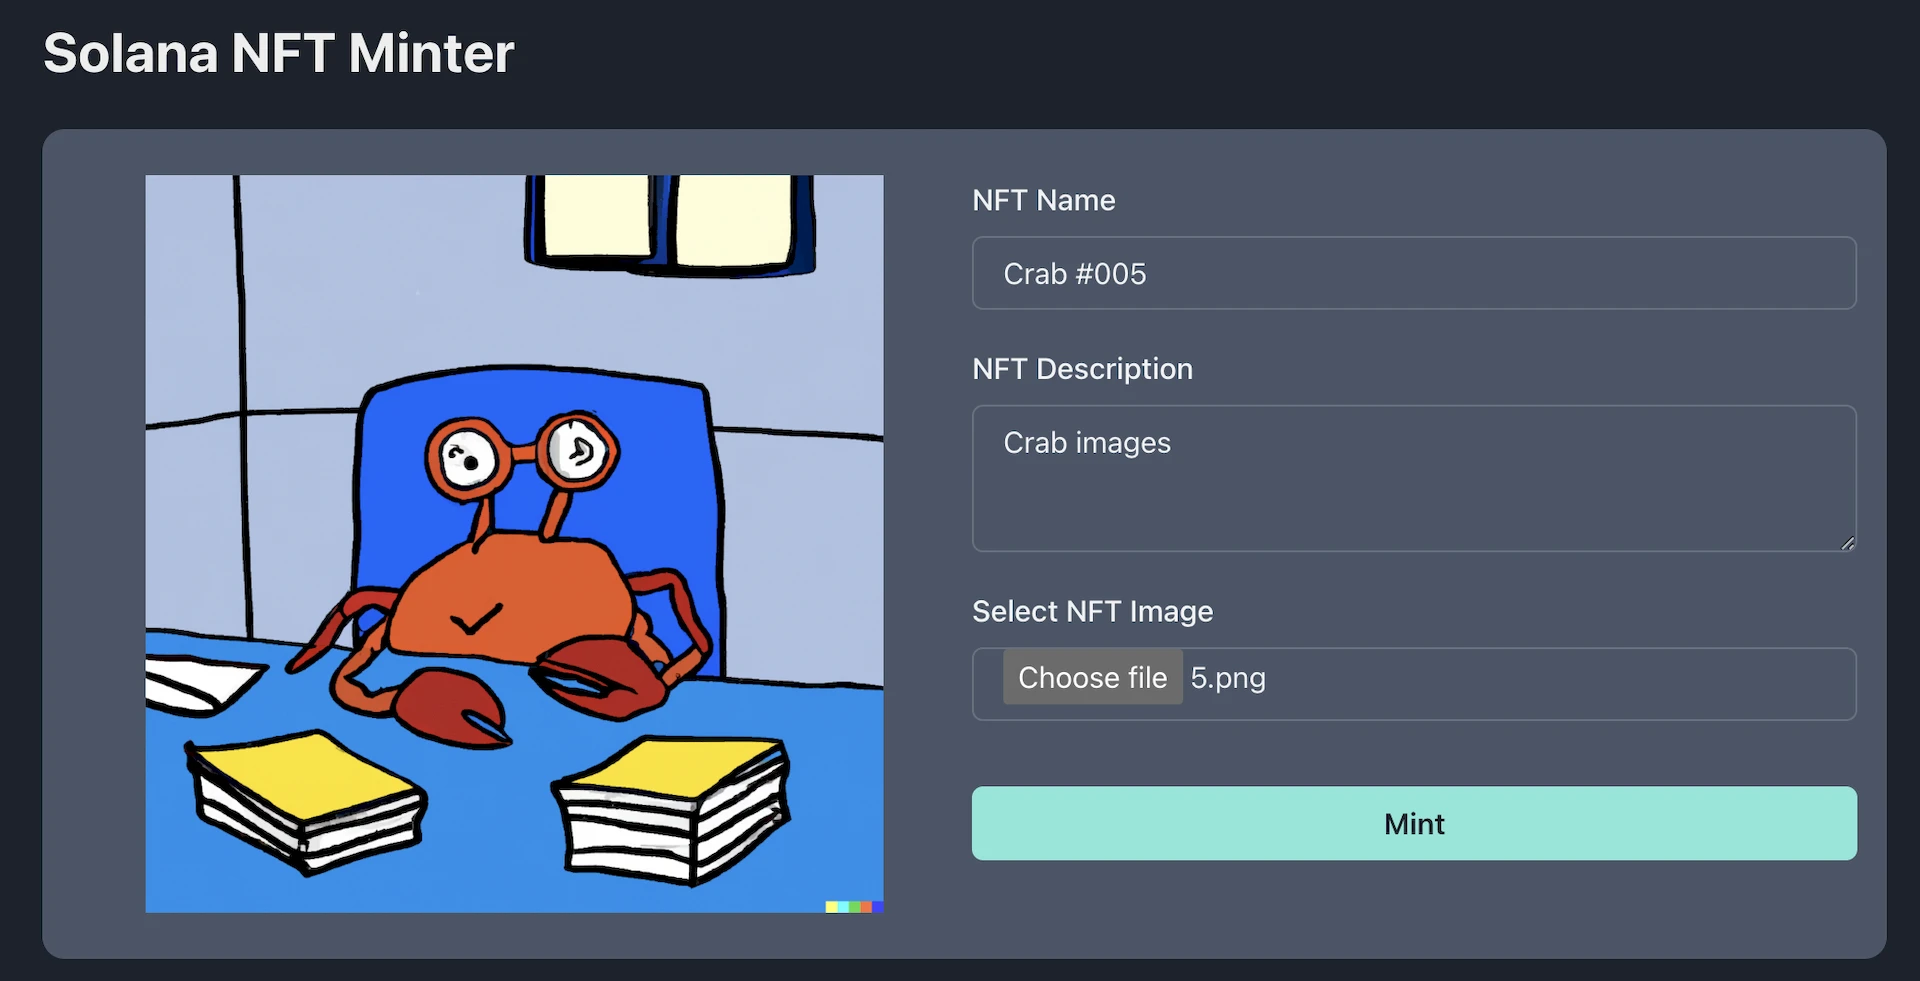
The process will take a couple of seconds, and you will be asked to sign a transaction to mint the NFT. Once the transaction is signed and confirmed, you will get a notification that the minting is successful.
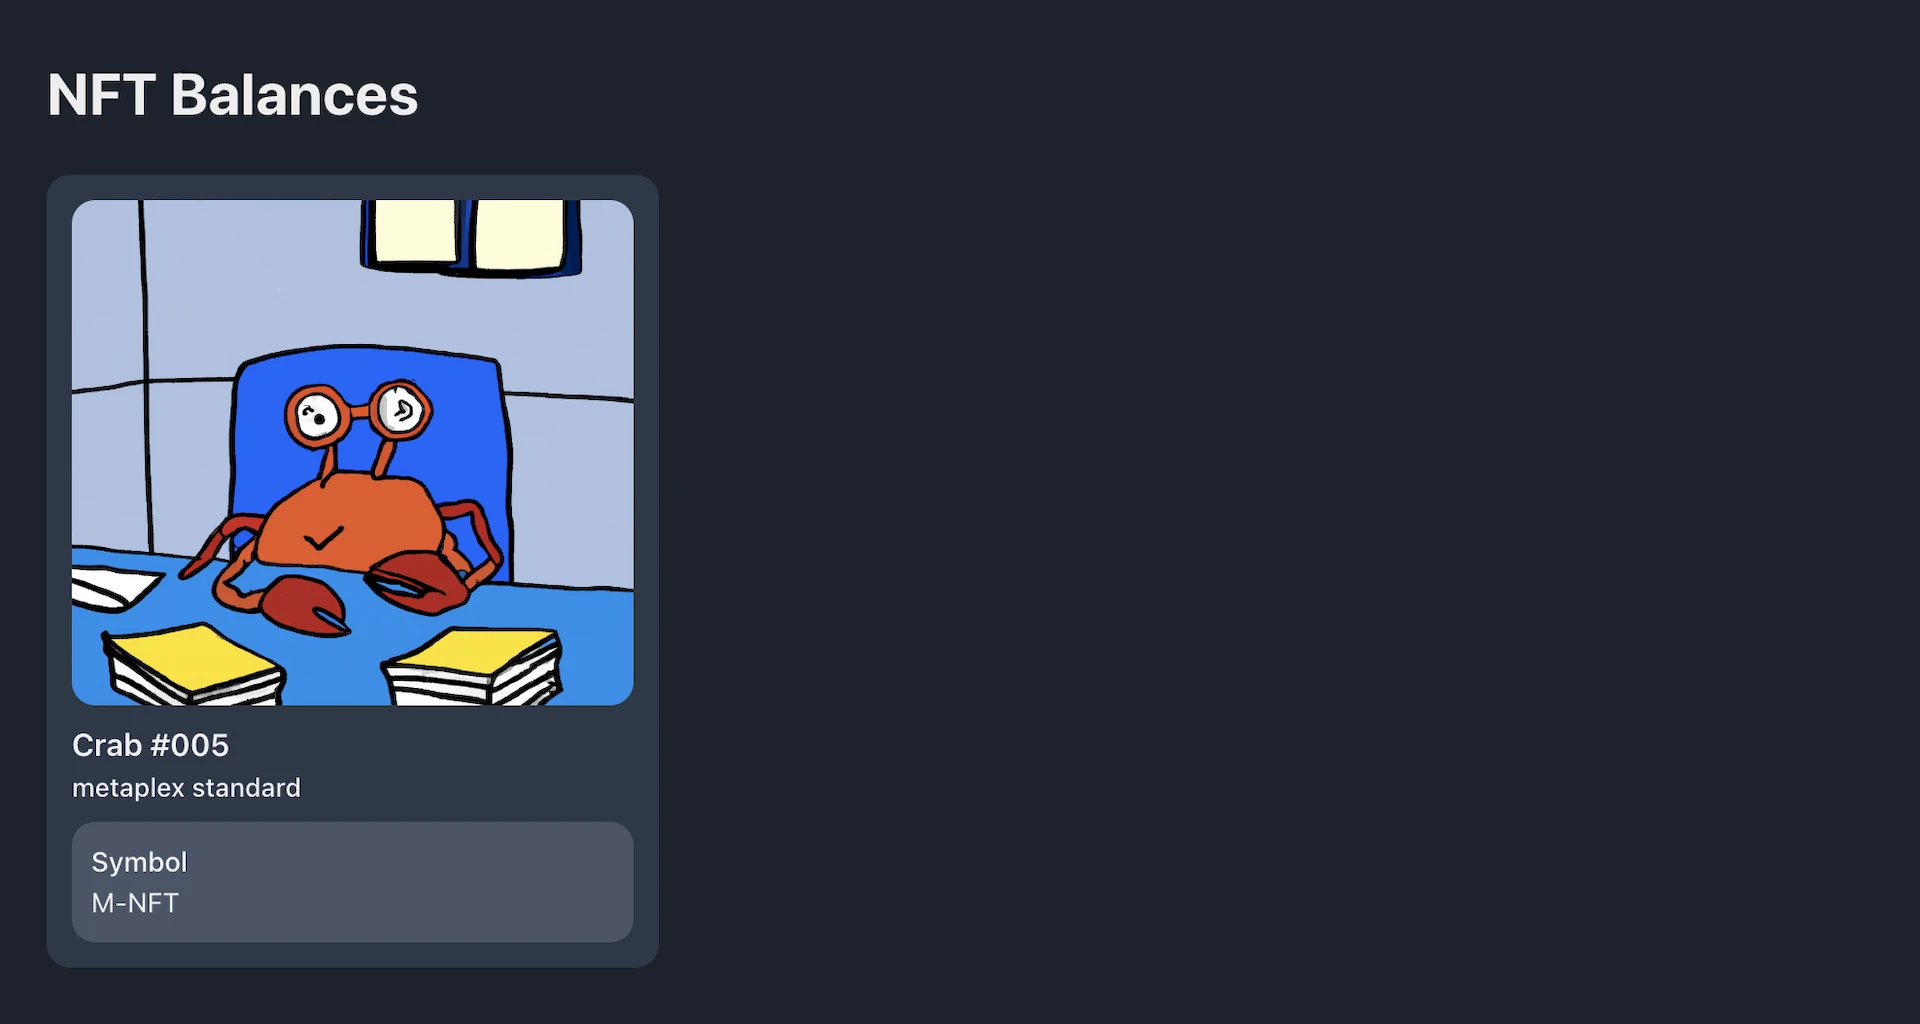
You can also visit the/balances/nft page to view your newly minted NFT.
Congratulations!! 🥳
Now you know how to create your very own NFT minter dapp on the Solana blockchain.
Support
If you have any trouble following the tutorial, feel free to reach out to our community engineers in our Discord or Forum to get 24/7 developer support.