How to Authenticate Users with Coinbase Wallet
This tutorial will teach you how to add secure Web3 Moralis authentication to your NextJS application by walking you through creating a full-stack Web3 authentication solution using the popular NextJS framework.
Before Starting
You can start this tutorial if you already have a NextJS dapp with MetaMask sign-in functionality.
Configuring the Coinbase Wallet Connector
- Open the
pages/signin.jsxfile and addCoinbaseWalletConnectoras a connector toconnectAsync():
import { CoinbaseWalletConnector } from 'wagmi/connectors/coinbaseWallet'
import { signIn } from 'next-auth/react'
import { useAccount, useConnect, useSignMessage, useDisconnect } from 'wagmi'
import { useRouter } from 'next/router'
import { useAuthRequestChallengeEvm } from '@moralisweb3/next'

function SignIn() {
  const { connectAsync } = useConnect()
  const { disconnectAsync } = useDisconnect()
  const { isConnected } = useAccount()
  const { signMessageAsync } = useSignMessage()
  const { push } = useRouter()
  const { requestChallengeAsync } = useAuthRequestChallengeEvm()

  const handleAuth = async () => {
    if (isConnected) {
      await disconnectAsync()
    }

    const { account, chain } = await connectAsync({
      connector: new CoinbaseWalletConnector({
        options: {
          appName: 'amazing.finance',
        },
      }),
    })

    const userData = { address: account, chain: chain.id, network: 'evm' }

    const { message } = await requestChallengeAsync(userData)

    const signature = await signMessageAsync({ message })

    // redirect user after success authentication to '/user' page
    const { url } = await signIn('moralis-auth', {
      message,
      signature,
      redirect: false,
      callbackUrl: '/user',
    })
    /**
     * instead of using signIn(..., redirect: "/user")
     * we get the url from callback and push it to the router to avoid page refreshing
     */
    push(url)
  }

  return (
    <div>
      <h3>Web3 Authentication</h3>
      <button onClick={() => handleAuth()}>Authenticate via Coinbase Wallet</button>
    </div>
  )
}

export default SignIn
Testing the Coinbase Wallet Connector
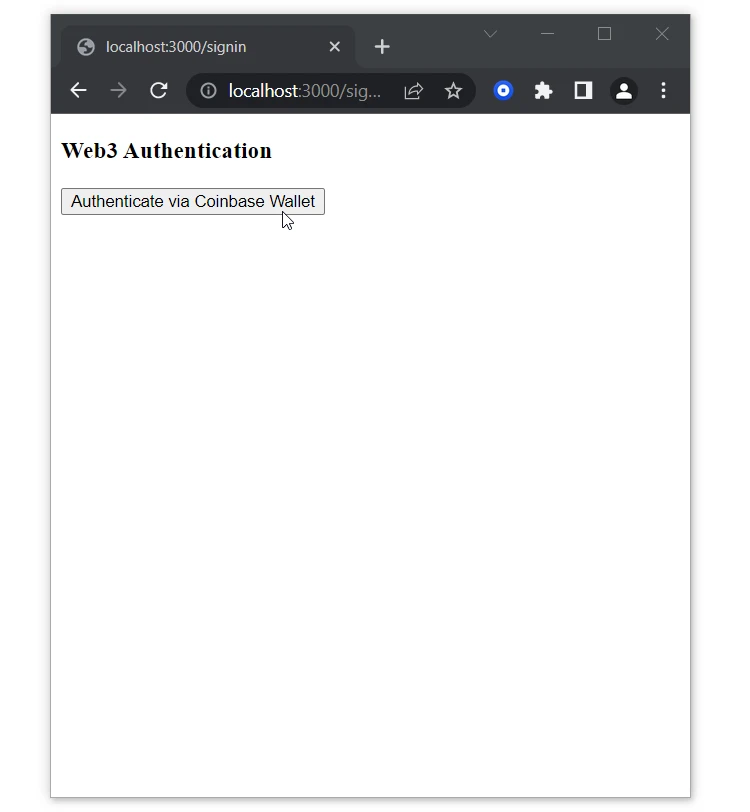
Visit http://localhost:3000/signin to test authentication.
- Click on
Authenticate via Coinbase Wallet:
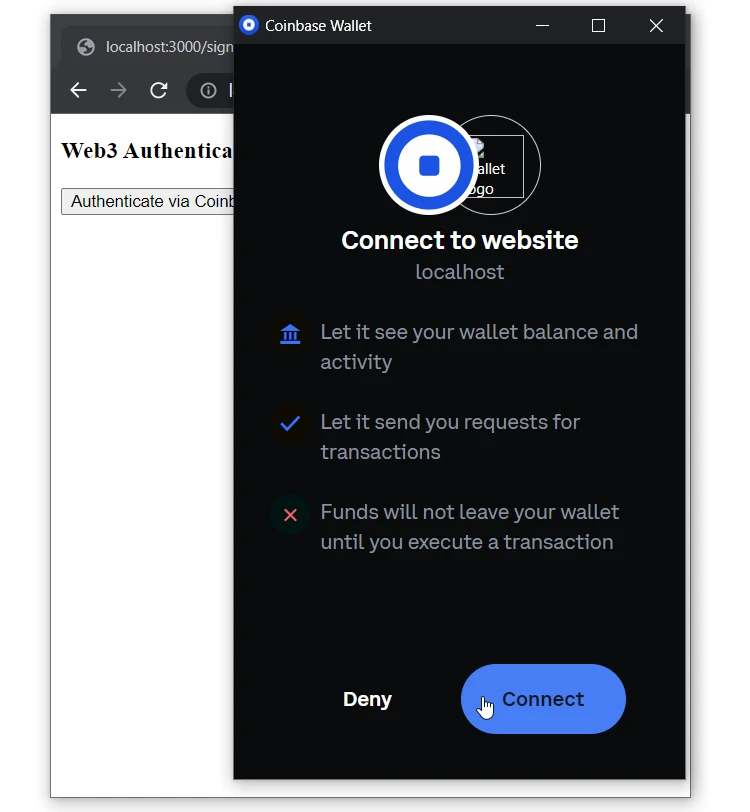
- Connect Coinbase Wallet:
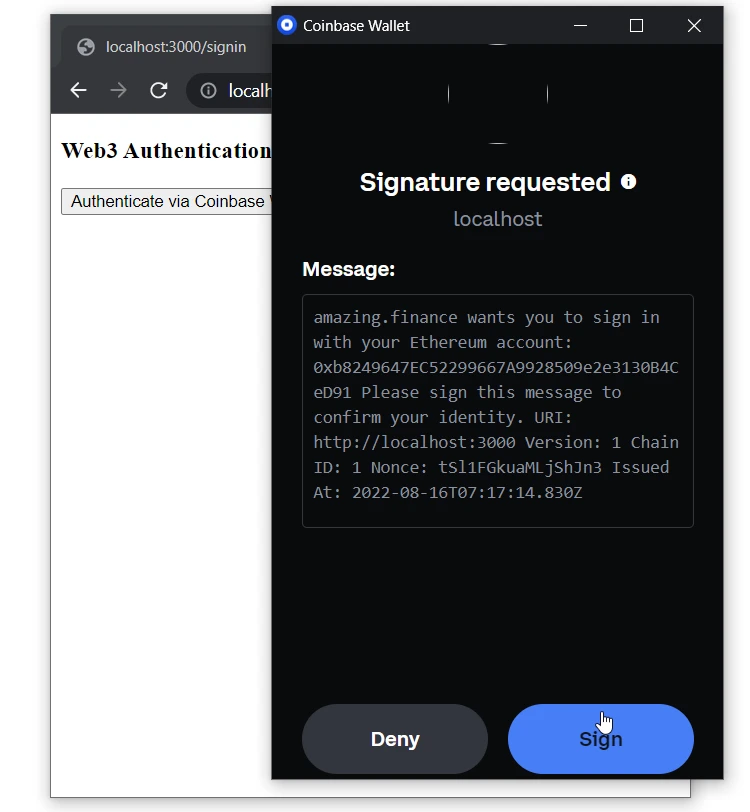
- Sign the message:
- After successful authentication, you will be redirected to the
/userpage:
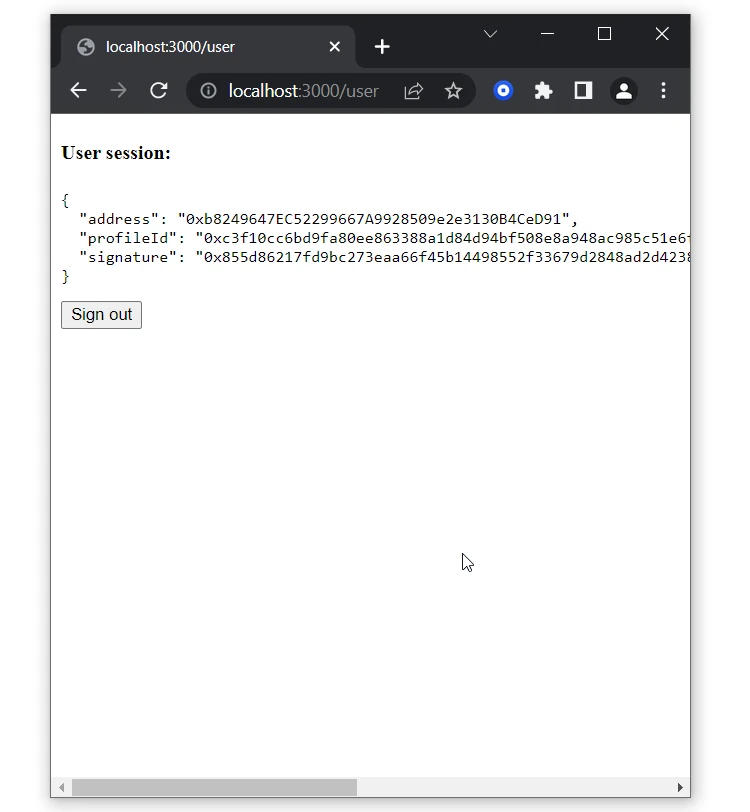
- Visit
http://localhost:3000/userto test the user session's functionality:
- When a user is authenticated, we show the user's info on the page.
- When a user is not authenticated, we redirect to the
/signinpage. - When a user is authenticated, we show the user's info on the page, even refreshing after the page. (Explanation: After Web3 wallet authentication, the
next-authlibrary creates a session cookie with an encrypted JWT [JWE] stored inside. It contains session info [such as an address and signed message] in the user's browser.)