Amazon GameSparks
In this tutorial we will create a game backend in Amazon GameSparks and we will connect it to Using AWS Lambda, invoking its functions. Then, we will connect a basic Unity game to the Amazon GameSparks backend. This way we will have a fully modular "Web3 gaming setup" using AWS, Unity and the power of Moralis.

Prerequisites
- Complete AWS Lambda integration tutorial. Choose the Lambda App with multiple functions path.
- Have Unity Hub installed.
- Have a 2020.3 Unity version installed (this project uses 2020.3.41f1).
Create a game backend (Amazon GameSparks)
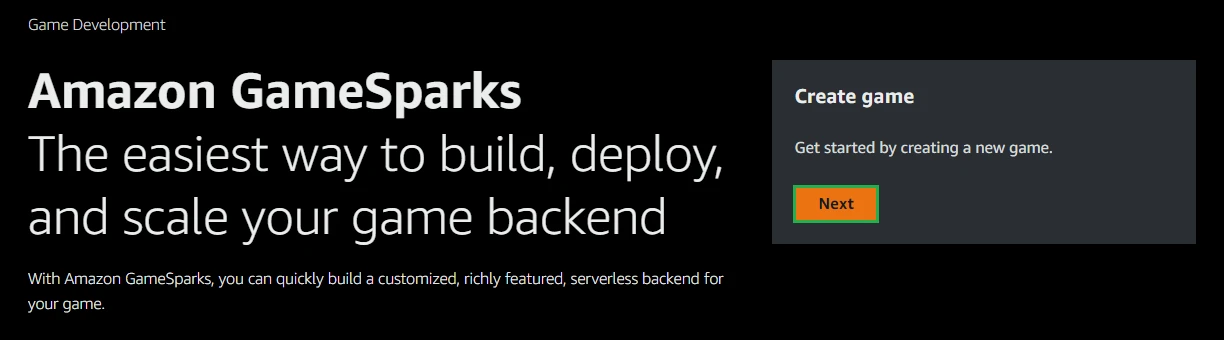
Open the Amazon GameSparks console and click on Next to create a game and get started developing your game backend:
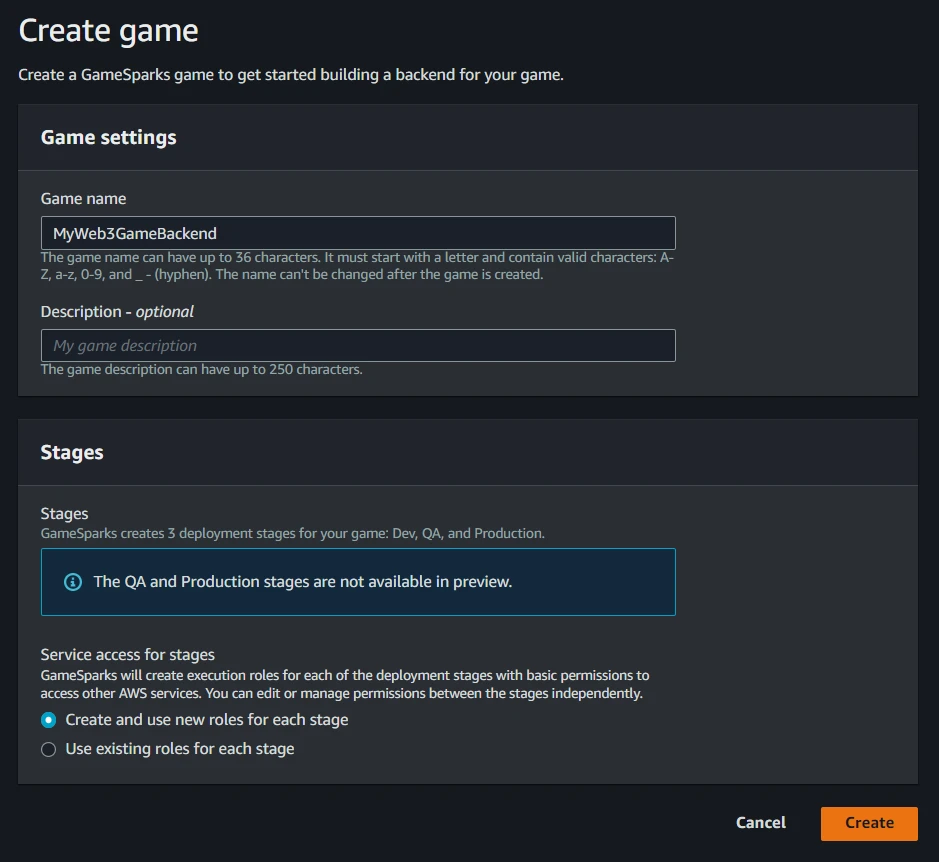
Set a name for your game and click on Create:
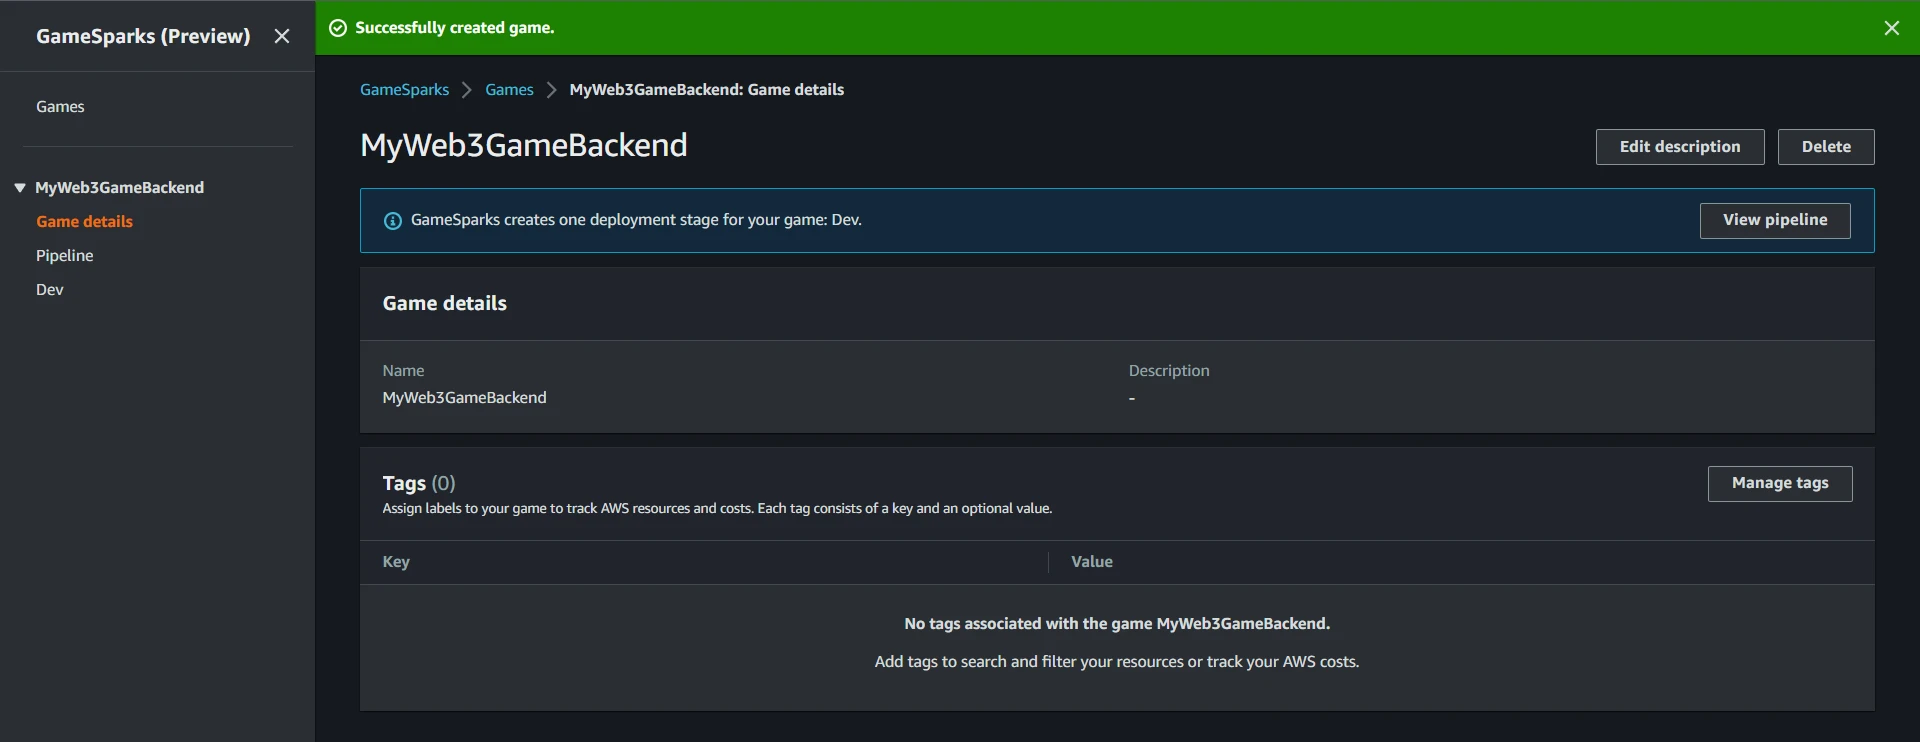
You now have a created an Amazon GameSparks backend that is ready for you to configure:
Deployment
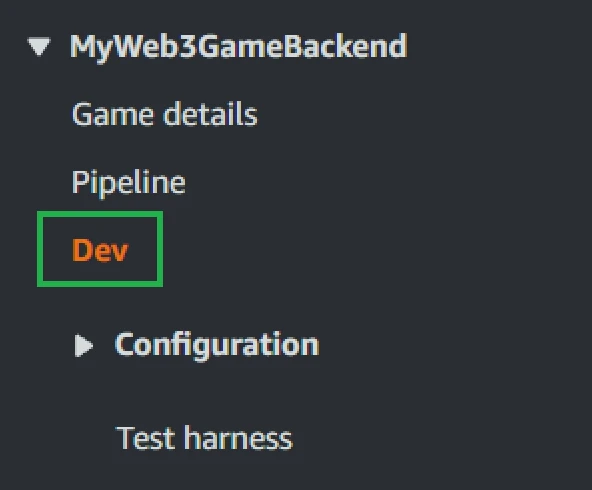
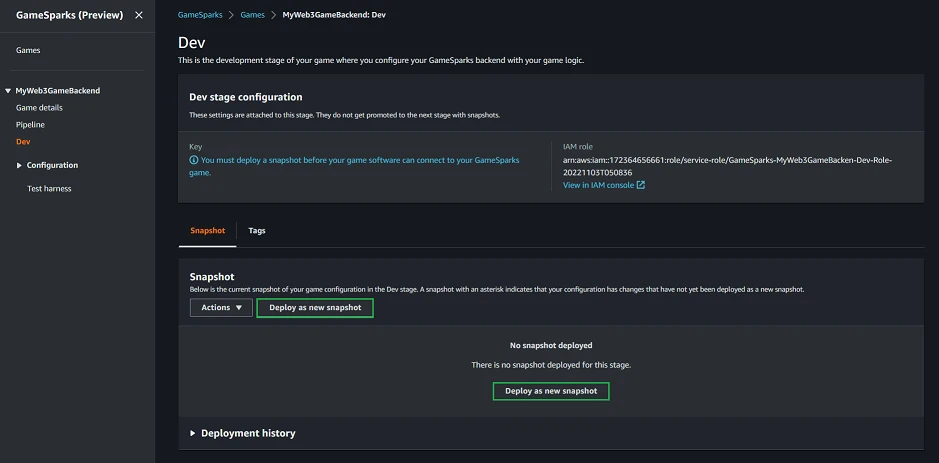
Before doing any configuration, let's deploy a fresh snapshot of the game backend. In the navigation pane, choose Dev:
`
On the Dev page, under Snapshot, choose Deploy as new snapshot:
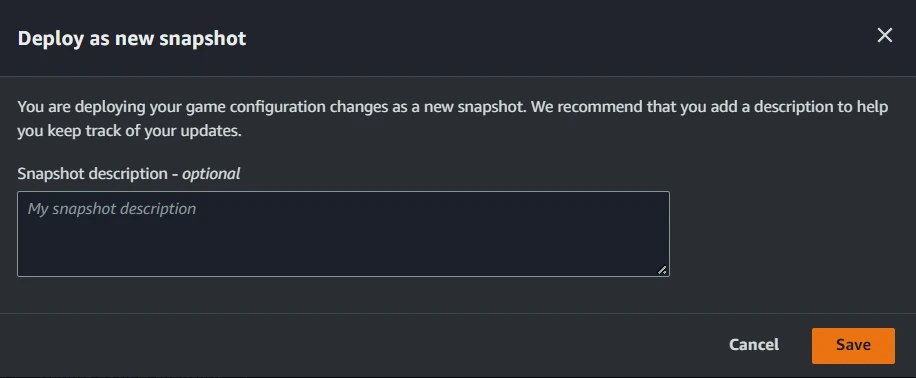
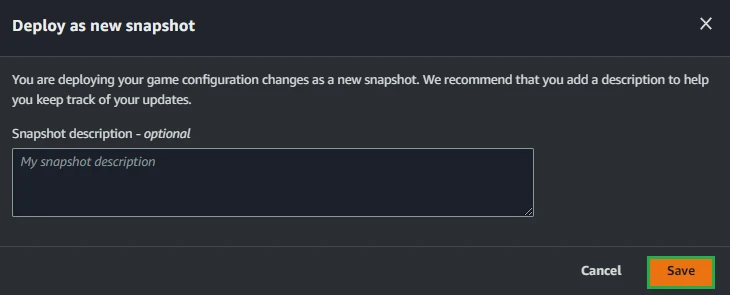
Enter an optional description and press Save:
After less than 2 minutes we will have our game backend deployed:

Remember: everytime we add a new feature, like a request, we will need to deploy a new snapshot.
Give the game backend permission to access Lambda
Now that we have the game backend deployed, let's give it permission to invoke Lambda functions. Remember that in this tutorial we will be calling the Lambda functions deployed in Lambda App with multiple functions, but to do so, we first need to grant premissions.
Create policy
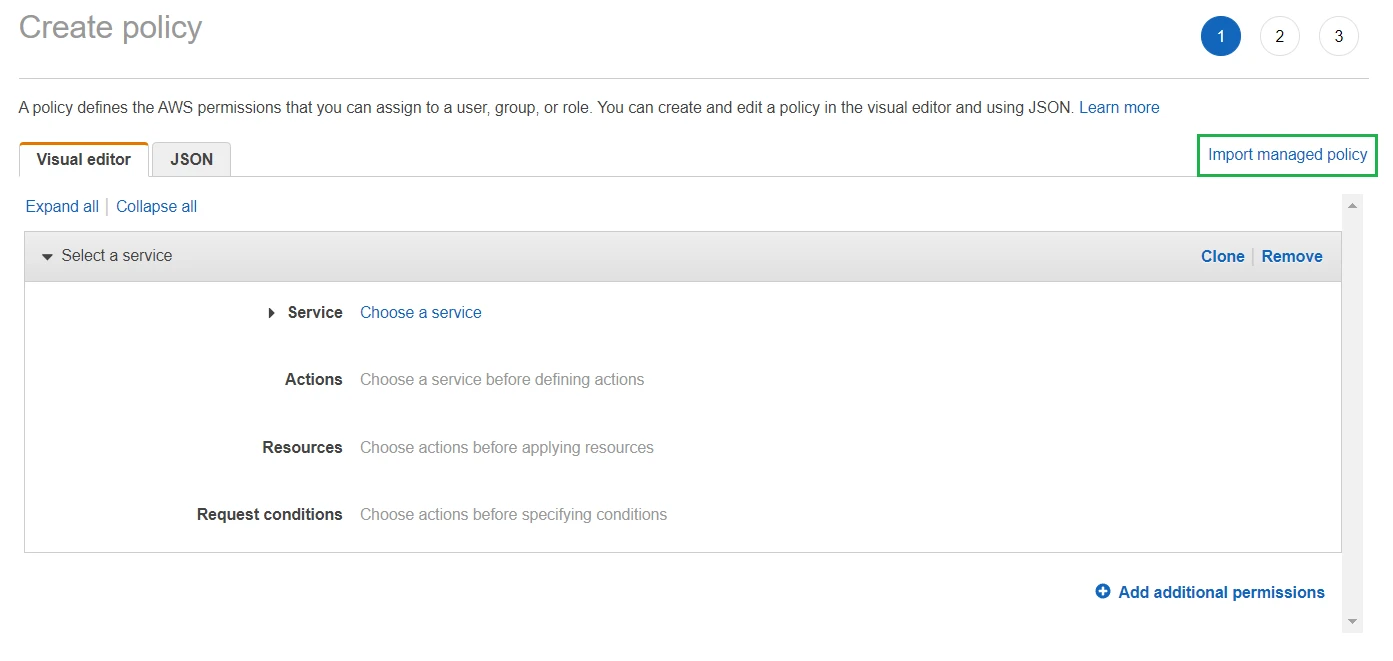
First, let's create the permission itself. Open the IAM Create policy page and choose Import managed policy:
Here filter the policies typing LambdaRole and select AWSLambdaRole. Then select Import:
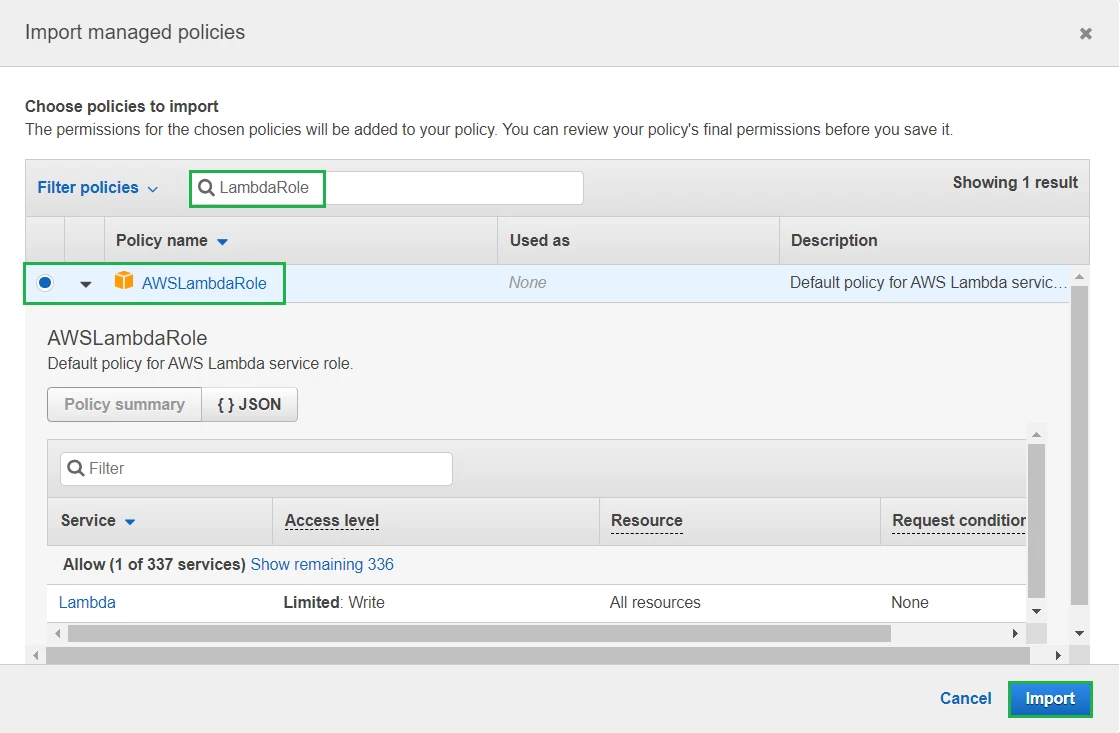
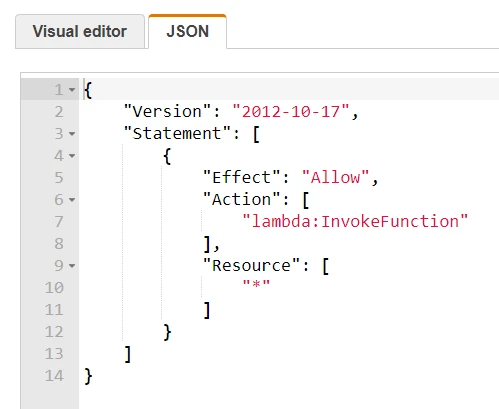
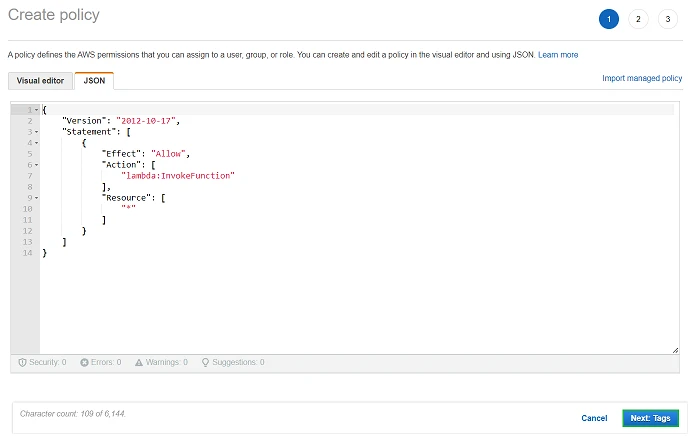
This policy allows invoking any Lambda function that we got deployed. If we click on the JSON tab we can see there's a "*" in Resource. To specify which Lambda function we want its invocation to be allowed, we could paste its ARN in Resource, but in this case we leave it as "*" as we want to allow the invocation of all our Lambda functions:
Choose Next: Tags and then Next: Review:
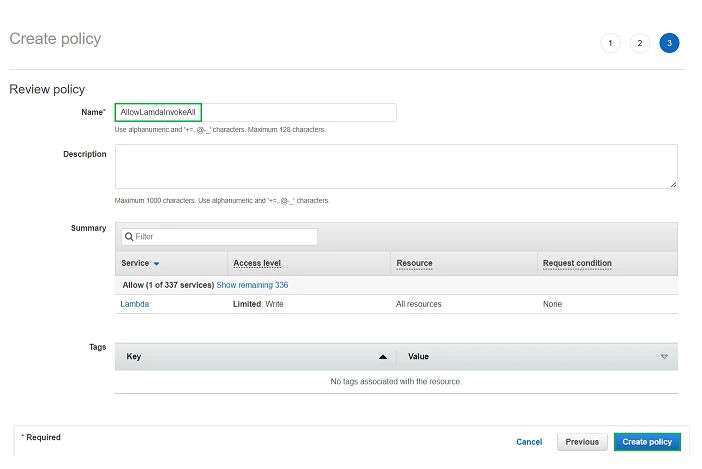
In Review, name your policy, for example AllowLambdaInvokeAll and choose CreatePolicy:
Attach policy
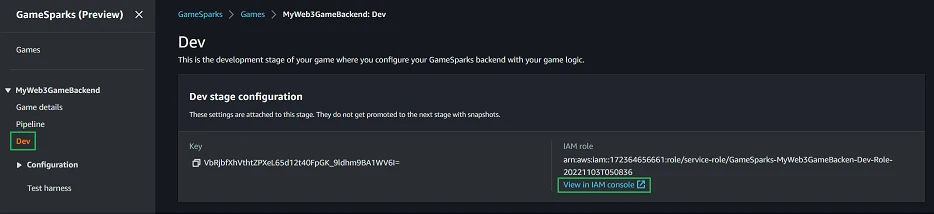
Let's attach the created policy to the game backend IAM role. Open the Amazon GameSparks console, select your game and in the navigation pane, select Dev. Then under Dev stage configuration choose View in IAM console:
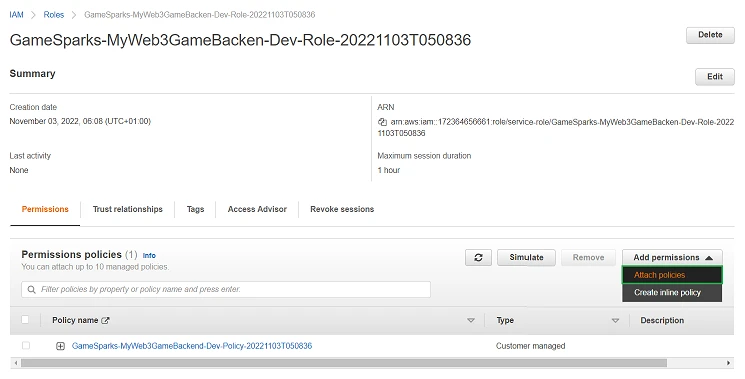
The IAM console opens to the IAM role for your Dev stage. On the Permissions tab, choose Add permissions and Attach policies:
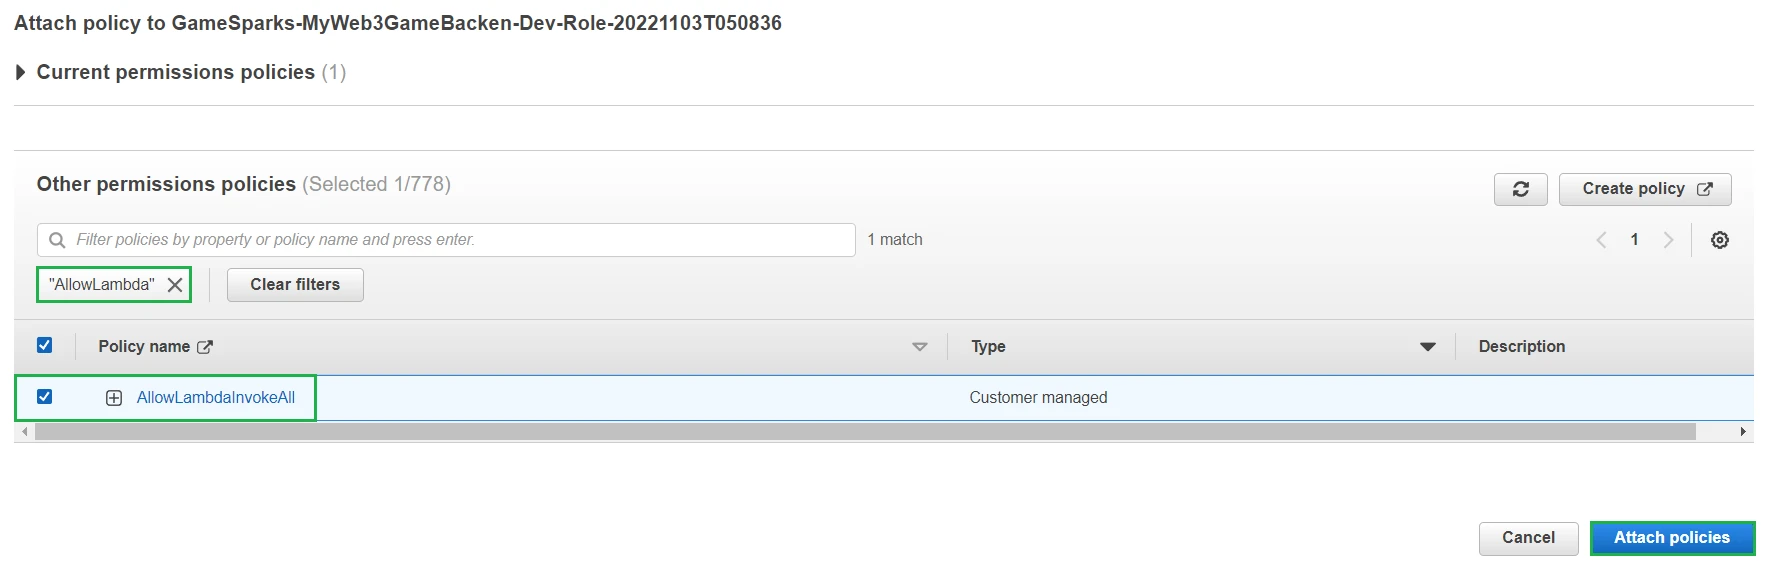
Filter for AllowLambda, select your created policy and press Attach policies:
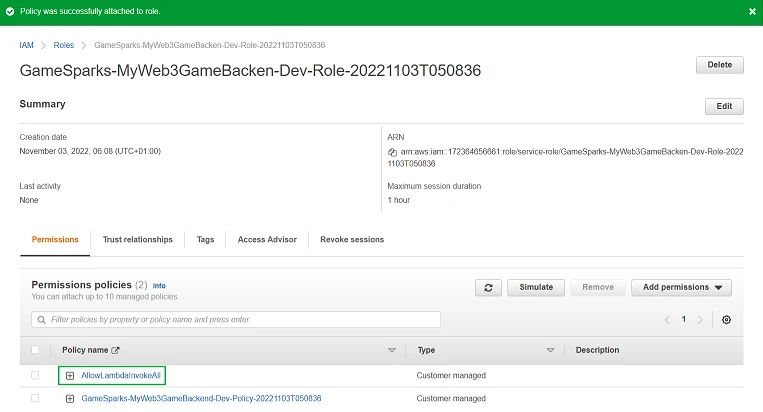
Nice! Permission to call Lambda functions granted to our game backend:
Connecting the game backend to Lambda
To invoke Lambda functions from Amazon GameSparks you need to create a Message inside the game backend. There are 3 types of messages:
- Events
- Requests
- Notifications
Once created, you can call a Lambda function from there. Click here for more information.
For this example we'll use requests, so that our client (Unity) can get data from our Amazon GameSparks backend. As said, this request will internally call a Lambda function from Lambda App with multiple functions and will return a response.
Know that you can skip the manual creation of requests by importing a snapshot. If you like the idea, go into the Automatic section.
Automatic
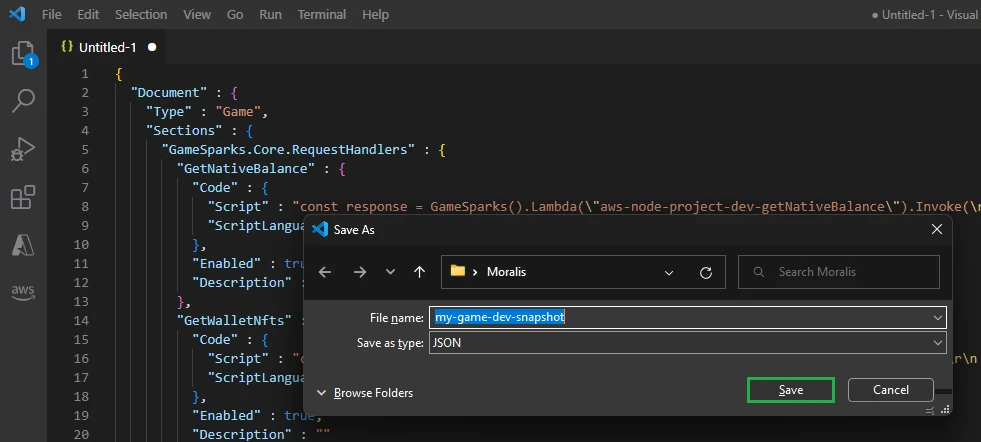
Open a text editor like VS Code and save this text as a .JSON file:
{
  "Document" : {
    "Type" : "Game",
    "Sections" : {
      "GameSparks.Core.RequestHandlers" : {
        "GetNativeBalance" : {
          "Code" : {
            "Script" : "const response = GameSparks().Lambda(\"aws-node-project-dev-getNativeBalance\").Invoke(\r\n    {\r\n      // Example of how you would send a parameter to Lambda\r\n      \"address\": message.address,\r\n      \"chain\": message.chain\r\n    }\r\n);\r\n\r\nGameSparks().Logging().Debug(\"Result from Lambda is:\");\r\nGameSparks().Logging().Debug(JSON.stringify(response.Payload));\r\n\r\nreturn GameSparks().Messaging().Response({\"result\": parseFloat(response.Payload.result)});",
            "ScriptLanguage" : "Javascript_ES5_1"
          },
          "Enabled" : true,
          "Description" : ""
        },
        "GetWalletNfts" : {
          "Code" : {
            "Script" : "const response = GameSparks().Lambda(\"aws-node-project-dev-getWalletNfts\").Invoke(\r\n    {\r\n      \"address\": message.address,\r\n      \"chain\": message.chain\r\n    }\r\n);\r\n\r\nGameSparks().Logging().Debug(\"Result from Lambda is:\");\r\n\r\nreturn GameSparks().Messaging().Response({\"result\": response.Payload.result});",
            "ScriptLanguage" : "Javascript_ES5_1"
          },
          "Enabled" : true,
          "Description" : ""
        }
      },
      "GameSparks.Core.Requests" : {
        "GetNativeBalance" : {
          "AllowedSources" : [ "Player" ],
          "RequestShape" : "GetNativeBalanceRequest",
          "ResponseShape" : "GetNativeBalanceResponse",
          "Description" : ""
        },
        "GetWalletNfts" : {
          "AllowedSources" : [ "Player" ],
          "RequestShape" : "GetWalletNftsRequest",
          "ResponseShape" : "GetWalletNftsResponse",
          "Description" : ""
        }
      },
      "GameSparks.Core.Model" : {
        "GetNativeBalanceRequest" : {
          "Structure" : {
            "Description" : "",
            "Fields" : {
              "chain" : {
                "Cardinality" : "Required",
                "Shape" : "String"
              },
              "address" : {
                "Cardinality" : "Required",
                "Shape" : "String"
              }
            }
          }
        },
        "GetNativeBalanceResponse" : {
          "Structure" : {
            "Description" : "",
            "Fields" : {
              "result" : {
                "Cardinality" : "Required",
                "Shape" : "Decimal"
              }
            }
          }
        },
        "GetWalletNftsRequest" : {
          "Structure" : {
            "Description" : "",
            "Fields" : {
              "chain" : {
                "Cardinality" : "Required",
                "Shape" : "String"
              },
              "address" : {
                "Cardinality" : "Required",
                "Shape" : "String"
              }
            }
          }
        },
        "GetWalletNftsResponse" : {
          "Structure" : {
            "Description" : "",
            "Fields" : {
              "result" : {
                "Cardinality" : "Required",
                "Shape" : "String"
              }
            }
          }
        }
      }
    }
  }
}
Now open the Amazon GameSparks console, select your game and in the navigation pane, select Dev. Then under Snapshot choose Actions --> Import:

Choose the .JSON file and click on Import:

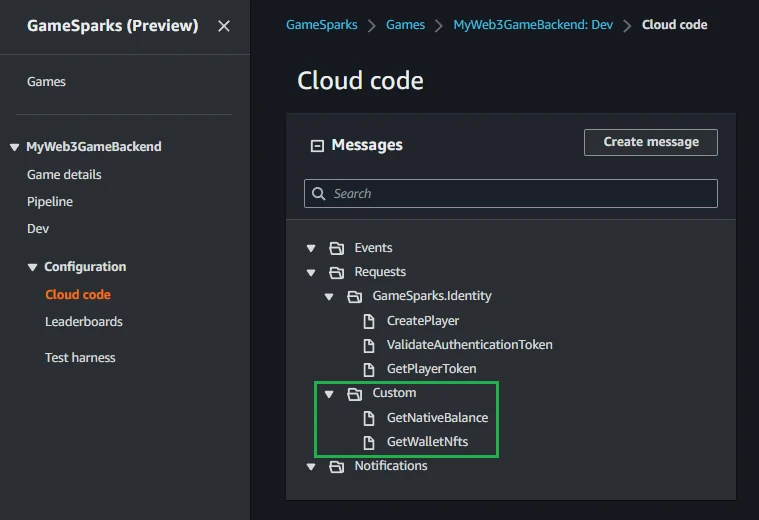
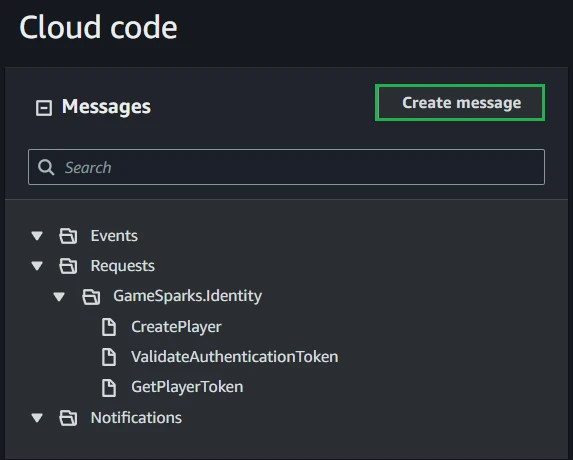
If you now go to Cloud Code in the navigation pane, you'll see the GetNativeBalance and GetWalletNfts requests:
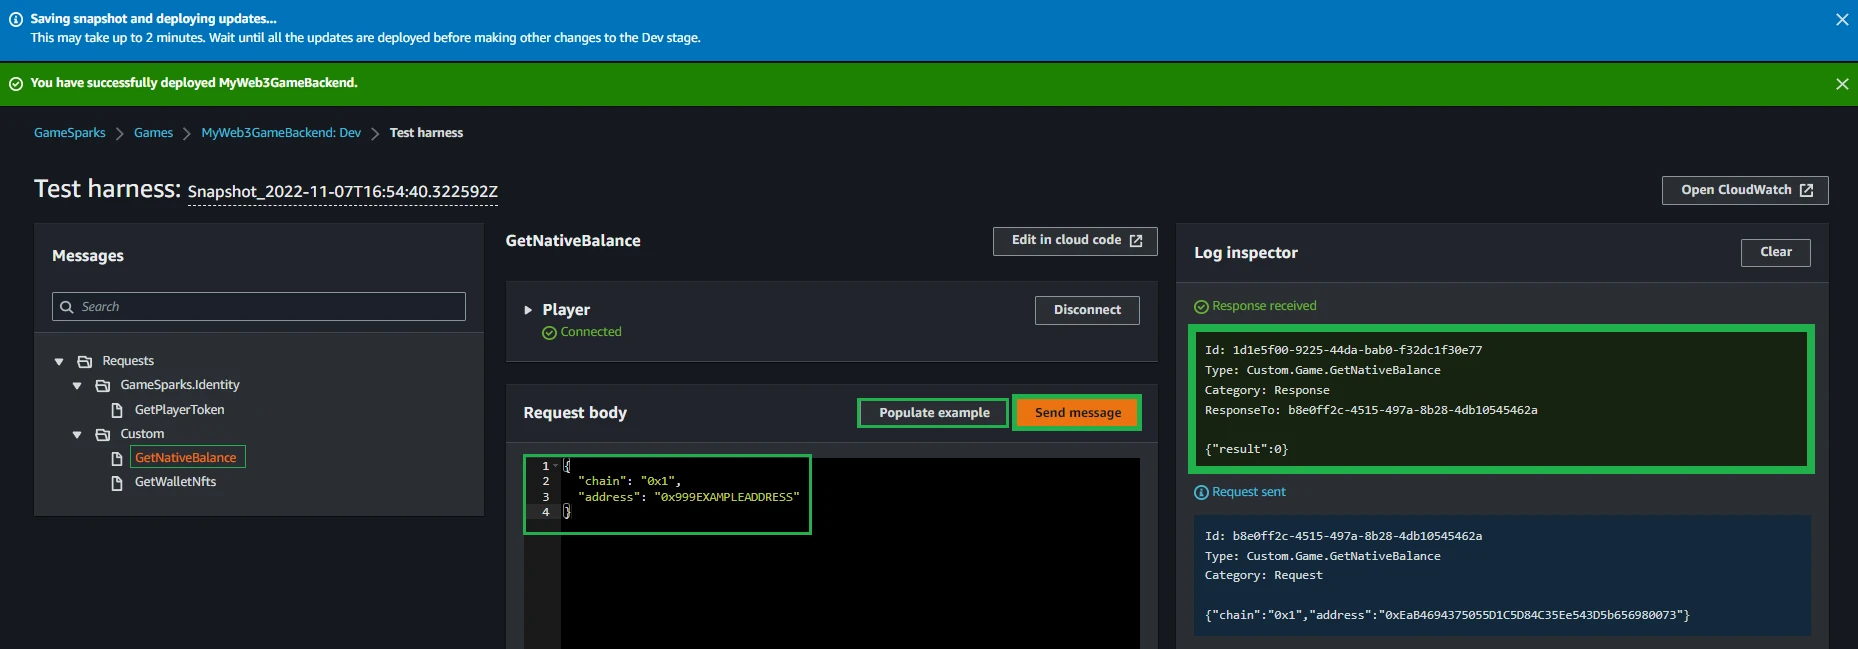
Click on one of them and then choose Test:
You'll see there's a notification. Because we just imported a new snapshot to the game backend, we need to deploy it. Let's do that:

Enter an optional description and choose Save:
Congratulations! You can now test any of the requests by first pressing Populate example and then Send message:
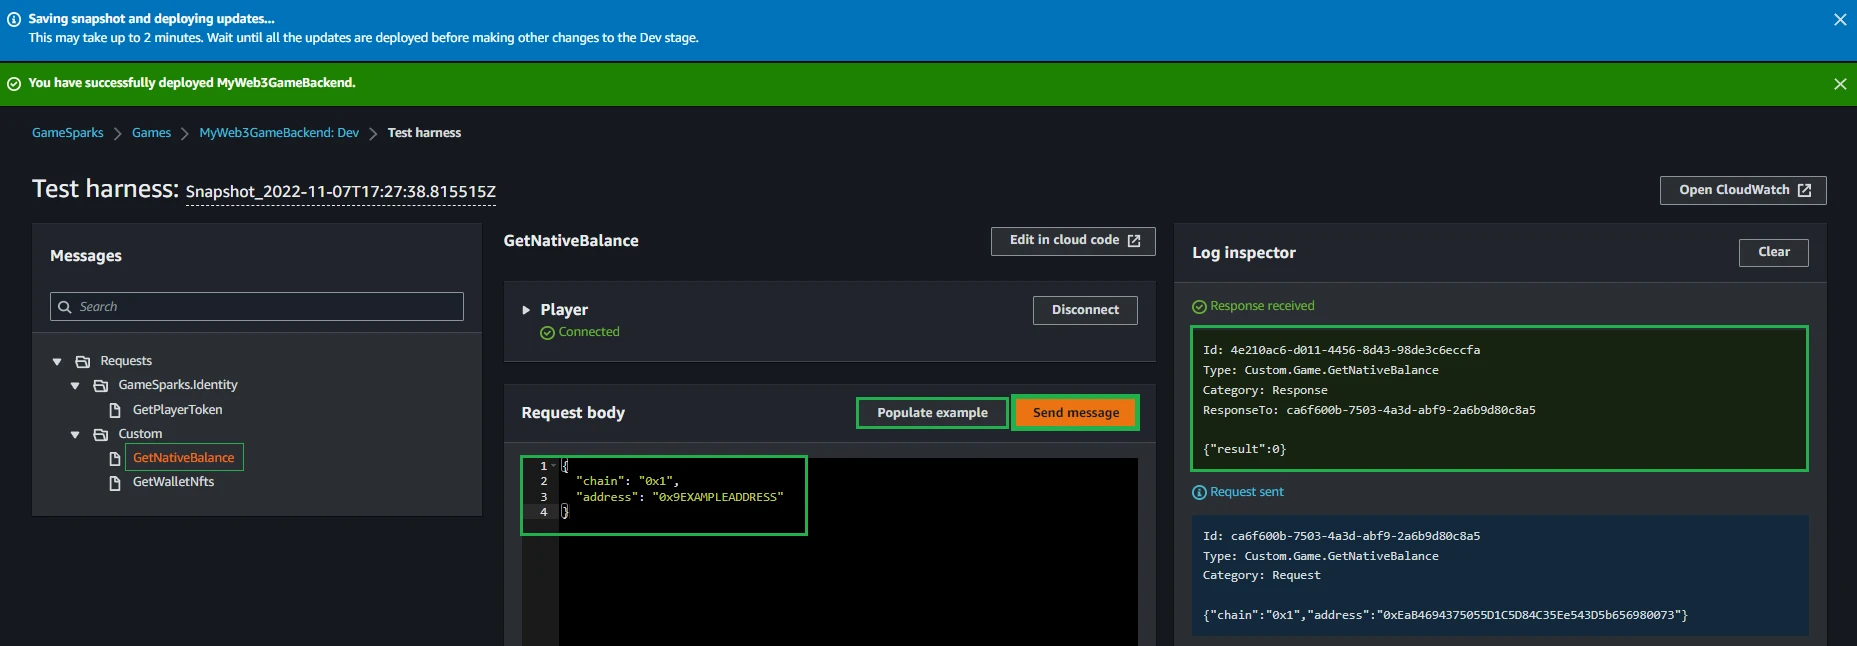
Remember to add a valid address and chain in the request body parameters!
Manual
Create GetNativeBalance request
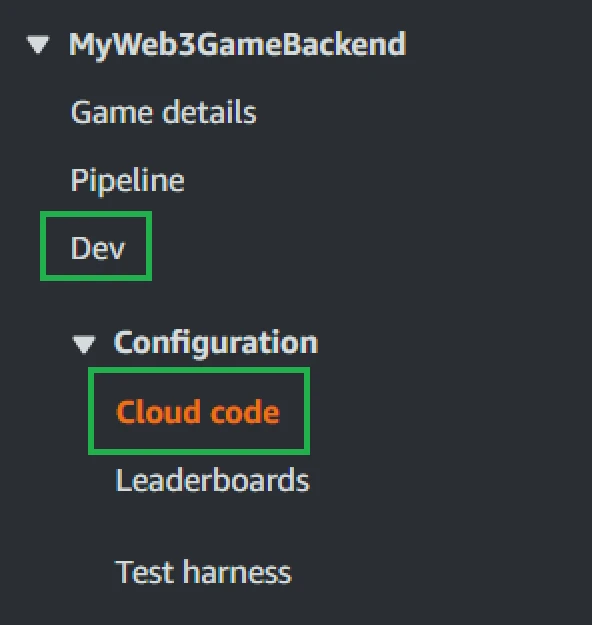
Open the Amazon GameSparks console, select your game and in the navigation pane, select Dev, expand Configuration, and then choose Cloud code:
Choose Create Message:
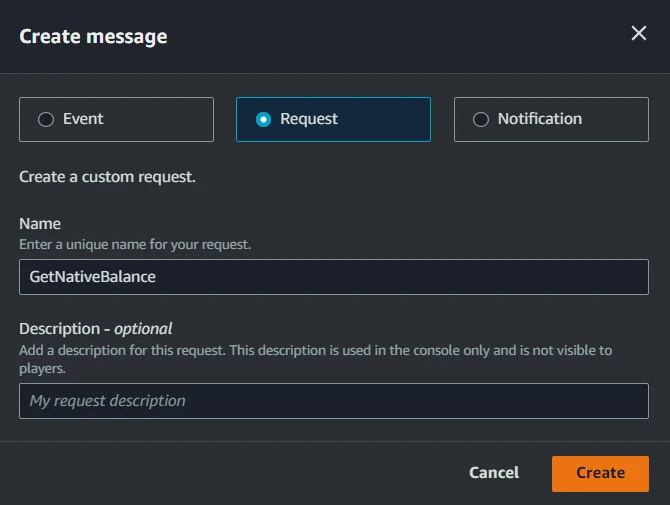
Choose Request and name it GetNativeBalance. Then press Create:
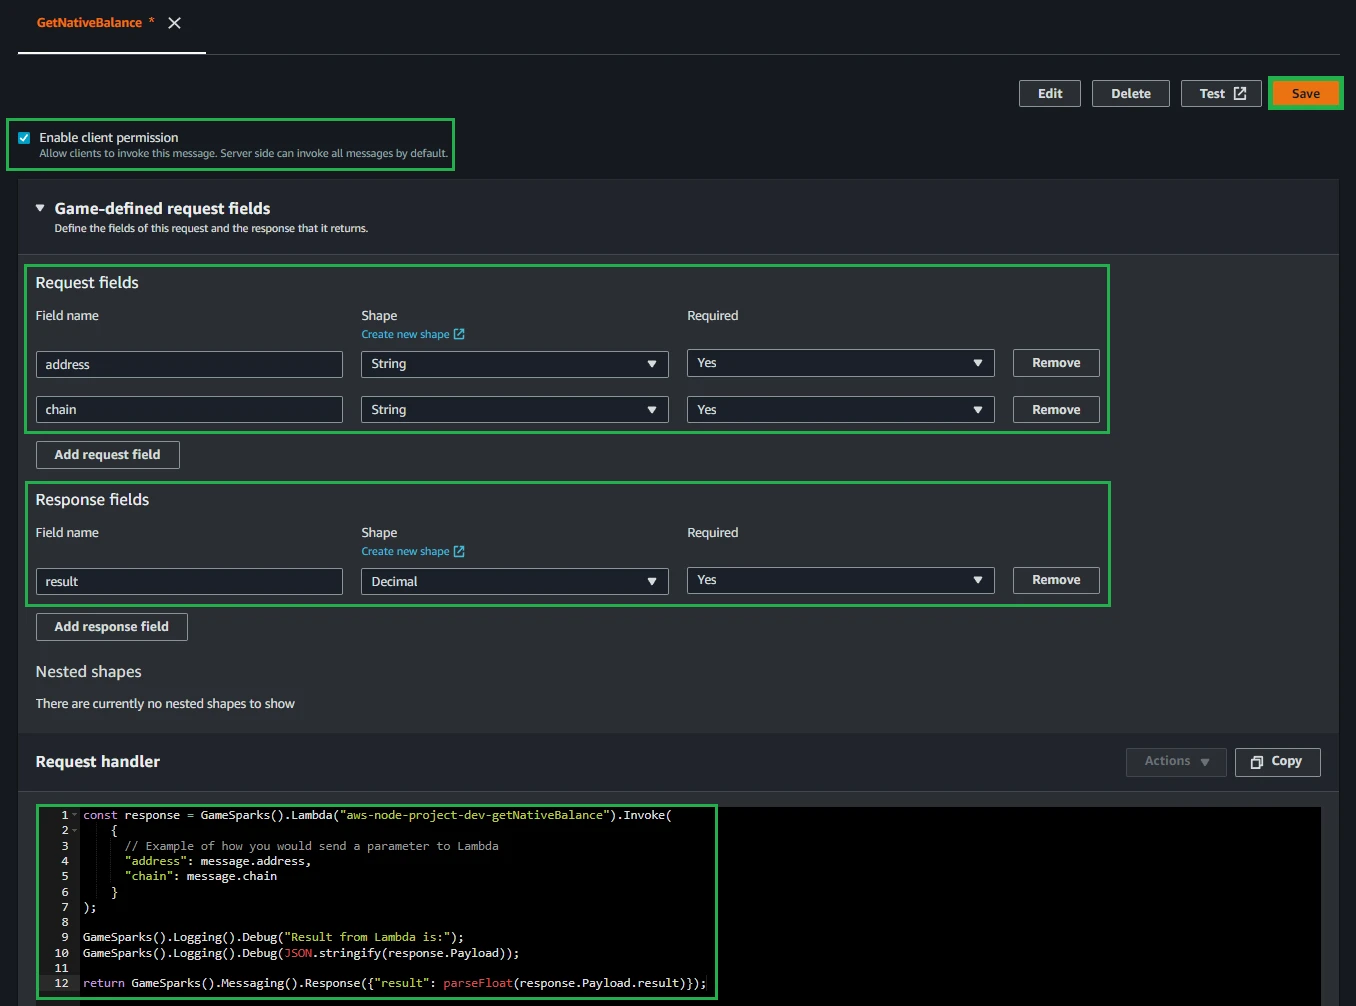
Once created, follow the next steps:
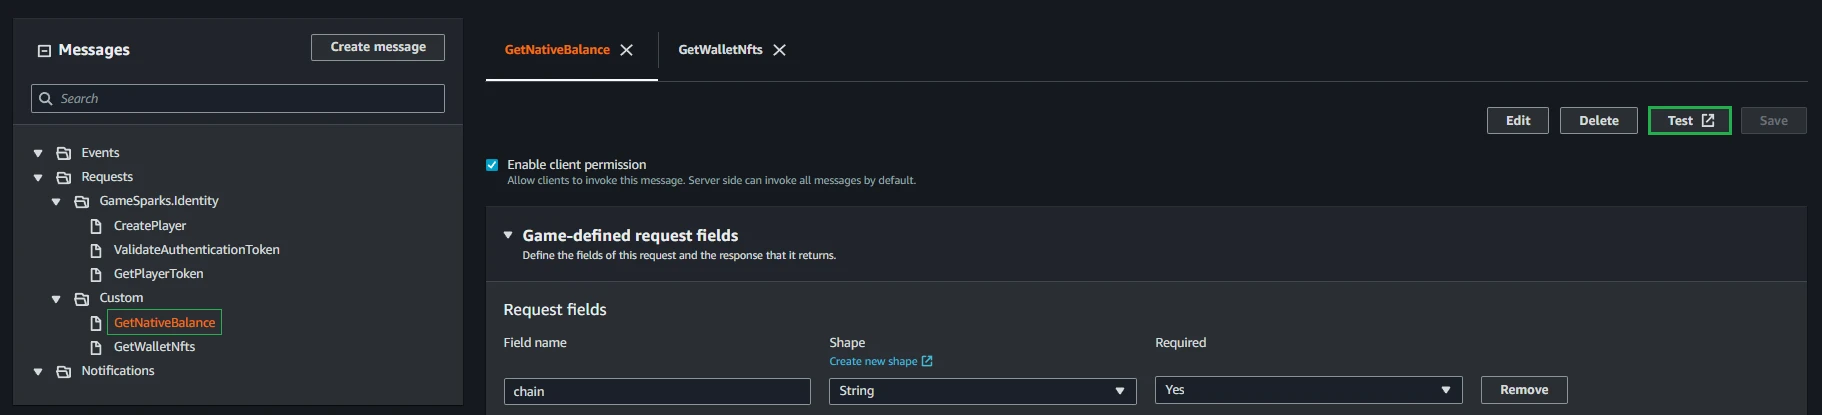
- Select Enable client permission.
- In the expanded Game-defined request fields pane, add the following request fields:
| Field name | Shape | Required |
|---|---|---|
| address | String | Yes |
| chain | String | Yes |
- Then add the following response field:
| Field name | Shape | Required |
|---|---|---|
| result | Decimal | Yes |
- For the Request handler section, add the following code:
const response = GameSparks().Lambda("aws-node-project-dev-getNativeBalance").Invoke(
    {
      // Example of how you would send a parameter to Lambda
      "address": message.address,
      "chain": message.chain
    }
);

GameSparks().Logging().Debug("Result from Lambda is:");
GameSparks().Logging().Debug(JSON.stringify(response.Payload));

return GameSparks().Messaging().Response({"result": parseFloat(response.Payload.result)});
In this request, we want to call the GetNativeBalance Lambda function created here. You can see we do that by calling:
GameSparks().Lambda("lambda-function-name").Invoke(
    {
        //Event parameters
    }
);
Your pane should look like this. Press Save:
Then press Test:

You'll see there's a notification. Because we just added a new request to the game backend, we need to deploy a new snapshot. Let's do that:
Enter an optional description and choose Save:
Congratulations! You can now test your request by first pressing Populate example and then Send message:
Remember to add a valid address and chain in the request body parameters!
Create GetWalletNfts request
Create a new request as you did with GetNativeBalance but this time name it GetWalletNfts:

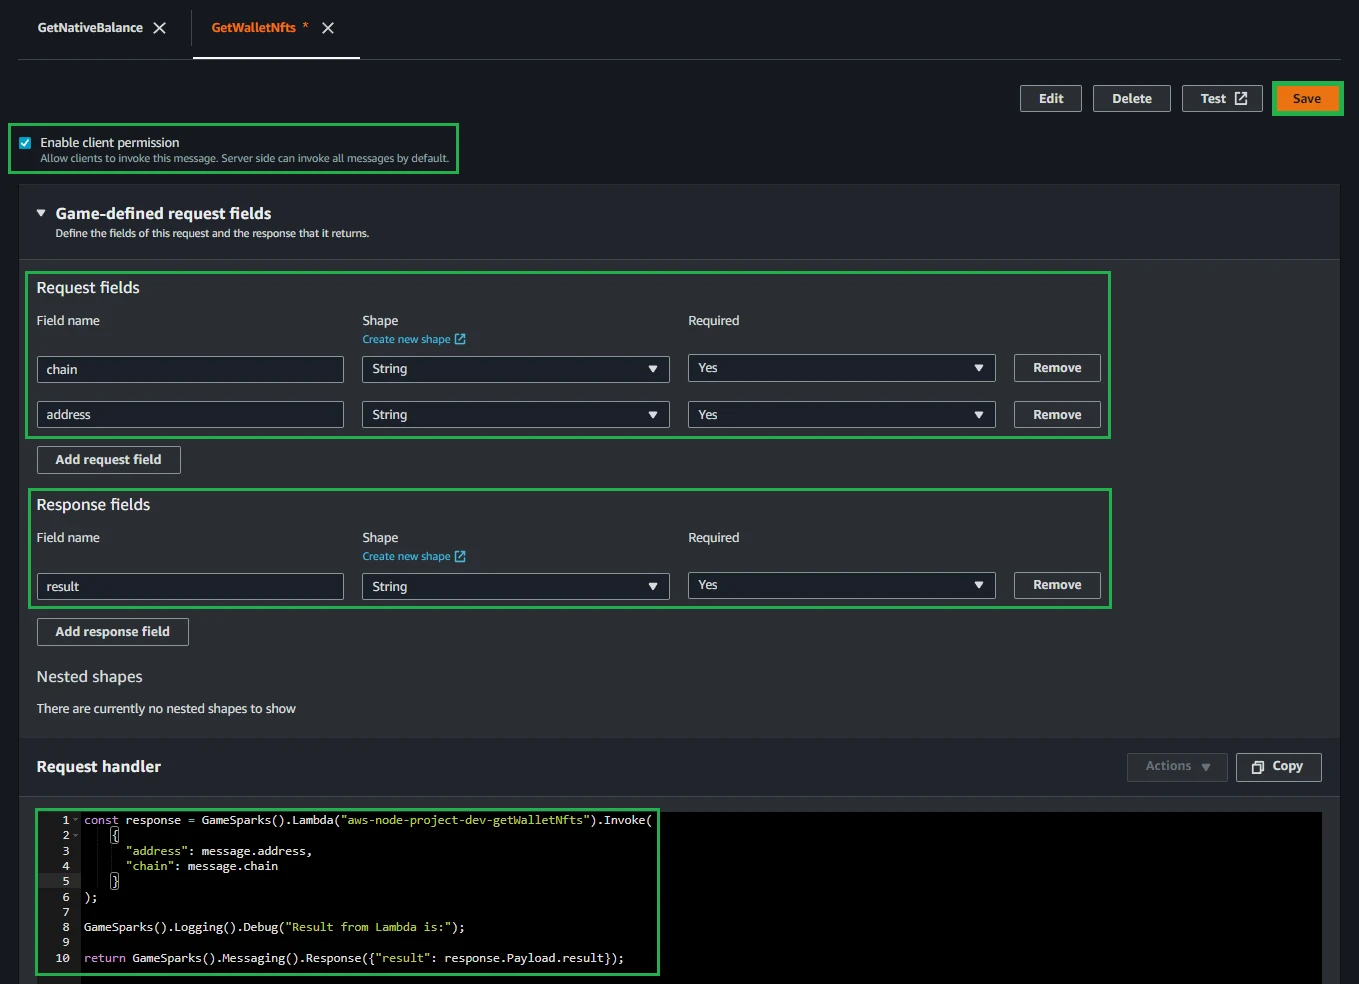
Once created, follow the next steps:
- Select Enable client permission.
- In the expanded Game-defined request fields pane, add the following request fields:
| Field name | Shape | Required |
|---|---|---|
| address | String | Yes |
| chain | String | Yes |
- Then add the following response field:
| Field name | Shape | Required |
|---|---|---|
| result | String | Yes |
- For the Request handler section, add the following code:
const response = GameSparks().Lambda("aws-node-project-dev-getWalletNfts").Invoke(
    {
      // Example of how you would send a parameter to Lambda
      "address": message.address,
      "chain": message.chain
    }
);

GameSparks().Logging().Debug("Result from Lambda is:");

return GameSparks().Messaging().Response({"result": response.Payload.result});
Your pane should look like this. Press Save:
Then press Test:
You'll see there's a notification. Because we just added a new request to the game backend, we need to deploy a new snapshot. Let's do that:
Enter an optional description and choose Save:
Congratulations! You can now test the GetWalletNfts request by first pressing Populate example and then Send message:
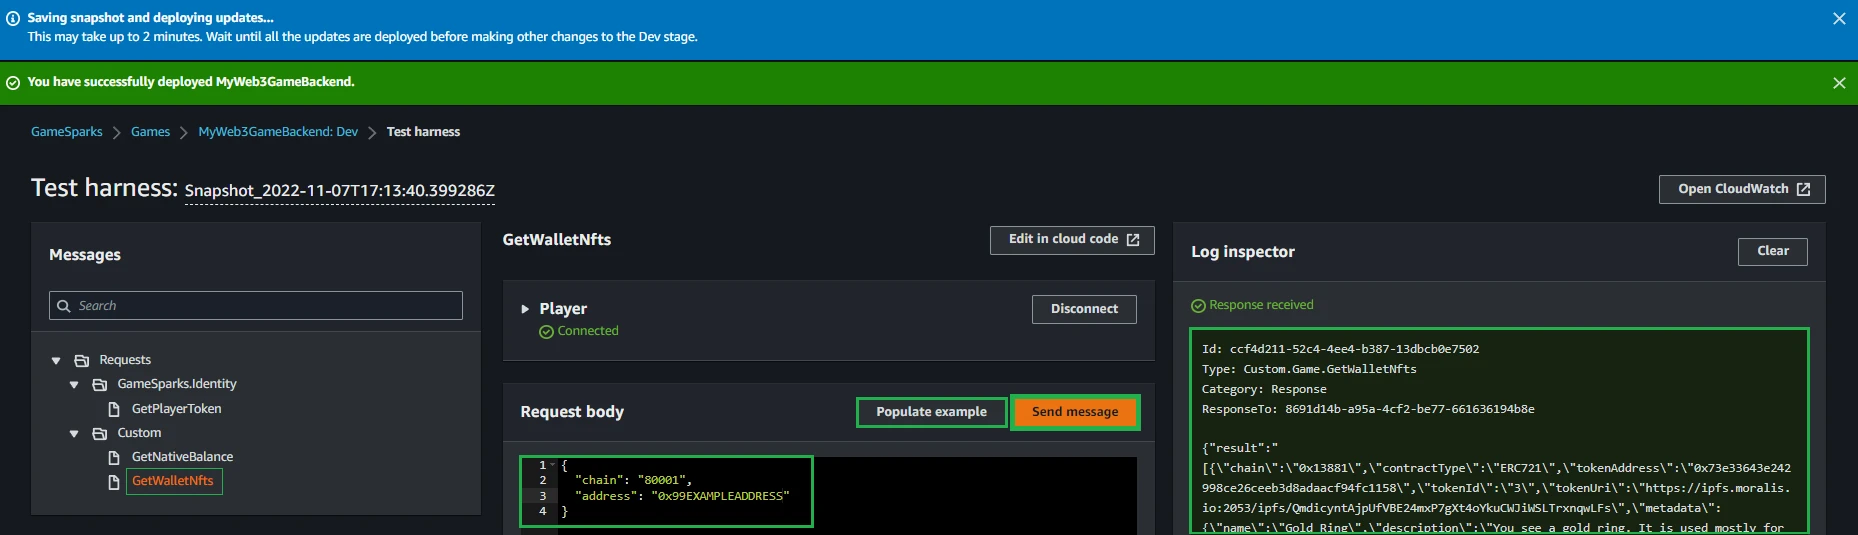
Remember to add a valid address and chain in the request body parameters!
Connecting Unity to the game backend
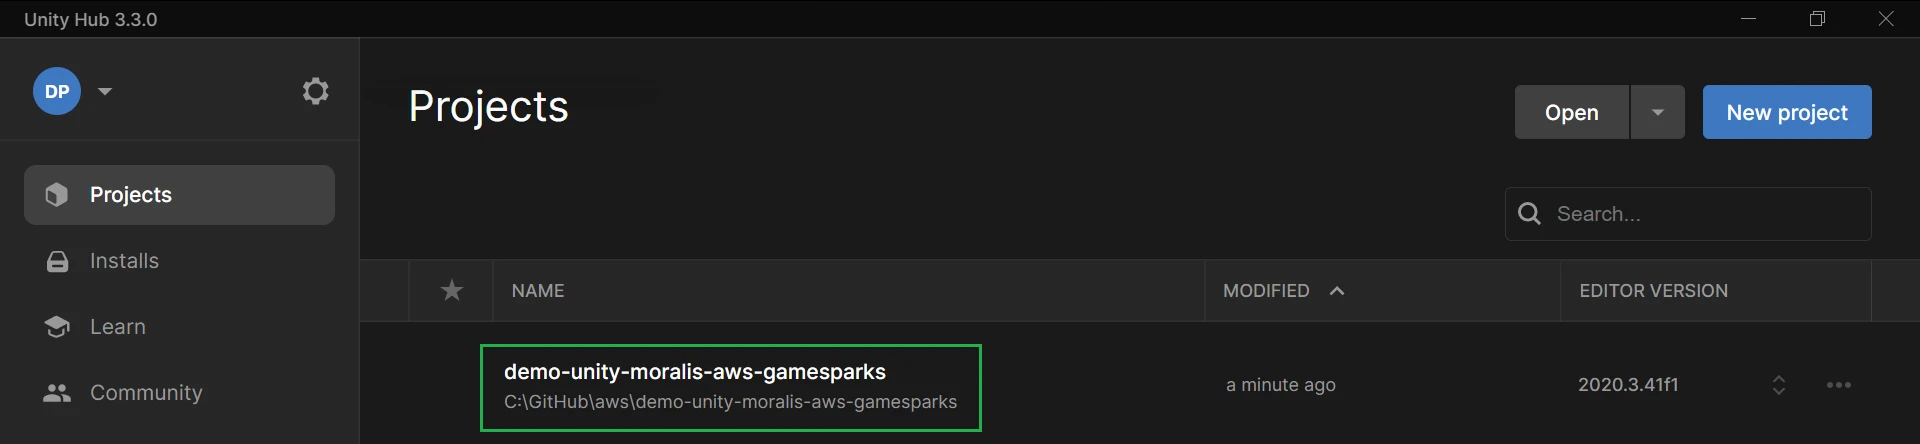
To start, download the Unity sample project we have prepared. It'll be very easy to set up.

This sample project already contains the Amazon GameSparks SDK installed. Visit the official documentation for detailed information on how we did it.
Setting up
Open the project folder with Unity Hub:
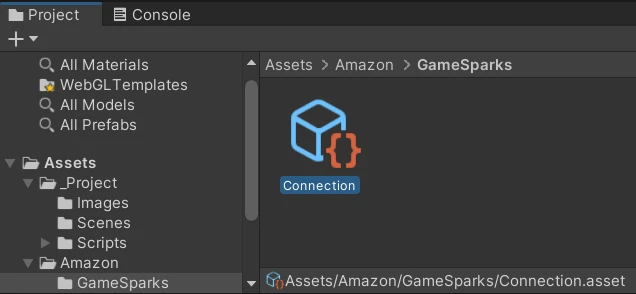
On the Project tab, go to Assets --> Amazon --> GameSparks and choose the Connection.asset:
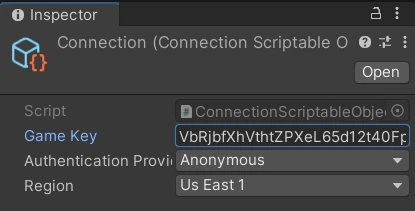
Now on the Inspector tab you'll now see the Amazon GameSparks connection settings, with a Game Key to fill up:

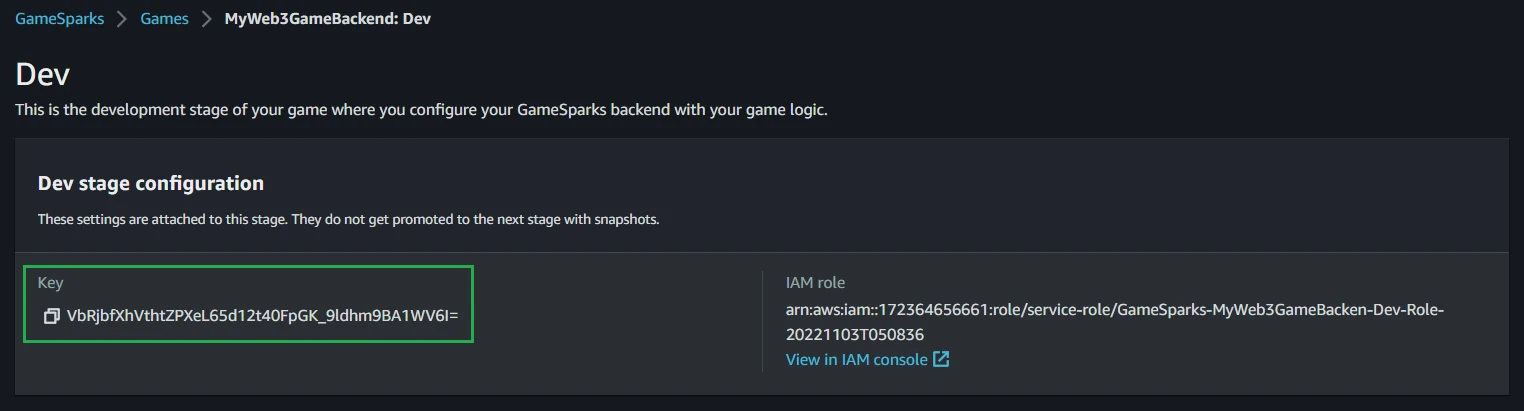
To find the key, open the Amazon GameSparks console, select your game and in the navigation pane, select Dev. Copy the Key:
Now paste it in the Connection.asset in Unity:
For more information on the setup process, check the official documentation.
Walkthrough
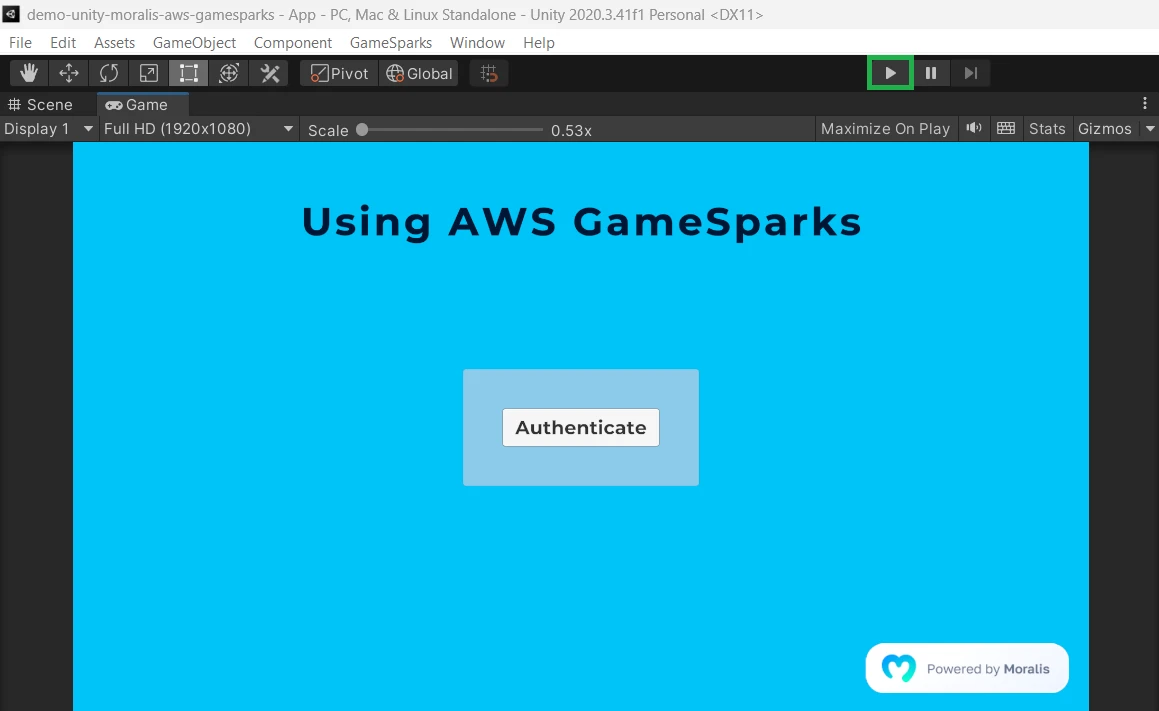
On the Project tab, go to Assets --> _Project --> Scenes and open App.unity:
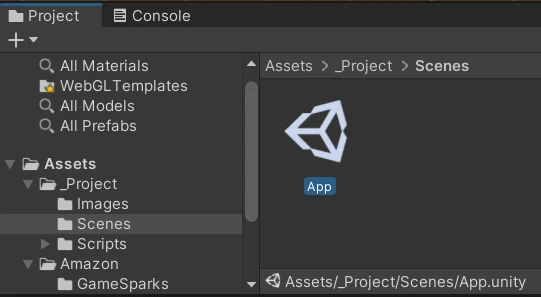
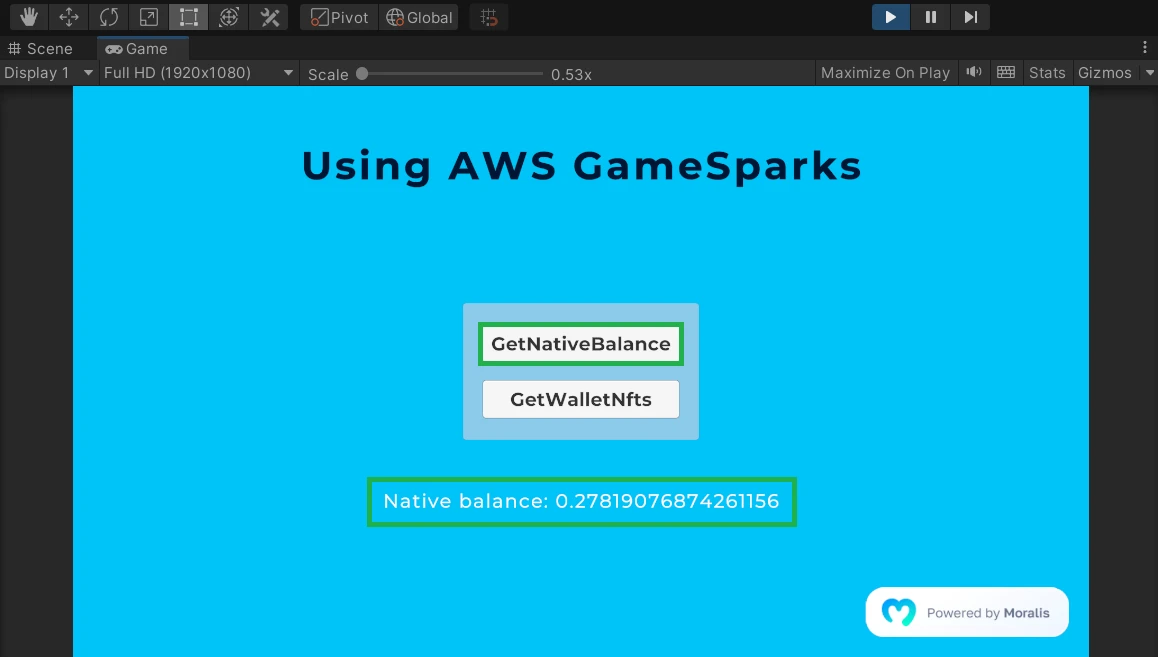
This is the scene that we're going to run. Let's go ahead and hit Play:
From here we're going to split the walkthrough between:
Authentication
To handle authentication and get our wallet information, we are using ChainSafe Unity SDK, already imported into the project.
Click on the Authenticate button to connect to your Web3 browser wallet:
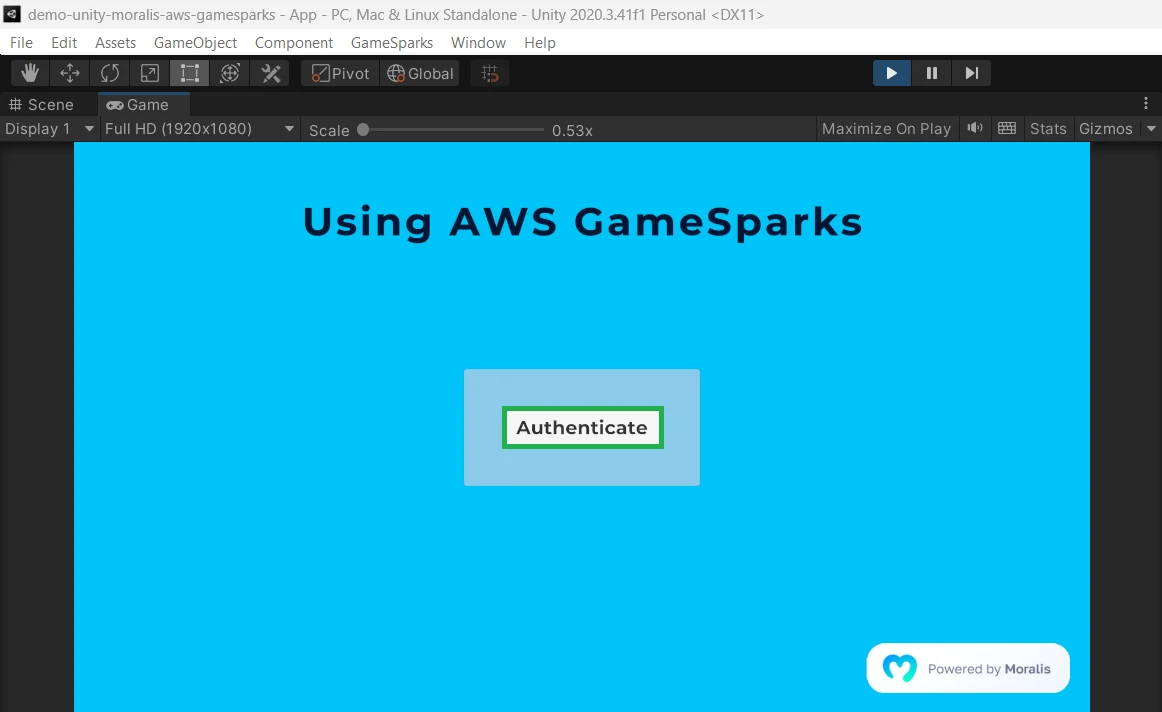
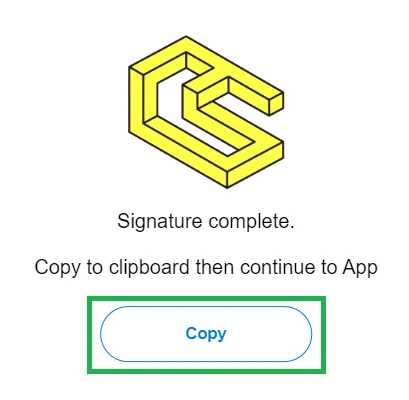
Your default browser will open automatically and if you have a Web3 wallet installed you'll be able to sign:

Then press Copy:
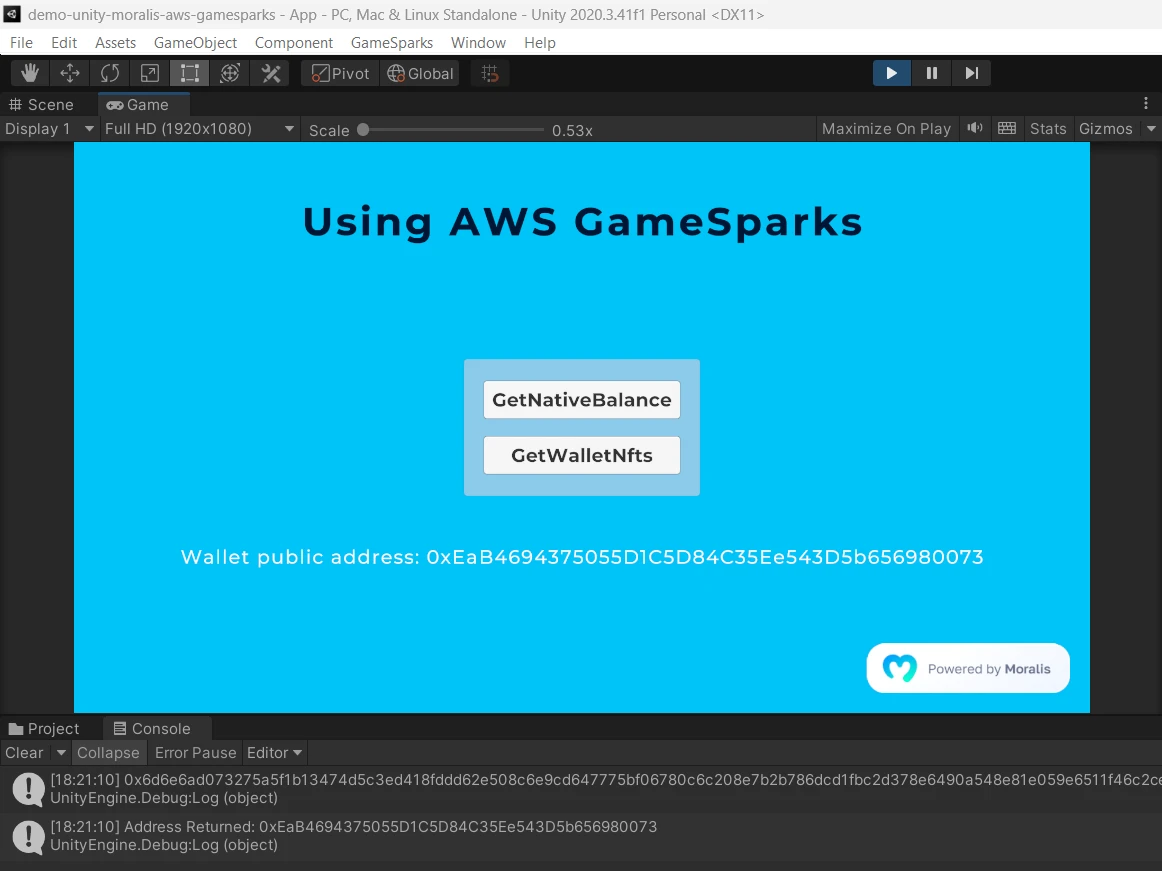
Now go back to Unity and see that you're successfully authenticated. Unity also logged your wallet public address:
As informed in the beginning of this section, we used the ChainSafe SDK to handle this process. In the project you'll find a class we created that wraps some of the ChainSafe SDK authentication features and simplifies its accessibility by exposing just one method.
This is the method called when we click on the Authenticate button. Managed in AppManager.cs.
Calling backend requests
With our wallet public address retrieved, we can now call the requests set up here.
Once authenticated, you can now click on the GetNativeBalance or GetWalletNfts buttons to retrieve the desired information successfully:
This is also handled in AppManager.cs:
You can see that both access a class named MyWeb3GameBackendOperations, which is the one containing the methods to access the messages in our Amazon GameSparks game backend.
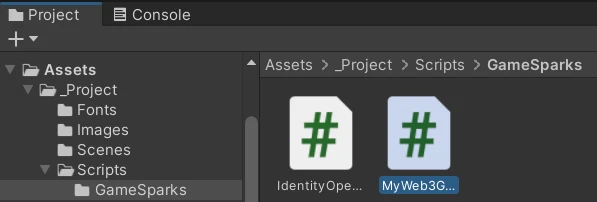
You can find MyWeb3GameBackendOperations.cs in Assets --> _Project --> Scripts --> GameSparks:
The cool thing is that you can import it automatically from the Amazon GameSparks console.
Importing Amazon GameSparks message template
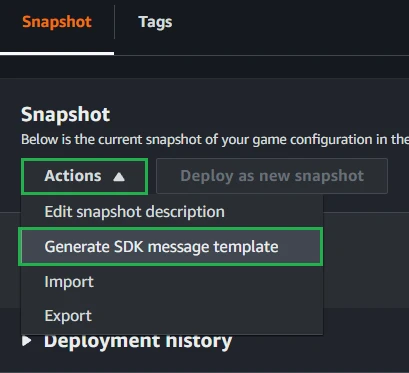
Open the Amazon GameSparks console, select your game and in the navigation pane, select Dev. Then under the Snapshot section select Actions --> Generate SDK message template:
Select Unity as Game client platform and C# as Language. Then click on Generate Code, wait for some seconds and click on Download:

Unzip the file that will be downloaded and drag the .cs files to the Assets folder in your Unity project. You'll now be able to access any message created in your game backend from Unity, like we just did in the section above.
You've completed the Using Unity & Amazon GameSparks tutorial.