How to Authenticate Users with RainbowKit
Before Starting
You can start this tutorial if you already have a NextJS dapp with MetaMask sign-in functionality.
RainbowKit Installation
- npm
- Yarn
- pnpm
npm install @rainbow-me/rainbowkit@latest wagmi viem
yarn add @rainbow-me/rainbowkit@latest wagmi viem
pnpm add @rainbow-me/rainbowkit@latest wagmi viem
RainbowKit Configuration
We are going to modify pages/_app.jsx and add the required code to set up RainbowKit Authentication.
You can get your project ID on the WalletConnect Dashboard.
import { getDefaultWallets, RainbowKitProvider } from "@rainbow-me/rainbowkit";
import { createConfig, configureChains, WagmiConfig } from "wagmi";
import { mainnet } from "wagmi/chains";
import { publicProvider } from "wagmi/providers/public";
import { SessionProvider } from "next-auth/react";
import "@rainbow-me/rainbowkit/styles.css";

const { chains, publicClient, webSocketPublicClient } = configureChains(
  [mainnet],
  [publicProvider()]
);

const { connectors } = getDefaultWallets({
  appName: "My RainbowKit App",
  projectId: "WALLET_CONNECT_PROJECT_ID", // Get your project ID from https://cloud.walletconnect.com/
  chains,
});

const config = createConfig({
  autoConnect: true,
  publicClient,
  webSocketPublicClient,
  connectors,
});

// added RainbowKitProvider wrapper
function MyApp({ Component, pageProps }) {
  return (
    <WagmiConfig config={config}>
      <SessionProvider session={pageProps.session} refetchInterval={0}>
        <RainbowKitProvider chains={chains}>
          <Component {...pageProps} />
        </RainbowKitProvider>
      </SessionProvider>
    </WagmiConfig>
  );
}

export default MyApp;
Authentication with RainbowKit
The logic we're achieving works as this. A user connects his wallet using ConnectButton from rainbowkit. Once the wallet is connected, we get address and chain from the following wagmi hooks: useAccount() and useNetwork(). In case the user is not authenticated, we will start the authentication flow (request and sign message).
- Open the
pages/signin.jsxfile and replace the oldAuthenticate via MetaMaskbutton with<ConnectButton />from@rainbow-me/rainbowkit:
import { ConnectButton } from '@rainbow-me/rainbowkit';
...

return (
  <div>
    <h3>Web3 Authentication</h3>
    <ConnectButton />
  </div>
);
...
- Edit
handleAuth()and move it underuseEffect():
...
  useEffect(() => {
    const handleAuth = async () => {
      const { message } = await requestChallengeAsync({
        address: address,
        chainId: chain.id,
      });

      const signature = await signMessageAsync({ message });

      // redirect user after success authentication to '/user' page
      const { url } = await signIn("moralis-auth", {
        message,
        signature,
        redirect: false,
        callbackUrl: "/user",
      });
      /**
       * instead of using signIn(..., redirect: "/user")
       * we get the url from callback and push it to the router to avoid page refreshing
       */
      push(url);
    };
    if (status === "unauthenticated" && isConnected) {
      handleAuth();
    }
  }, [status, isConnected]);
...
- Update missing imports and add new hooks. This is the final code of
pages/signin.jsx:
import { useRouter } from "next/router";
import { useAuthRequestChallengeEvm } from "@moralisweb3/next";
import { ConnectButton } from "@rainbow-me/rainbowkit";
import { signIn, useSession } from "next-auth/react";
import { useAccount, useSignMessage, useNetwork } from "wagmi";
import { useEffect } from "react";

function SignIn() {
  const { isConnected, address } = useAccount();
  const { chain } = useNetwork();
  const { status } = useSession();
  const { signMessageAsync } = useSignMessage();
  const { push } = useRouter();
  const { requestChallengeAsync } = useAuthRequestChallengeEvm();

  useEffect(() => {
    const handleAuth = async () => {
      const { message } = await requestChallengeAsync({
        address: address,
        chainId: chain.id,
      });

      const signature = await signMessageAsync({ message });

      // redirect user after success authentication to '/user' page
      const { url } = await signIn("moralis-auth", {
        message,
        signature,
        redirect: false,
        callbackUrl: "/user",
      });
      /**
       * instead of using signIn(..., redirect: "/user")
       * we get the url from callback and push it to the router to avoid page refreshing
       */
      push(url);
    };
    if (status === "unauthenticated" && isConnected) {
      handleAuth();
    }
  }, [status, isConnected]);

  return (
    <div>
      <h3>Web3 Authentication</h3>
      <ConnectButton />
    </div>
  );
}

export default SignIn;
Set Up RainbowKit with NextJS
The Webpack v5 bundler used by Next.js no longer provides Node polyfills, so you'll need to include these modules yourself to satisfy RainbowKit's peer dependencies.
In previous versions of RainbowKit that relied on ethers, the fs, net, and tls modules were automatically polyfilled. This is no longer the case with RainbowKit v1 + wagmi v1, which are built on viem.
Open next.config.js file in the root of your project and add the following code:
/** @type {import('next').NextConfig} */
const nextConfig = {
  reactStrictMode: true,
  webpack: (config) => {
    config.resolve.fallback = { fs: false, net: false, tls: false };
    return config;
  },
};

module.exports = nextConfig;
Read more about RainbowKit configuration on the official documentation.
Testing the RainbowKit Connector
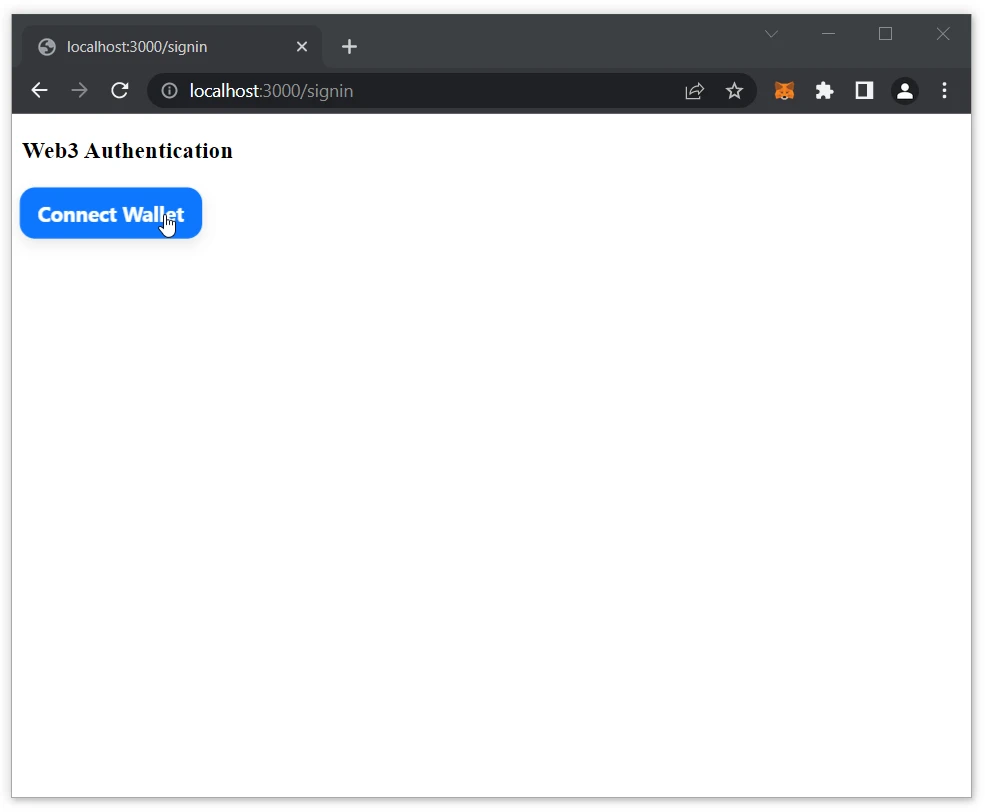
Visit http://localhost:3000/signin to test authentication.
- Click on
Connect Wallet:
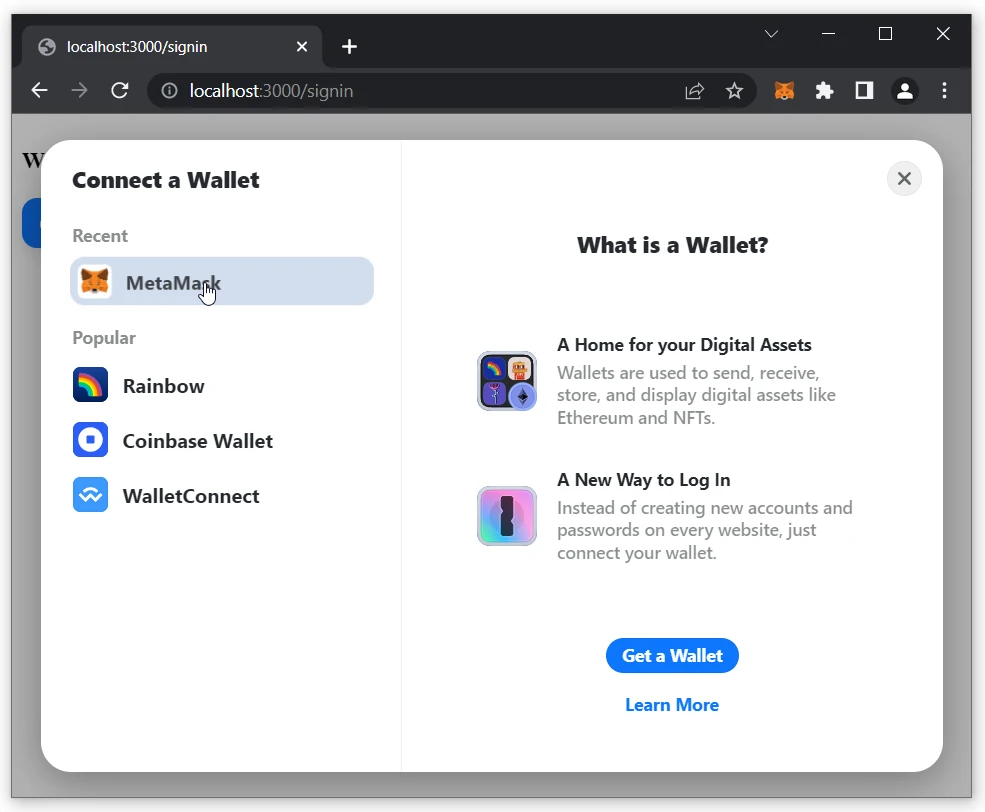
- Select and connect a wallet you want to use for authentication from the RainbowKit modal:
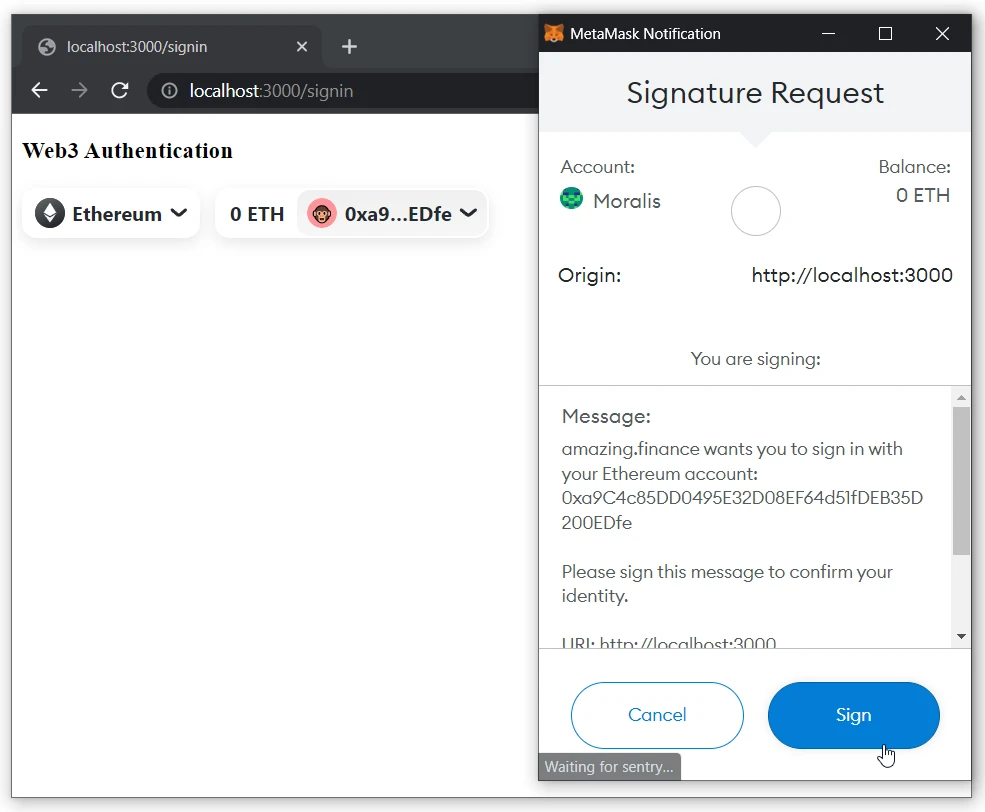
- Sign the message:
- After successful authentication, you will be redirected to the
/userpage:
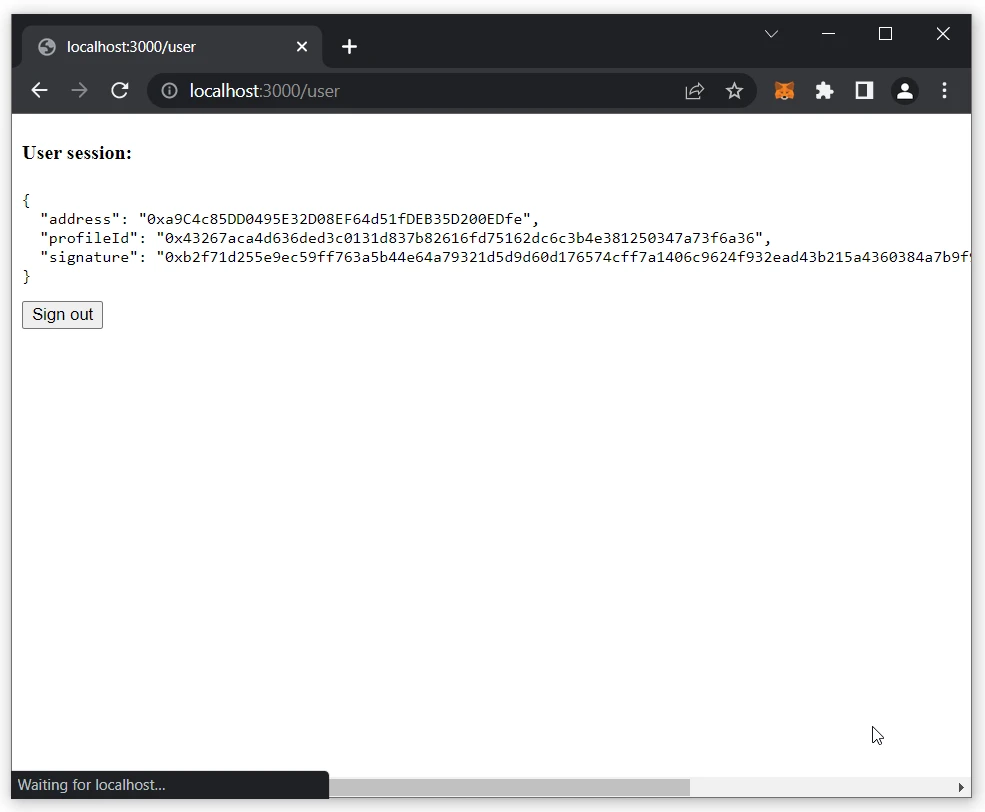
- Visit
http://localhost:3000/userto test the user session's functionality:
- When a user is authenticated, we show the user's info on the page.
- When a user is not authenticated, we redirect to the
/signinpage. - When a user is authenticated, we show the user's info on the page, even refreshing after the page. (Explanation: After Web3 wallet authentication, the
next-authlibrary creates a session cookie with an encrypted JWT [JWE] stored inside. It contains session info [such as an address and signed message] in the user's browser.)